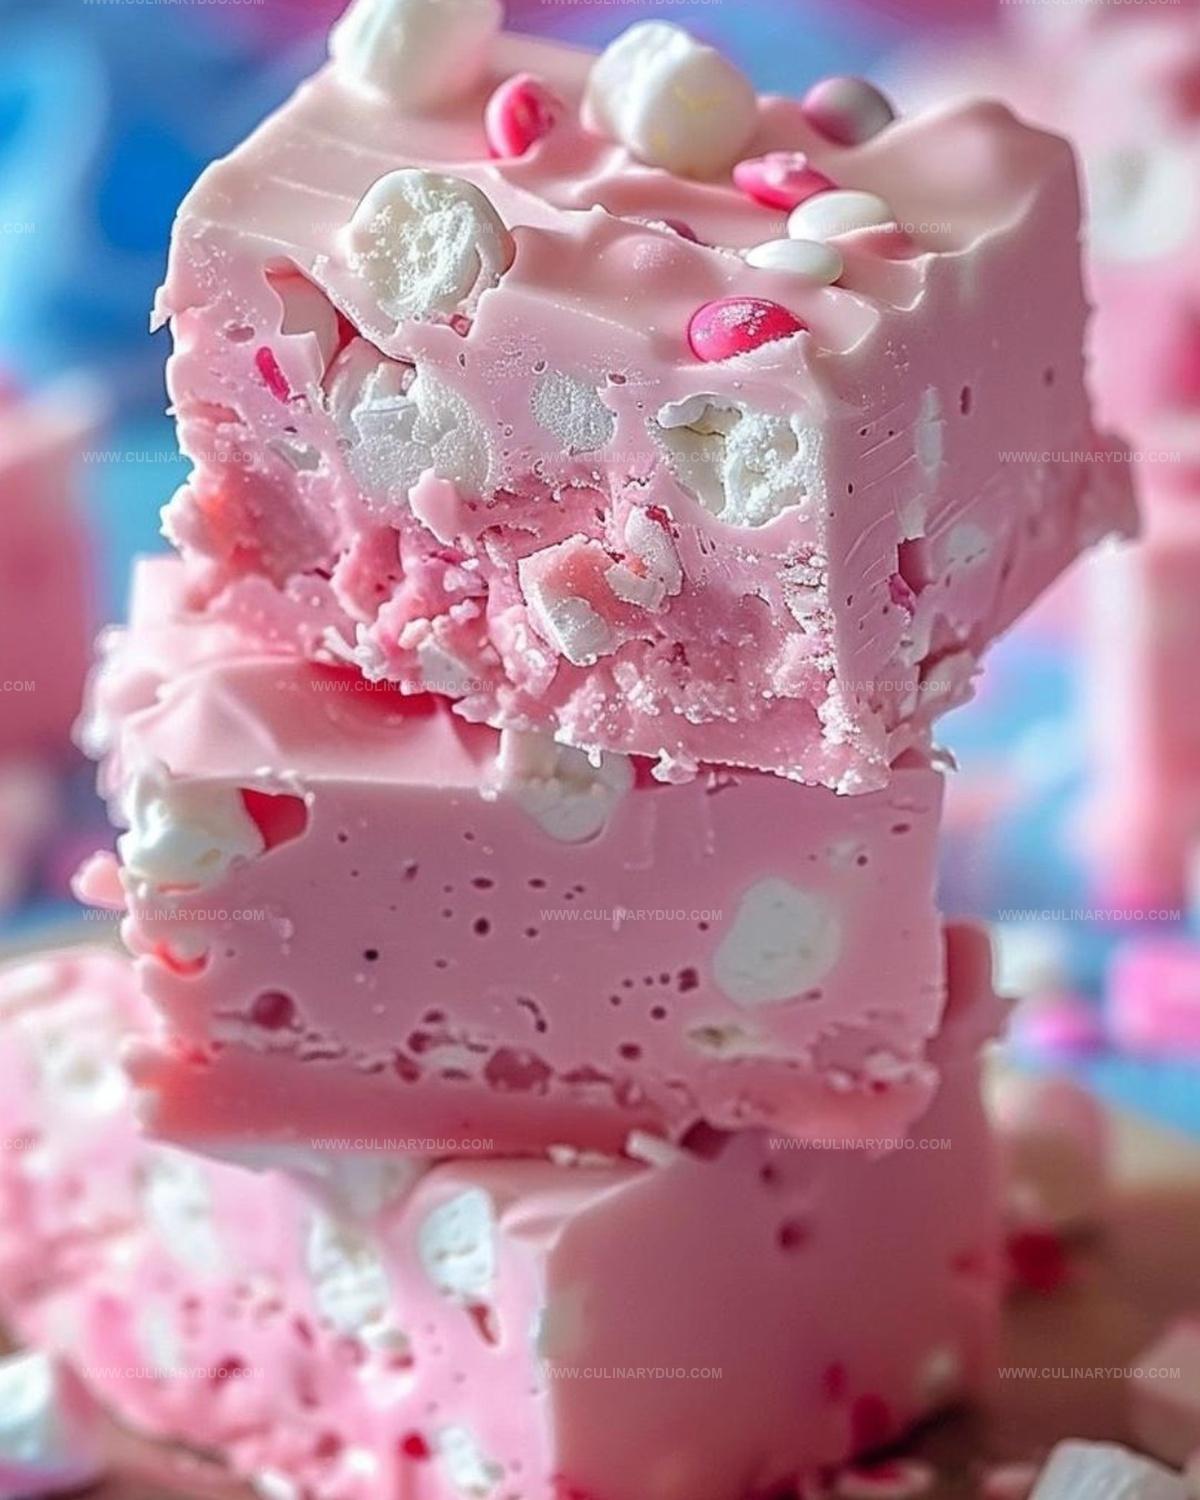
Dreamy Bubblegum Cloud Fudge Recipe: A Sweet Fluffy Treat
Sweet clouds of nostalgia drift through childhood memories with this bubblegum cloud fudge that captures pure sugary magic.
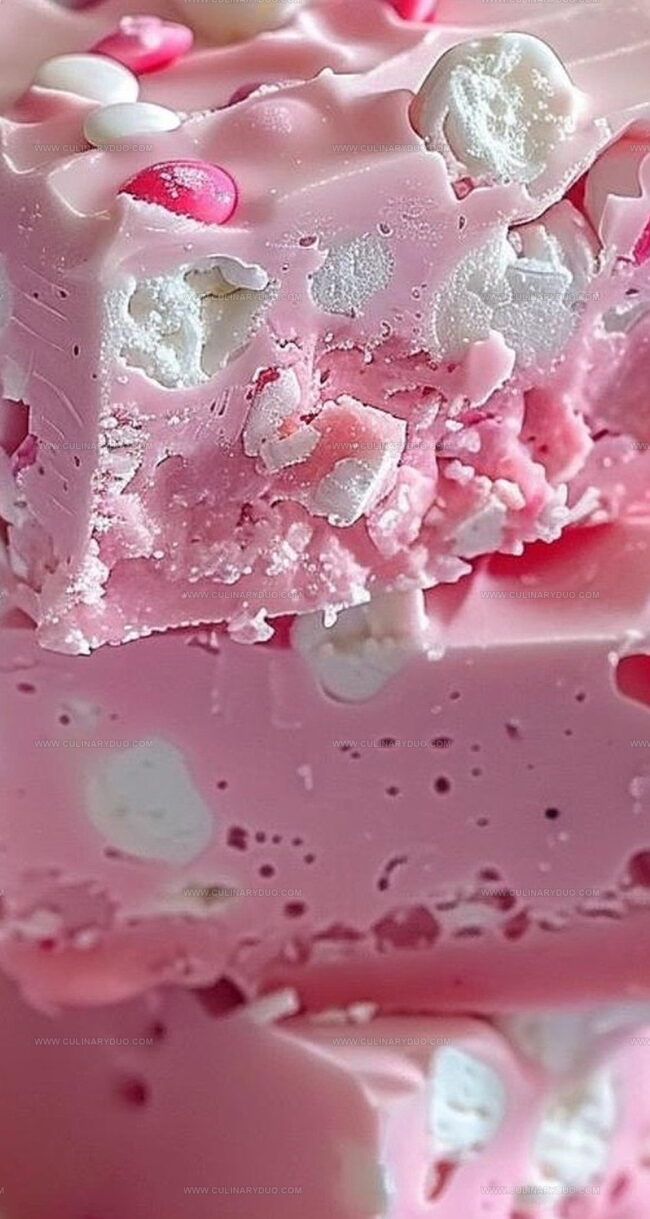
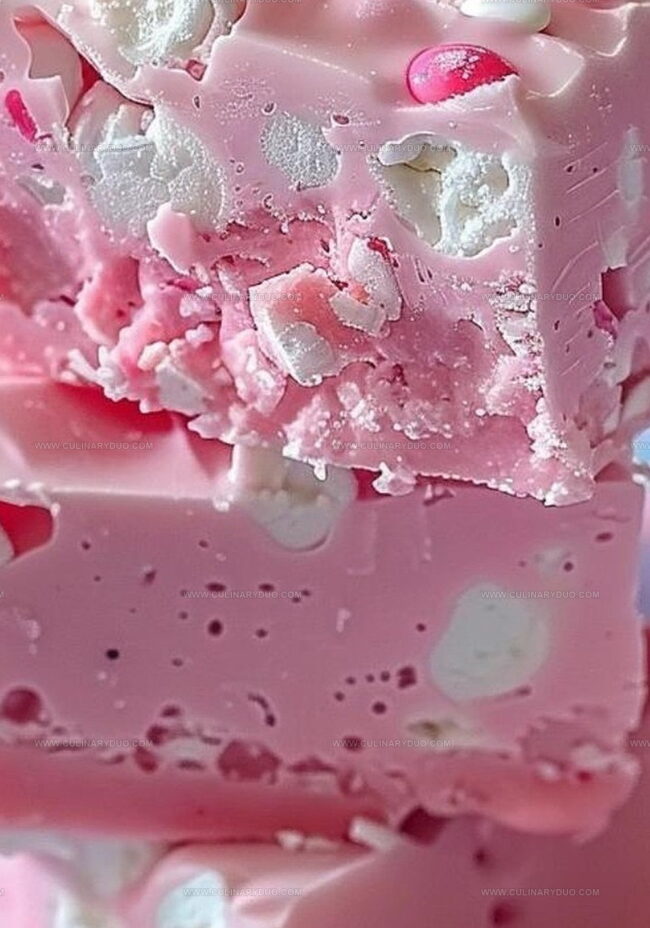
Soft pastel hues peek through each creamy square, promising a delightful twist on classic desserts.
The playful treat swirls with unexpected flavor and whimsy.
Vibrant pink tones beckon from the plate, hinting at a delectable adventure.
Minimal ingredients combine to create something extraordinary and utterly irresistible.
Each bite transports you back to carefree summer days and carnival treats.
Let this magical fudge become your next delicious experiment.
Why Bubblegum Cloud Fudge Feels Magical
Gather Goodies For Bubblegum Cloud Fudge
Base Ingredients:Flavor and Color Enhancers:Texture and Decoration Ingredients:Whip Up Bubblegum Cloud Fudge With Ease
Step 1: Prepare the Baking Canvas
Line a 9×9-inch square baking pan with parchment paper, ensuring the paper hangs slightly over the edges for easy removal later.
Press the paper smoothly against the pan’s sides and corners.
Step 2: Create the Chocolate Melt
Gather your ingredients in a microwave-safe bowl:Microwave the mixture in short 40-second bursts, stirring gently between each interval until the blend transforms into a silky, glossy liquid with no lumps.
Step 3: Infuse Playful Flavors
Add bubble-gum flavoring and vanilla extract to the melted chocolate mixture.
For a fun twist, consider splitting the mixture and introducing vibrant food gels to create a marbled rainbow effect.
Step 4: Marshmallow Magic
Gently fold mini marshmallows into the flavored chocolate, ensuring they’re distributed evenly throughout the creamy mixture.
Step 5: Pour and Decorate
Transfer the mixture into the prepared pan, smoothing the surface with a spatula.
Sprinkle confetti rainbow sprinkles across the top for a festive touch.
Step 6: Chill and Set
Refrigerate the fudge for approximately 2 hours until it becomes completely firm and solid.
Step 7: Slice and Serve
Remove the fudge from the refrigerator, lift out using the parchment paper edges, and slice into delightful squares.
Enjoy the burst of bubblegum sweetness in every magical bite!
Tips For Fluffy, Colorful Cloud Fudge
Fun Twists For Bubblegum Cloud Fudge Fans
Ways To Serve Up Bubblegum Cloud Fudge
Store Your Bubblegum Cloud Fudge Just Right
FAQs
Use high-quality bubble-gum flavoring and add it gradually, tasting as you mix to achieve the right intensity without overwhelming the fudge.
Yes, use a double boiler method by melting ingredients over low heat, stirring constantly to prevent burning and ensure smooth consistency.
Ensure you’ve chilled it for the full 2 hours and used exact measurements of ingredients. If it’s still soft, refrigerate longer or check your condensed milk quantity.
Use a sharp knife dipped in hot water and wiped dry between cuts to get smooth, precise edges without crumbling the fudge.
Print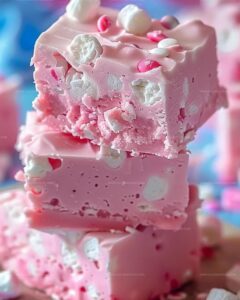
Bubblegum Cloud Fudge Recipe
- Total Time: 2 hours 20 minutes
- Yield: 16 1x
Description
Magical Bubblegum Cloud Fudge whisks classic dessert into a whimsical wonderland of sweet nostalgia. Pillowy pink squares melt on your tongue, transporting memories of childhood treats with each delightful bite.
Ingredients
Main Ingredients:
- 21.25 ounces (602 grams) White Chocolate
- 3/4 cup (180 milliliters) Sweetened Condensed Milk
- 4.5 ounces (128 grams) Unsalted Butter
Flavoring and Coloring:
- 1 teaspoon Bubble-Gum Flavoring
- 2 teaspoons Vanilla Extract
- 3 drops White Food Gel
- 3 drops Pink Food Gel
Toppings and Additions:
- 1 cup Mini Marshmallows
- 1/4 cup Confetti Rainbow Sprinkles
Instructions
- Prepare a 9×9-inch square baking pan by lining it completely with parchment paper, ensuring full coverage of the bottom and sides for easy removal later.
- Create a smooth chocolate base by combining white chocolate, sweetened condensed milk, and butter in a microwave-safe bowl, heating in short 40-second intervals and stirring thoroughly between each heating cycle.
- Infuse vibrant flavor and color by introducing bubble-gum flavoring and vanilla extract into the melted mixture, gently stirring until fully incorporated.
- For a playful visual effect, carefully divide the mixture and experiment with different food gel colors, creating a marbled swirl pattern throughout the fudge.
- Gently fold mini marshmallows into the flavored mixture, distributing them evenly to ensure each bite contains a delightful marshmallow surprise.
- Transfer the mixture into the prepared pan, using a spatula to spread it smoothly and create an even surface across the entire pan.
- Sprinkle confetti rainbow sprinkles generously over the top, pressing them lightly to help them adhere to the fudge surface.
- Refrigerate the fudge for approximately 2 hours, allowing it to set completely and develop a firm, sliceable consistency.
- Once chilled, remove the fudge from the refrigerator and lift it out of the pan using the parchment paper edges.
- Slice into neat squares, revealing the colorful, marshmallow-studded interior, and serve immediately to enjoy the burst of bubblegum flavor.
Notes
- Choose high-quality white chocolate for a smoother, creamier texture that melts more evenly.
- Use gel food coloring instead of liquid to prevent altering the fudge’s consistency and maintain its creamy structure.
- Adjust bubble-gum flavoring gradually to control intensity, tasting as you mix to prevent overwhelming sweetness.
- Ensure marshmallows are evenly distributed by gently folding them into the mixture to create a consistent texture throughout the fudge.
- Prep Time: 20 minutes
- Cook Time: 2 hours
- Category: Desserts, Snacks
- Method: Blending
- Cuisine: American
Nutrition
- Serving Size: 16
- Calories: 207
- Sugar: 23 g
- Sodium: 24 mg
- Fat: 11 g
- Saturated Fat: 7 g
- Unsaturated Fat: 4 g
- Trans Fat: 0.1 g
- Carbohydrates: 26 g
- Fiber: 0.2 g
- Protein: 1.3 g
- Cholesterol: 16 mg
Natalie Brooks
Co-Founder & Content Strategist
Expertise
Education
eCornell
Natalie brings the vibrant, plant-powered side to Culinary Duo. After earning her Plant-Based Nutrition Certificate from eCornell, she combined her love for fresh ingredients with a passion for storytelling, aiming to make healthy cooking simple and satisfying.
Her kitchen motto: good food doesn’t need a fancy label, it just needs fresh ideas and a little creativity. Outside of writing and recipe testing, Natalie’s happiest in her garden, exploring farmers’ markets, or mixing global flavors into new kitchen experiments.