Cherry Pie Cupcakes Recipe: Sweet Bite-Sized Treats With a Twist
Sweet memories of summer bloom in these delightful cherry pie cupcakes that capture childhood nostalgia in every bite.
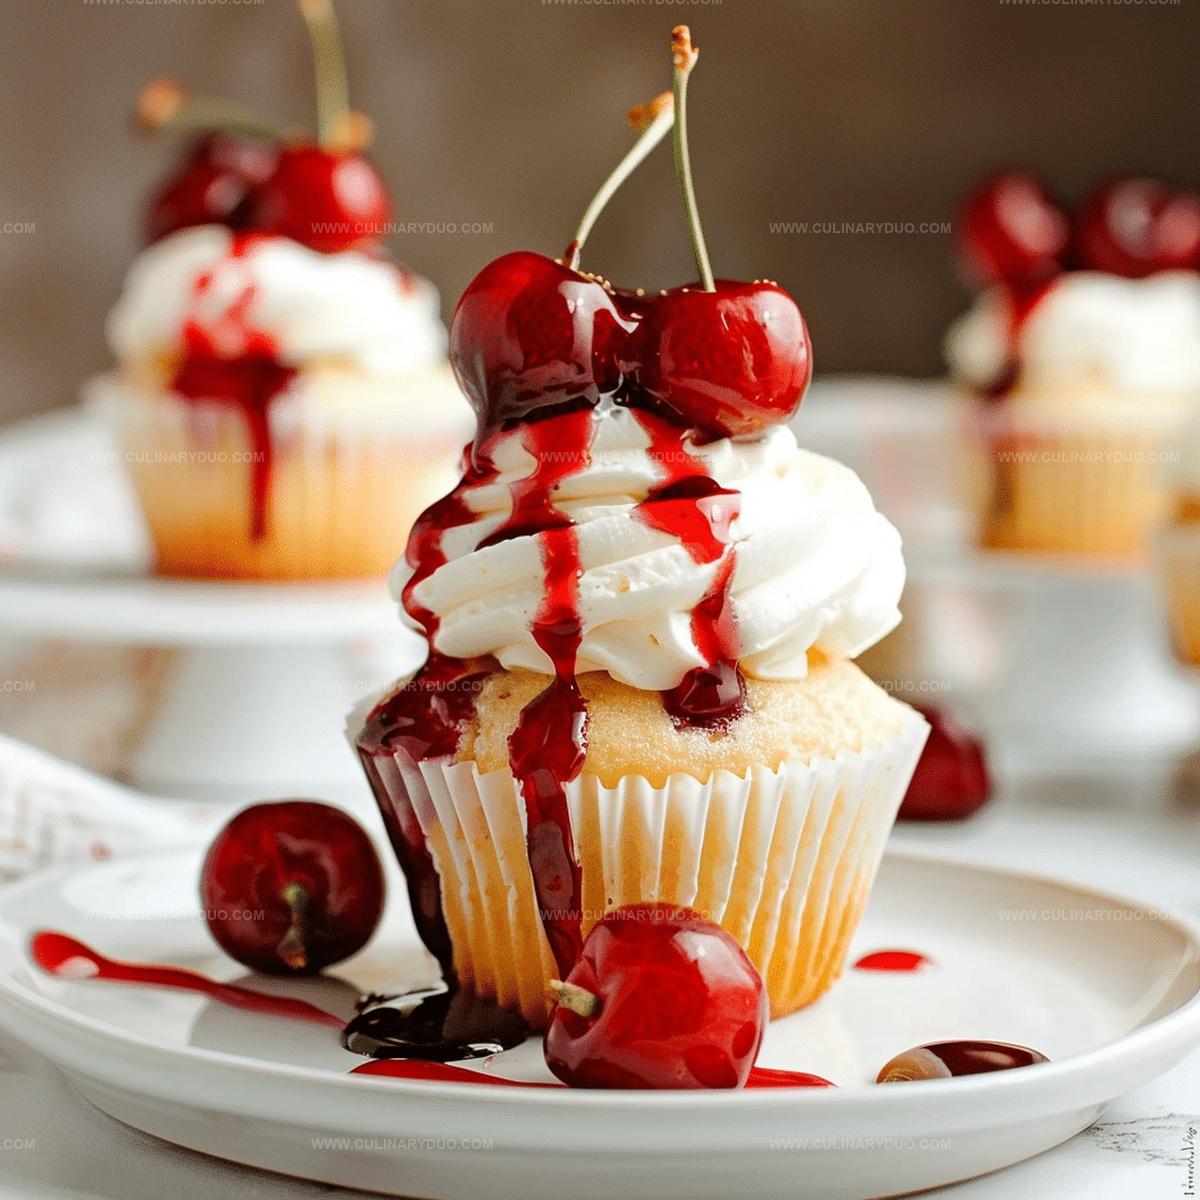
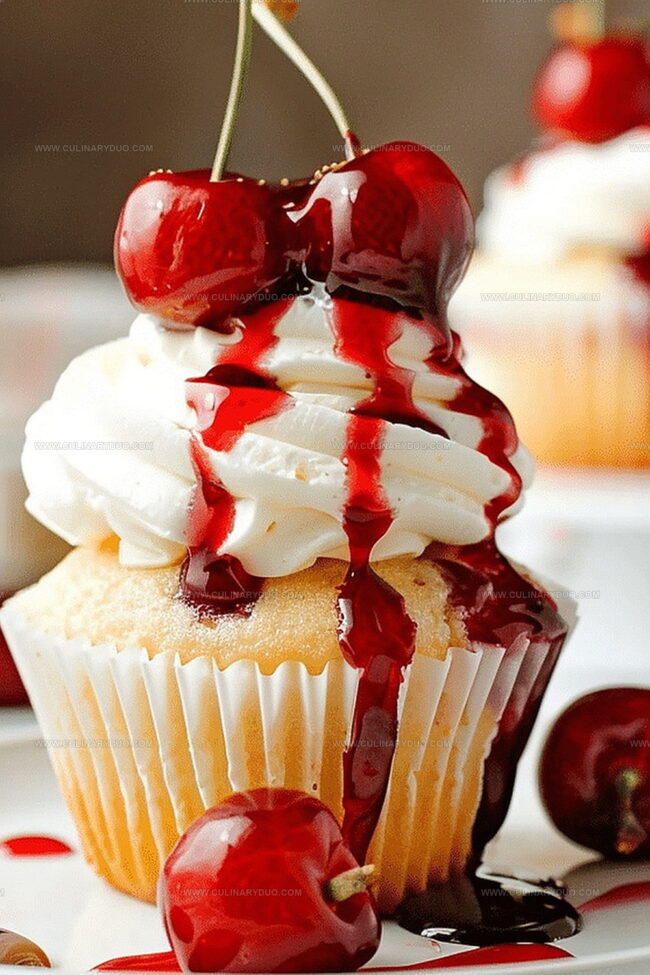
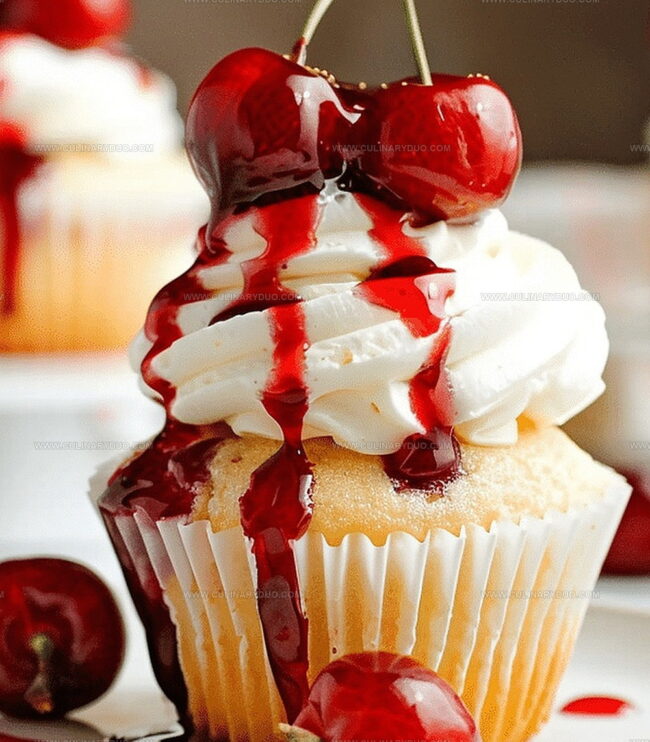
Bright red cherries nestle into soft, pillowy cake with unexpected charm.
Bakers adore how simple ingredients create something magical and irresistible.
Delicate swirls of buttercream crown each miniature dessert like a festive invitation.
Hints of vanilla and almond dance through the recipe, making each cupcake feel special.
Subtle tartness from fresh cherries balances the sugary frosting perfectly.
Whip up these treats and watch smiles spread faster than cherry filling.
Cherry Pie Cupcakes That Surprise And Delight
Cherry Pie Cupcake Ingredient Shopping List
Base Ingredients:Baking Essentials:Optional Toppings:Steps To Sweet Cherry Pie Cupcakes Today
Step 1: Mix Cake Batter Magic
Grab your favorite cake mix and follow the box instructions carefully.
Whisk the ingredients together until smooth and creamy, creating a delightful base for your cupcake adventure.
Step 2: Prepare Cupcake Tray
Line your cupcake tray with colorful or classic cupcake liners.
This will help prevent sticking and make your cupcakes look extra special.
Step 3: Fill Cupcake Liners
Pour the cake batter into each liner, filling them about two-thirds full.
This allows room for the cupcakes to rise beautifully without overflowing.
Step 4: Add Cherry Surprise
Gently spoon a delicious dollop of cherry pie filling right into the center of each cupcake batter.
The filling will create a luscious surprise when you bite into the cupcake.
Step 5: Bake to Perfection
Place the cupcake tray in the preheated oven.
Bake according to the cake mix box instructions.
To check doneness, insert a toothpick into the cake portion – it should come out clean.
Step 6: Cool and Chill
Remove the cupcakes from the oven and let them cool completely on a wire rack.
Patience is key to letting these treats set perfectly.
Step 7: Optional Fancy Finish
For an extra touch of deliciousness, top your cupcakes with:Serve and enjoy your Cherry Pie Cupcake Wonderland!
Pro Tips For Cherry Pie Cupcake Baking
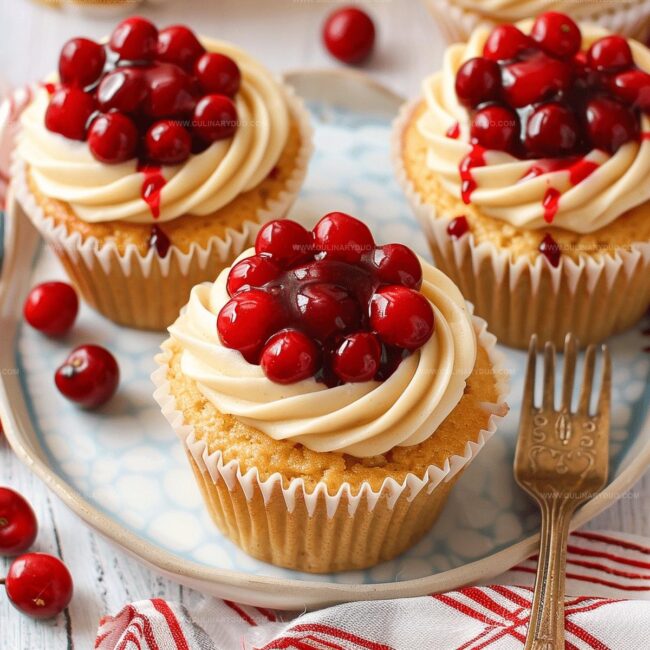
Cupcake Variations With Cherry Pie Fun
How To Serve Cherry Pie Cupcakes Best
Storing Cherry Pie Cupcakes For Tomorrow
FAQs
Yes, absolutely! Homemade cherry pie filling can add a more fresh and personalized touch to your cupcakes.
Lightly coat the cherry filling with a bit of flour before adding it to the batter. This helps the filling stay suspended in the cupcake during baking.
You can easily substitute the regular cake mix with a gluten-free cake mix to create a gluten-free version of these delicious cupcakes.
Yes, these cupcakes freeze well. Wrap them individually in plastic wrap and store in an airtight container for up to 3 months.
Print
Cherry Pie Cupcakes Recipe
- Total Time: 40 minutes
- Yield: 12 1x
Description
Sweet cherry pie cupcakes bring nostalgic bakery charm straight to home kitchens with classic American dessert magic. Rich buttercream and tender cake layers combine perfectly, delivering delightful cherry-packed bites you cannot resist.
Ingredients
Main Ingredients:
- 1 box Betty Crocker white cake mix
- 1 can (21 ounces/595 grams) cherry pie filling
Topping Ingredients:
- Whipped cream or ice cream (optional)
Instructions
- Heat oven to temperature specified on cake mix package.
- Prepare cake mix following package directions, ensuring smooth, consistent batter.
- Place cupcake liners in standard muffin tin, creating uniform spacing.
- Pour cake batter into liners, filling approximately two-thirds of each cavity.
- Delicately spoon cherry pie filling into the center of each cupcake, creating a hidden fruity core.
- Transfer cupcake tray to preheated oven and bake according to cake mix instructions until inserted toothpick emerges clean.
- Remove from oven and allow cupcakes to cool completely at room temperature.
- For enhanced presentation, garnish with dollop of whipped cream or serve alongside vanilla ice cream.
Notes
- Experiment with homemade cake mix for a more authentic, less processed flavor profile.
- Ensure cherry pie filling is evenly distributed by using a small spoon or cookie scoop for precise placement.
- Consider adding a dash of almond extract to the cake batter to enhance the cherry flavor and create a more complex taste.
- If serving for dietary restrictions, swap traditional cake mix with gluten-free or vegan alternatives for inclusive enjoyment.
- Prep Time: 15 minutes
- Cook Time: 25 minutes
- Category: Desserts
- Method: Baking
- Cuisine: American
Nutrition
- Serving Size: 12
- Calories: 260 kcal
- Sugar: 30 g
- Sodium: 290 mg
- Fat: 8 g
- Saturated Fat: 3.5 g
- Unsaturated Fat: 4 g
- Trans Fat: 0.1 g
- Carbohydrates: 42 g
- Fiber: 1 g
- Protein: 2 g
- Cholesterol: 35 mg
Natalie Brooks
Co-Founder & Content Strategist
Expertise
Education
eCornell
Natalie brings the vibrant, plant-powered side to Culinary Duo. After earning her Plant-Based Nutrition Certificate from eCornell, she combined her love for fresh ingredients with a passion for storytelling, aiming to make healthy cooking simple and satisfying.
Her kitchen motto: good food doesn’t need a fancy label, it just needs fresh ideas and a little creativity. Outside of writing and recipe testing, Natalie’s happiest in her garden, exploring farmers’ markets, or mixing global flavors into new kitchen experiments.