
The Ultimate Chocolate Cake Roll Recipe: Fluffy & Decadent Bliss
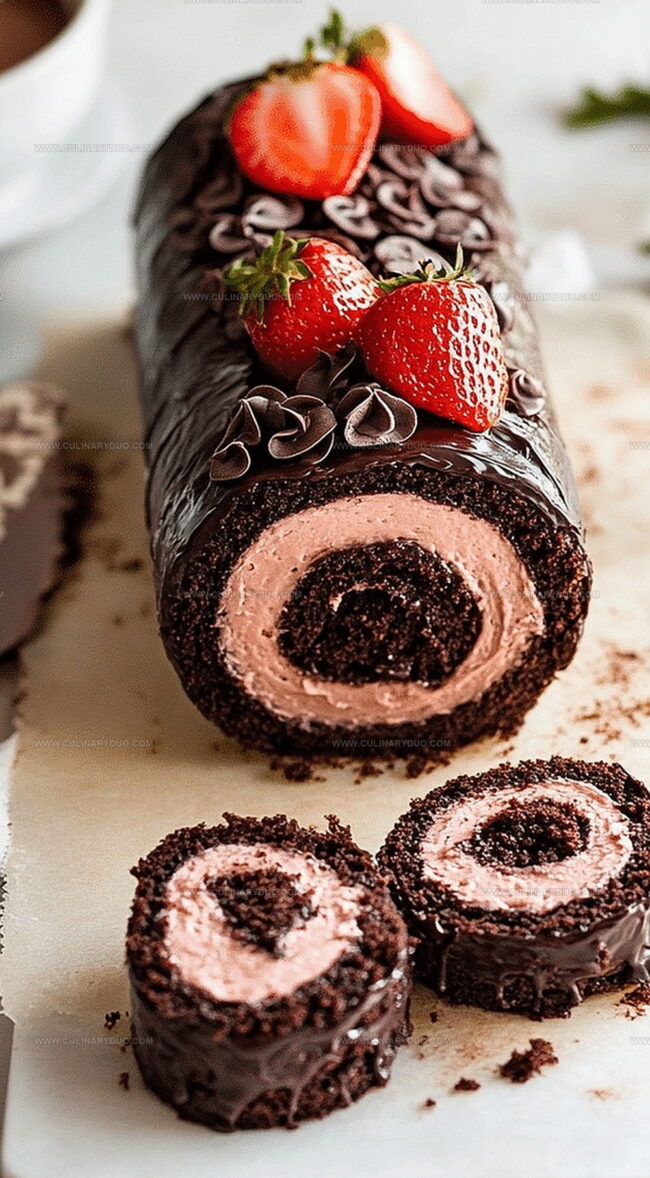
Decadent desserts often surprise us with their elegant simplicity, and this chocolate cake roll recipe weaves magic into every delectable slice.
Soft chocolate sponge transforms into a delightful spiral that melts in your mouth.
Rich cream filling adds luxurious depth to each tender bite.
Professional bakers and home cooks alike adore this show-stopping dessert that looks complex but comes together with surprising ease.
The rolling technique might seem intimidating, yet becomes second nature after one attempt.
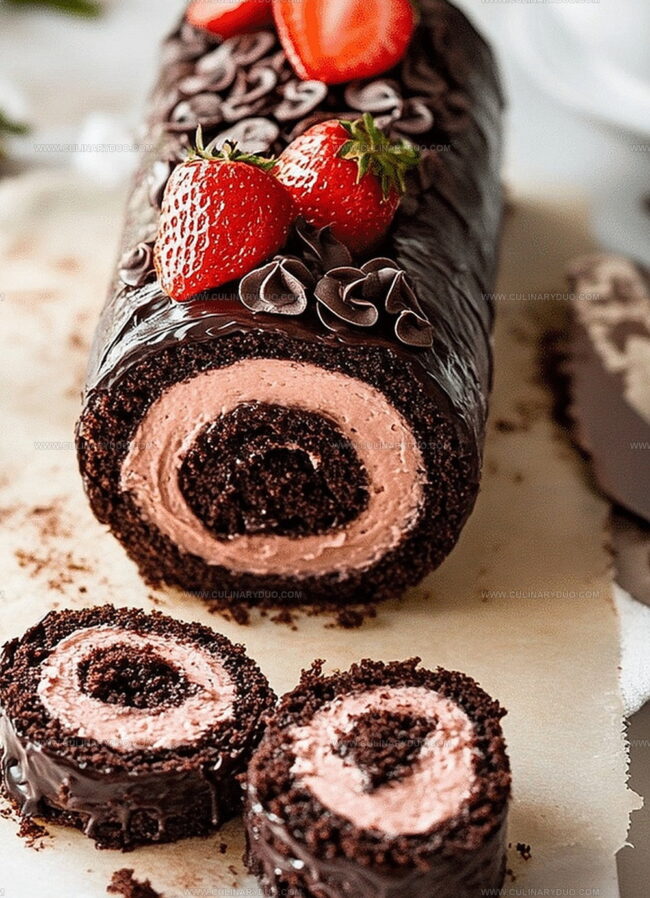
Chocolate enthusiasts will fall in love with this classic Swiss-style roll that promises to become a new favorite in your dessert repertoire.
You won’t be able to resist cutting a slice of this beautiful chocolate masterpiece.
Chocolate Cake Roll – Why It’s a Favorite
Chocolate Cake Roll Ingredient Checklist
Cake Base:Liquid Ingredients:Filling and Dusting:Rolling Up a Chocolate Cake Roll Easily
Step 1: Prepare Baking Pan and Oven
Preheat the oven to 350°F.
Line a jelly roll pan with parchment paper, making sure it covers the pan completely with smooth edges for easy cake removal.
Step 2: Mix Dry Ingredients
In a mixing bowl, whisk together flour, cocoa powder, baking powder, and salt until lumps are gone and the mixture is uniform.
Step 3: Blend Wet Ingredients
Beat eggs and sugar until thick and pale yellow.
Add vanilla extract, vegetable oil, and milk, mixing until smooth and fully combined.
Step 4: Combine Cake Batter
Gently fold the dry ingredients into the wet mixture using a spatula.
Mix carefully to avoid flour pockets, blending until the batter is smooth and evenly colored.
Step 5: Bake Cake Base
Pour the batter into the prepared pan and spread evenly.
Bake for 10-12 minutes until the cake springs back when touched and edges start to pull away from the pan.
Step 6: Create Cake Roll Shape
Dust a clean kitchen towel with powdered sugar.
Turn the warm cake onto the towel and gently roll it from the short end.
Let it cool completely while rolled.
Step 7: Prepare Whipped Cream Filling
Whip heavy cream with powdered sugar and vanilla extract until stiff peaks form, creating a light, fluffy filling.
Step 8: Assemble Chocolate Cake Roll
Unroll the cooled cake carefully.
Spread the whipped cream evenly over the surface, then re-roll gently to form a tight but not compressed roll.
Dust with powdered sugar before serving.
Tips for a Perfectly Rolled Cake
Fun Variations for Cake Roll Fillings
How to Serve a Chocolate Cake Roll
Storing Chocolate Cake Rolls to Keep Them Fresh
FAQs
Yes, you can prepare the cake roll a day in advance. Wrap it tightly in plastic wrap and store in the refrigerator until ready to serve.
No, the recipe uses regular flour. To make it gluten-free, you’ll need to substitute the all-purpose flour with a gluten-free flour blend.
Roll the cake while it’s still warm and use a clean towel dusted with powdered sugar to help prevent cracking. Be gentle and roll from the short end.
Yes, you can freeze the cake roll for up to 2 months. Wrap it securely in plastic wrap and then in aluminum foil before freezing.
Print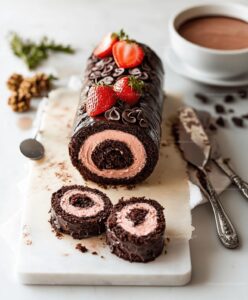
Chocolate Cake Roll Recipe
- Total Time: 32 minutes
- Yield: 8 1x
Description
Indulgent chocolate cake roll from Swiss pastry traditions weaves rich cocoa charm through delicate sponge layers. Sweet spirals of creamy filling invite chocolate enthusiasts to savor each luxurious, silky bite.
Ingredients
Cake Base:
- 4 large eggs
- 3/4 cup (170 grams) granulated sugar
- 3/4 cup (90 grams) all-purpose flour
- 1/4 cup (25 grams) cocoa powder
- 1 teaspoon baking powder
- 1/4 teaspoon salt
Liquid Ingredients:
- 1 teaspoon vanilla extract
- 2 tablespoons vegetable oil
- 1/4 cup (60 milliliters) milk
Cream and Dusting:
- 1 cup (240 milliliters) heavy whipping cream
- 2 tablespoons powdered sugar
- Powdered sugar (for dusting)
Instructions
- Prepare the oven at 350°F and line a jelly roll pan with parchment paper, ensuring complete coverage.
- Combine flour, cocoa powder, baking powder, and salt in a mixing bowl, whisking thoroughly to eliminate any lumps.
- In a separate large bowl, vigorously beat eggs and sugar until the mixture becomes pale and forms thick ribbons when lifted.
- Incorporate vanilla, oil, and milk into the egg mixture, blending until smooth and uniform.
- Delicately fold dry ingredients into the wet mixture, using gentle circular motions to maintain the batter’s airiness.
- Transfer batter to the prepared pan, using a spatula to spread evenly and create a thin, consistent layer.
- Bake for 10-12 minutes, checking for a springy texture and slight pulling away from pan edges.
- Immediately after removing from oven, dust a clean kitchen towel with powdered sugar and carefully transfer the warm cake onto it.
- Gently roll the cake with the towel, starting from the short end, and allow to cool completely to room temperature.
- Whip heavy cream with powdered sugar and vanilla until stiff, glossy peaks form, creating a light and airy filling.
- Carefully unroll the cooled cake, spread the whipped cream filling evenly, and re-roll without the towel.
Notes
- Dust the towel generously with powdered sugar to prevent the cake from sticking and make unrolling easier.
- Allow the cake to cool completely before filling to ensure the cream doesn’t melt and maintains its structure.
- For a gluten-free version, swap regular flour with almond or gluten-free flour blend, keeping the same measurements.
- Try different cream fillings like chocolate ganache, fruit preserves, or flavored whipped cream to add variety and personal touch.
- Prep Time: 20 minutes
- Cook Time: 12 minutes
- Category: Desserts
- Method: Baking
- Cuisine: American
Nutrition
- Serving Size: 8
- Calories: 214 kcal
- Sugar: 18 g
- Sodium: 120 mg
- Fat: 14 g
- Saturated Fat: 6 g
- Unsaturated Fat: 7 g
- Trans Fat: 0.1 g
- Carbohydrates: 22 g
- Fiber: 2 g
- Protein: 4 g
- Cholesterol: 85 mg
Natalie Brooks
Co-Founder & Content Strategist
Expertise
Education
eCornell
Natalie brings the vibrant, plant-powered side to Culinary Duo. After earning her Plant-Based Nutrition Certificate from eCornell, she combined her love for fresh ingredients with a passion for storytelling, aiming to make healthy cooking simple and satisfying.
Her kitchen motto: good food doesn’t need a fancy label, it just needs fresh ideas and a little creativity. Outside of writing and recipe testing, Natalie’s happiest in her garden, exploring farmers’ markets, or mixing global flavors into new kitchen experiments.