Homemade Cinnamon Cream Cheese Rolls Recipe – Sweet Morning Joy
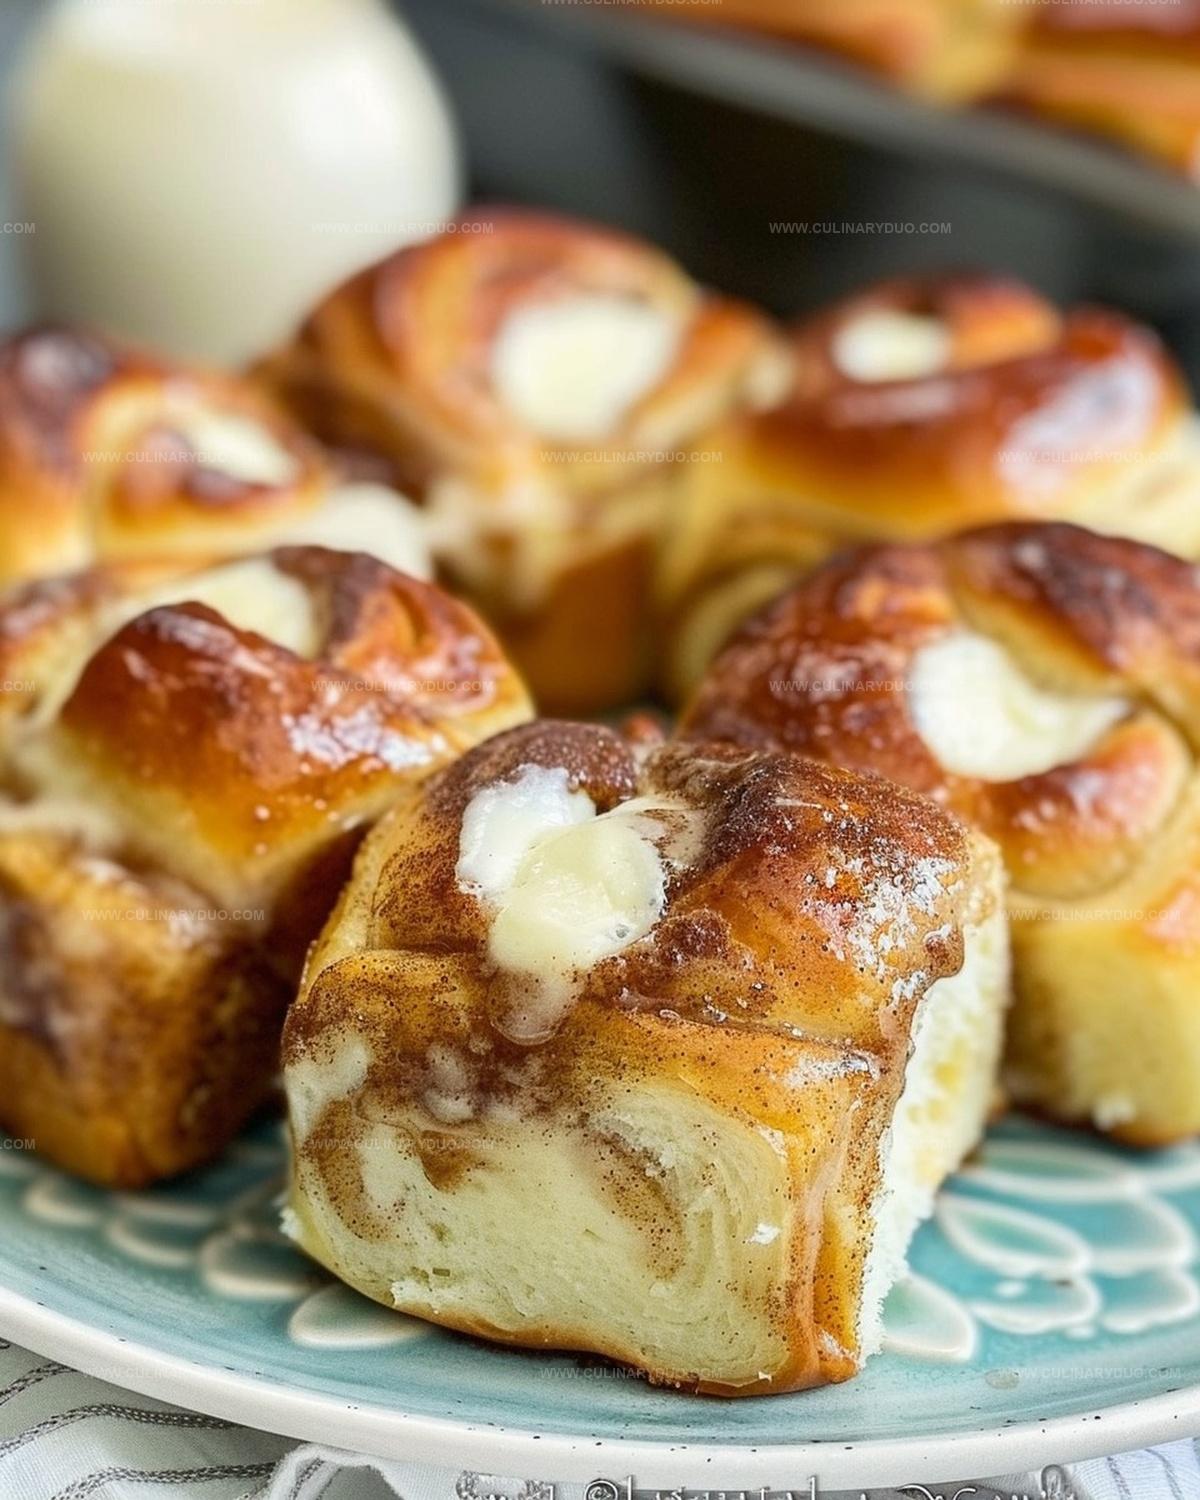
Warm, gooey cinnamon cream cheese rolls dance with decadent flavors that promise pure comfort.
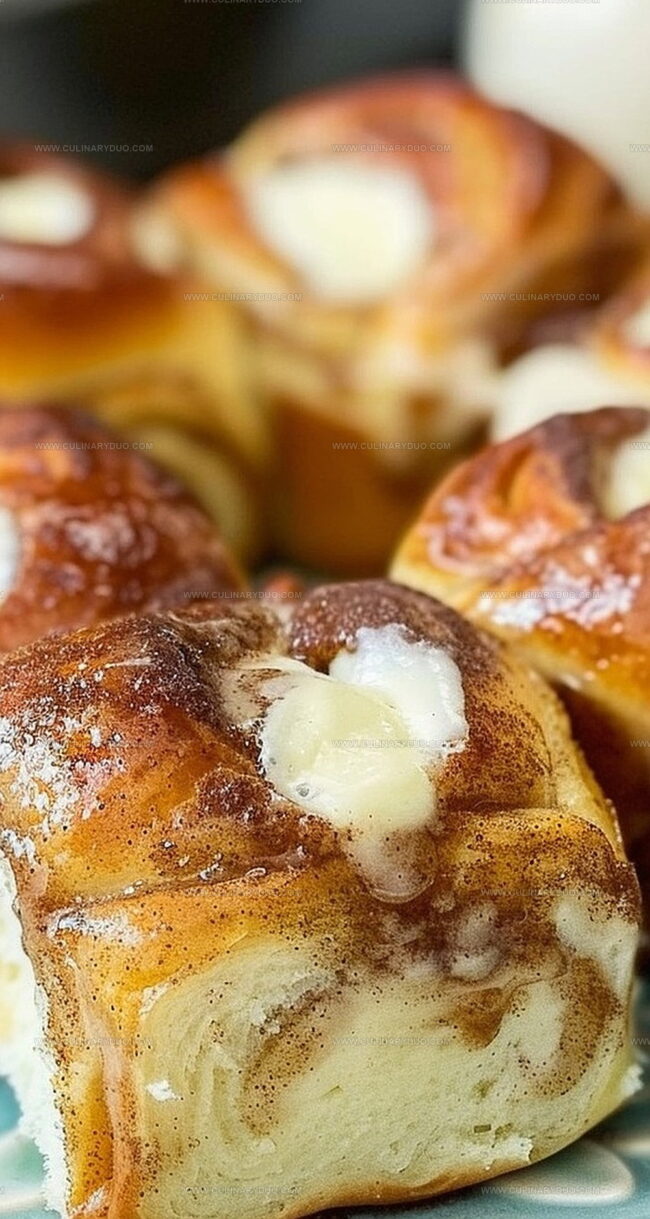
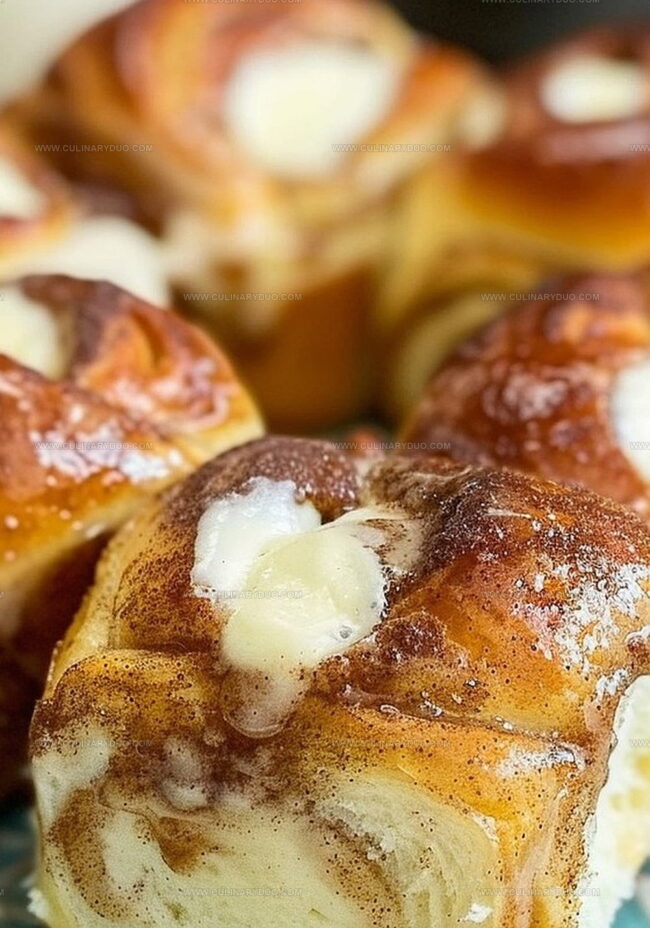
Soft dough swirls around a rich cream cheese filling, creating an irresistible center that melts in your mouth.
Sweet spices weave through each delicate layer, promising a breakfast treat that feels like a warm hug.
The aroma of freshly baked pastry will drift through your kitchen, tempting everyone nearby.
Delicate spirals of dough promise a texture that’s both tender and indulgent.
Golden-brown edges hint at the deliciousness waiting inside these rolls.
Bake these rolls and watch as your morning transforms into a celebration of simple, sweet pleasures.
Why Cinnamon Cream Cheese Rolls Steal Hearts
Gather What You Need For Cream Cheese Rolls
Main Ingredients:Spices and Sweeteners:Binding Ingredients:Create Magic: Making Cinnamon Cream Cheese Rolls
Step 1: Prepare Baking Dish and Oven
Preheat the oven to 375°F.
Grease a 9×13-inch baking dish generously with melted butter to prevent sticking.
Step 2: Slice and Prepare Rolls
Cut an X-shaped pocket about two-thirds deep into the center of each roll to create space for the filling.
Step 3: Create Cinnamon Sugar Coating
In a mixing bowl, combine melted butter, brown sugar, ground cinnamon, and nutmeg.
Stir until smooth and fragrant.
Drizzle this mixture evenly over the prepared rolls.
Step 4: Whip Cream Cheese Filling
Beat cream cheese in a separate bowl until silky smooth.
Gradually fold in granulated sugar and beaten egg until creamy and well blended.
Step 5: Fill Rolls with Cream Cheese
Using a piping bag or a zip-top bag with a snipped corner, carefully pipe the cream cheese filling into the X-shaped cuts of each roll, distributing evenly.
Step 6: Bake to Golden Perfection
Bake the rolls in the preheated oven for 12 to 15 minutes until golden and the filling is set.
Step 7: Cool and Serve
Let the rolls cool slightly before serving.
Enjoy them warm for a decadent cinnamon and cream cheese treat.
Secrets For Fluffy, Swirled Cream Cheese Rolls
Mix Up Your Cinnamon Cream Cheese Roll Style
Serve Cream Cheese Rolls With A Twist
Keep Your Cream Cheese Rolls Soft & Fresh
FAQs
Yes, you can substitute with homemade yeast dough. Just ensure the dough is soft and pliable before filling and baking.
Cut about two-thirds deep into each roll, creating a pocket for the cream cheese filling without cutting completely through.
You can assemble the rolls the night before, cover and refrigerate, then bake fresh in the morning for a quick breakfast treat.
Use full-fat, room temperature cream cheese for the smoothest and richest filling consistency.
Print
Cinnamon Cream Cheese Rolls Recipe
- Total Time: 35 minutes
- Yield: 12 1x
Description
Indulgent cinnamon cream cheese rolls deliver a symphony of sweet comfort from classic bakery traditions. Warm, gooey pastry layers melt with rich cream cheese and spicy cinnamon, promising delightful moments you’ll savor with each delectable bite.
Ingredients
Main Ingredients:
- 12 Hawaiian sweet rolls (King’s brand preferred)
- 8 ounces cream cheese (softened)
- 1 large egg (beaten)
Butter and Sugar:
- 1/3 cup butter (melted)
- 1 tablespoon butter (melted for greasing)
- 2 tablespoons brown sugar
- 3 tablespoons granulated sugar
Spices:
- 1/2 tablespoon ground cinnamon
- 1/8 teaspoon ground nutmeg (optional)
Instructions
- Warm the oven to 375°F and coat a 9×13-inch baking dish with melted butter, ensuring complete surface coverage.
- Position the rolls in the prepared dish, carefully creating a deep X-shaped incision in each roll, cutting approximately two-thirds through.
- Craft a luxurious topping by whisking together melted butter, brown sugar, cinnamon, and nutmeg until thoroughly combined and glossy.
- Drizzle the aromatic sugar mixture evenly across the prepared rolls, allowing the flavors to cascade into the X-shaped openings.
- Prepare the cream cheese filling by whipping the cream cheese until silky smooth and gently incorporating granulated sugar and beaten egg into a uniform mixture.
- Transfer the cream cheese mixture into a piping bag or zip-top bag with a snipped corner, then methodically fill each roll’s X-cut with the creamy mixture.
- Slide the dish into the preheated oven and bake for 12-15 minutes, watching for a golden-brown exterior and set fillings.
- Remove from the oven and allow the rolls to rest briefly, letting the flavors meld and slightly cool before serving.
Notes
- Soften cream cheese at room temperature for easy mixing and smooth consistency.
- Avoid overfilling rolls to prevent spillage during baking and ensure even cooking.
- Use parchment paper for easier cleanup and preventing rolls from sticking to the baking dish.
- Adjust spice levels by increasing or decreasing cinnamon and nutmeg to suit personal taste preferences.
- Prep Time: 20 minutes
- Cook Time: 15 minutes
- Category: Breakfast, Snacks, Desserts
- Method: Baking
- Cuisine: American
Nutrition
- Serving Size: 12
- Calories: 220 kcal
- Sugar: 13 g
- Sodium: 150 mg
- Fat: 10 g
- Saturated Fat: 6 g
- Unsaturated Fat: 3 g
- Trans Fat: 0.2 g
- Carbohydrates: 28 g
- Fiber: 1 g
- Protein: 4 g
- Cholesterol: 40 mg
Natalie Brooks
Co-Founder & Content Strategist
Expertise
Education
eCornell
Natalie brings the vibrant, plant-powered side to Culinary Duo. After earning her Plant-Based Nutrition Certificate from eCornell, she combined her love for fresh ingredients with a passion for storytelling, aiming to make healthy cooking simple and satisfying.
Her kitchen motto: good food doesn’t need a fancy label, it just needs fresh ideas and a little creativity. Outside of writing and recipe testing, Natalie’s happiest in her garden, exploring farmers’ markets, or mixing global flavors into new kitchen experiments.