Dreamy Coffee Mousse Recipe: A Silky Treat for Coffee Lovers
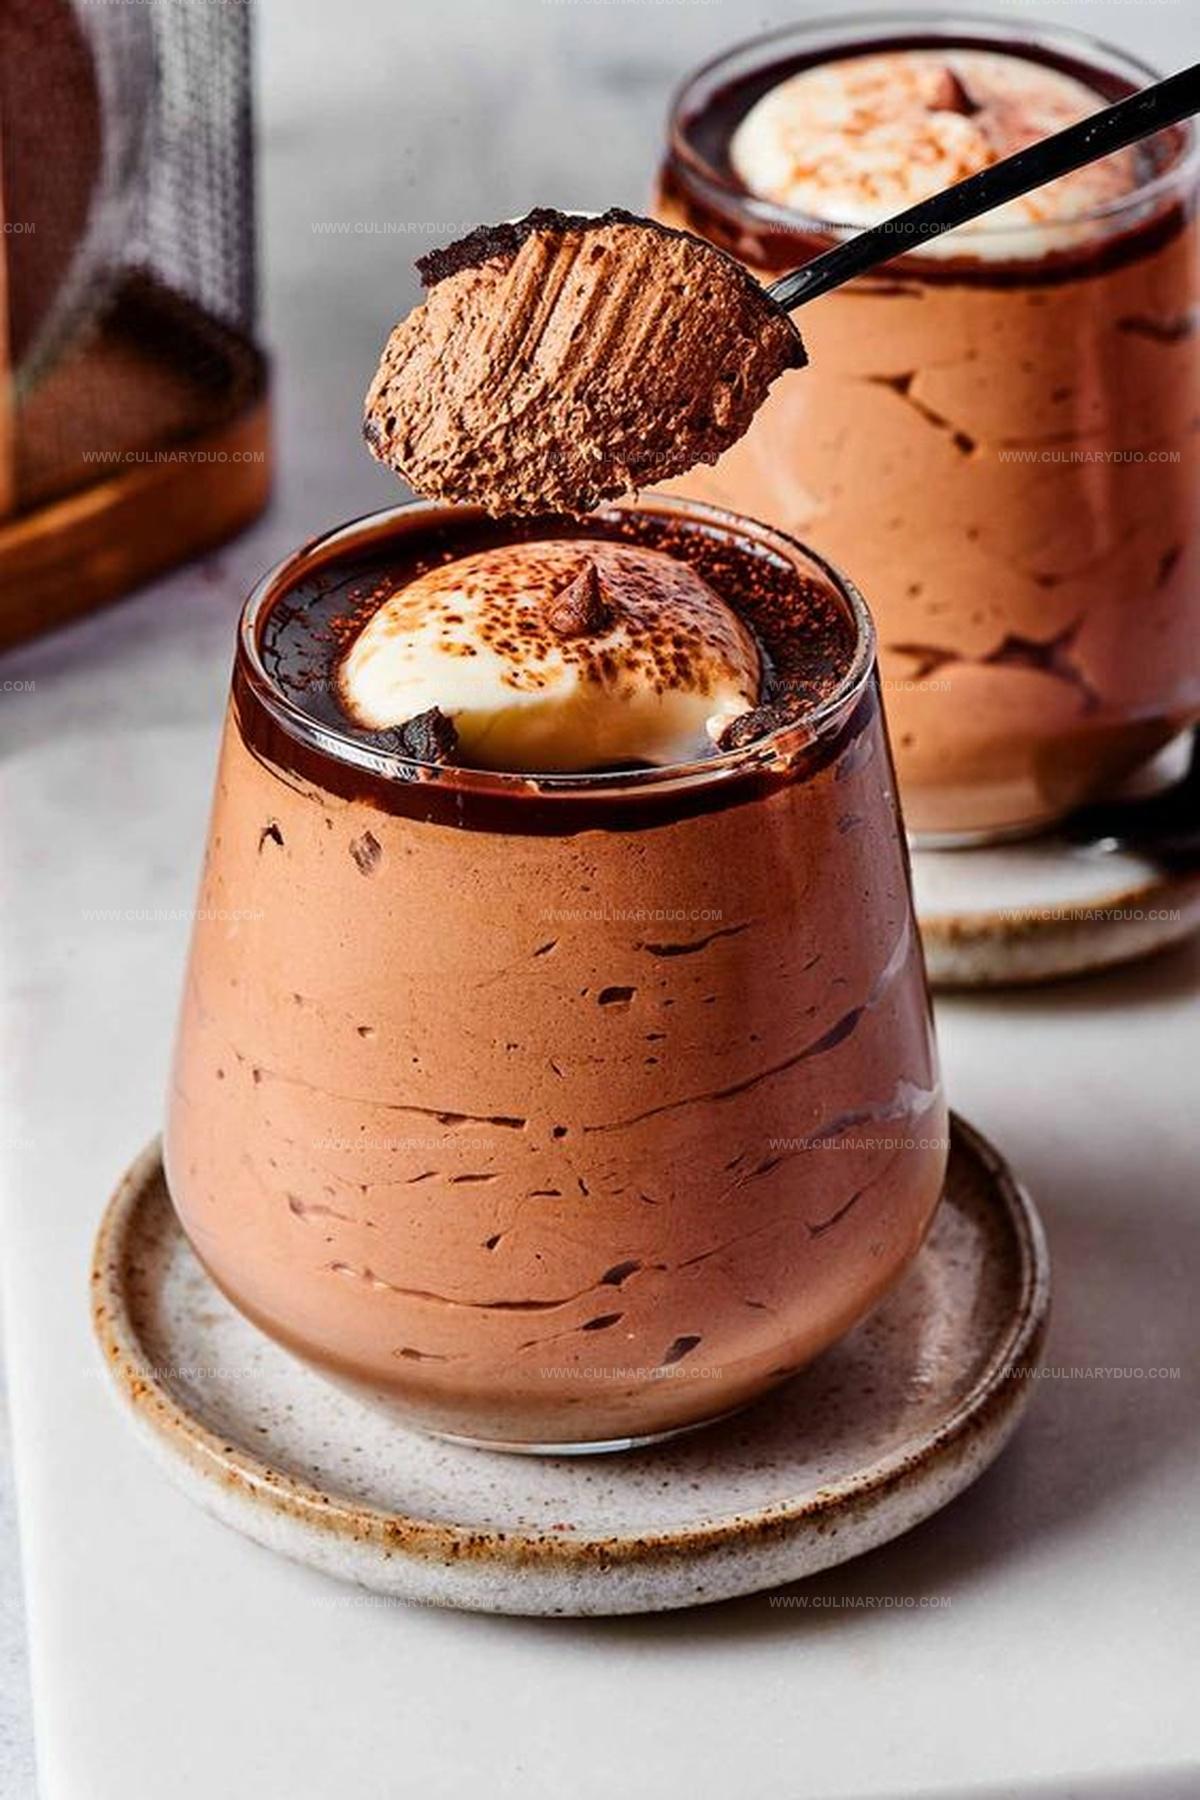
Creamy and decadent, this silky coffee mousse recipe delivers a luxurious dessert that melts on your tongue.
Dark roasted beans infuse each spoonful with deep, rich flavor.
The smooth texture glides across your palate with elegant complexity.
Chocolate lovers and coffee enthusiasts will adore this elegant treat that balances sweetness and intense coffee notes.
Whipping up this dessert takes less than thirty minutes, making it perfect for spontaneous gatherings.
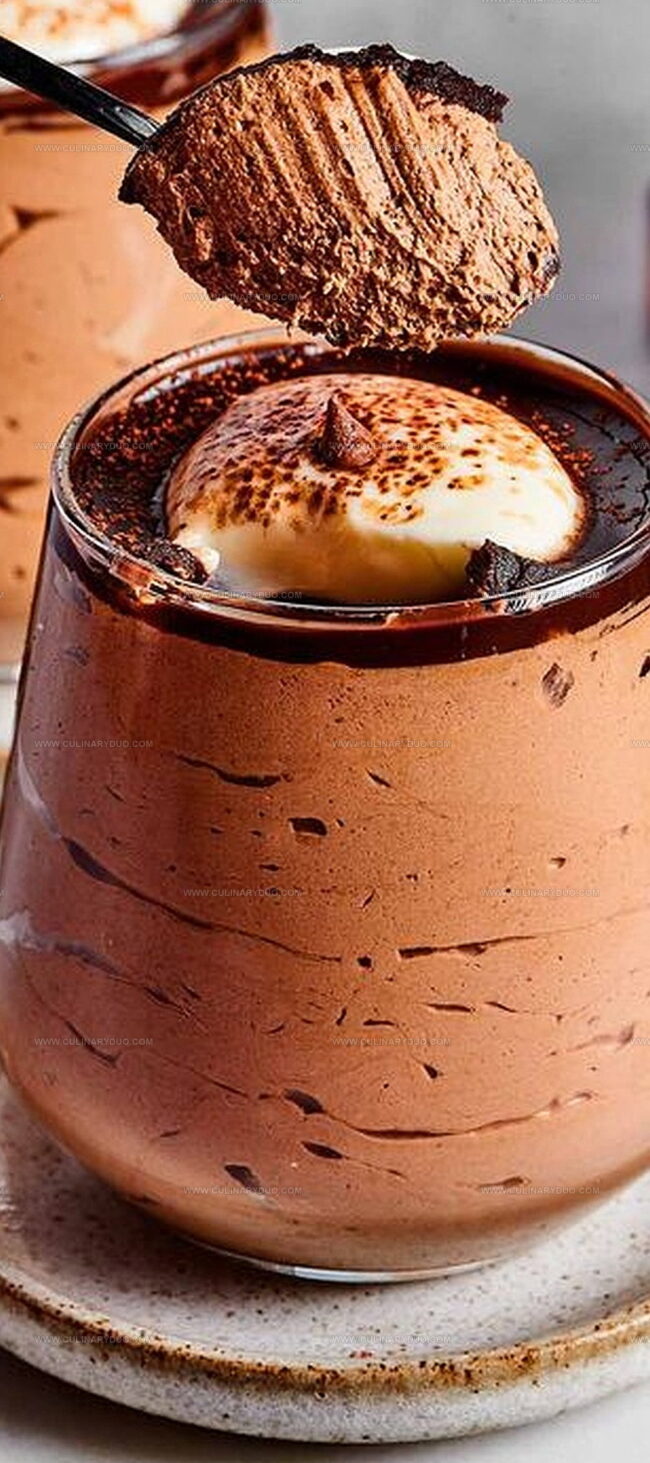
Each delicate serving promises a sophisticated culinary experience that transforms an ordinary evening into something extraordinary.
Indulge in this heavenly dessert that captures the essence of your favorite coffee in a cloud-like confection.
Coffee Mousse: A Treat For The Senses
What Goes Into A Silky Coffee Mousse?
Main Ingredients:Flavor Enhancers:Garnish Options:The Method: How To Master Coffee Mousse

Step 1: Prepare Cold Cream
Chill a metal or Pyrex mixing bowl in the refrigerator overnight.
Pour cold heavy cream into the chilled bowl and whip using an electric mixer until stiff peaks form.
The cold environment helps create perfect whipped cream with maximum volume.
Step 2: Create Coffee Chocolate Base
In a separate large bowl, blend:Stir these ingredients until smooth and well combined, creating a rich flavor foundation for the mousse.
Step 3: Gently Fold Cream
Incorporate the whipped cream into the coffee-chocolate mixture carefully.
Add the cream in small batches, using a folding motion to maintain the mousse’s light and airy texture.
This technique prevents deflating the delicate whipped cream.
Step 4: Enhance Flavor
Sprinkle a tiny pinch of salt into the mixture.
This secret ingredient awakens the deep chocolate and coffee notes, creating a more complex and sophisticated taste profile.
Step 5: Chill and Set
Transfer the mousse into individual serving glasses or bowls.
Place in the refrigerator for at least two hours, allowing the dessert to set and develop its creamy consistency.
Step 6: Personalize Presentation
Optional garnish ideas:These toppings add visual appeal and extra flavor layers to your dessert.
Step 7: Serve and Enjoy
Serve the mousse in coffee mugs for a classic presentation that mimics a traditional coffee experience.
This unexpected twist delights guests and creates a memorable dessert moment.
Mousse Mastery: Tips For Coffee Dessert Success
Flavorful Additions To Transform Coffee Mousse
Serve Coffee Mousse With Flair & Fun
Chill & Keep Coffee Mousse Perfectly Fresh
FAQs
Yes, you can skip the chocolate and still create a delicious coffee-flavored mousse with whipped cream, milk, and powdered sugar.
Absolutely! Instant coffee works perfectly and dissolves easily in the milk, providing a strong coffee flavor for the mousse.
The coffee flavor depends on how much instant coffee or brewed coffee you add. Start with a small amount and adjust to your preference for a mild or bold taste.
Yes, use dairy-free alternatives like coconut cream, plant-based milk, and vegan chocolate to create a dairy-free version of this coffee mousse.
Print
Coffee Mousse Recipe
- Total Time: 2 hours 15 minutes
- Yield: 4 1x
Description
Silky coffee mousse elevates dessert expectations with its rich, creamy texture. Espresso-infused clouds of indulgence melt seamlessly on your palate, promising a luxurious finale to any elegant meal.
Ingredients
Main Ingredients:
- 4 ounces (113 grams) dark chocolate, melted and cooled
- 1 cup (240 milliliters) heavy cream
- 1/4 cup (60 milliliters) espresso or strong coffee, cooled
Sweeteners:
- 1/4 cup (30 grams) confectioners’ sugar
Liquid Components:
- 1/2 cup (120 milliliters) milk
Instructions
- Chill the metal mixing bowl and whisk in the refrigerator for optimal whipped cream preparation, ideally the night before creating the mousse.
- Whip cold heavy cream until stiff, structured peaks form, creating a light and voluminous base.
- In a separate large bowl, blend cooled coffee with melted chocolate, powdered sugar, and a tiny pinch of salt to enhance flavor complexity.
- Carefully incorporate the whipped cream into the coffee-chocolate mixture, folding gently in small batches to maintain airiness and prevent deflation.
- Transfer the silky mousse into individual serving glasses or decorative bowls, ensuring even distribution.
- Refrigerate the mousse for a minimum of two hours, allowing it to set and develop a luxurious, creamy texture.
- Optional: Embellish with a sprinkle of cocoa powder, whole coffee beans, or a delicate dusting of ground cinnamon just before serving.
- For storage, cover each serving with plastic wrap and refrigerate up to two weeks, maintaining optimal freshness.
- Freezing is possible: transfer mousse to airtight containers and store for up to six months, thawing overnight in the refrigerator before consumption.
- Enjoy this versatile dessert as a sophisticated alternative to traditional after-dinner beverages, offering a rich and indulgent coffee-infused experience.
Notes
- Chill equipment thoroughly to ensure perfectly whipped cream with maximum volume and stability.
- Use high-quality chocolate and freshly brewed coffee for the most intense, rich flavor profile.
- Try alternative milks like almond or oat for a dairy-free version that doesn’t compromise on creaminess.
- Control caffeine levels by adjusting coffee strength or using decaf for a late-night dessert option that won’t disrupt sleep.
- Prep Time: 15 minutes
- Cook Time: 2 hours
- Category: Desserts
- Method: Refrigerating
- Cuisine: French
Nutrition
- Serving Size: 4
- Calories: 302 kcal
- Sugar: 20 g
- Sodium: 35 mg
- Fat: 23 g
- Saturated Fat: 14 g
- Unsaturated Fat: 8 g
- Trans Fat: 0.2 g
- Carbohydrates: 19 g
- Fiber: 2 g
- Protein: 3 g
- Cholesterol: 78 mg
Natalie Brooks
Co-Founder & Content Strategist
Expertise
Education
eCornell
Natalie brings the vibrant, plant-powered side to Culinary Duo. After earning her Plant-Based Nutrition Certificate from eCornell, she combined her love for fresh ingredients with a passion for storytelling, aiming to make healthy cooking simple and satisfying.
Her kitchen motto: good food doesn’t need a fancy label, it just needs fresh ideas and a little creativity. Outside of writing and recipe testing, Natalie’s happiest in her garden, exploring farmers’ markets, or mixing global flavors into new kitchen experiments.