Scrumptious Crumb-Topped Cherry Pie Bars Recipe for Sweet Fans
Sweet memories flood back when I think about these delightful crumb-topped cherry pie bars that blend nostalgia with pure deliciousness.
Grandma’s kitchen always smelled incredible when she baked similar treats during summer afternoons.
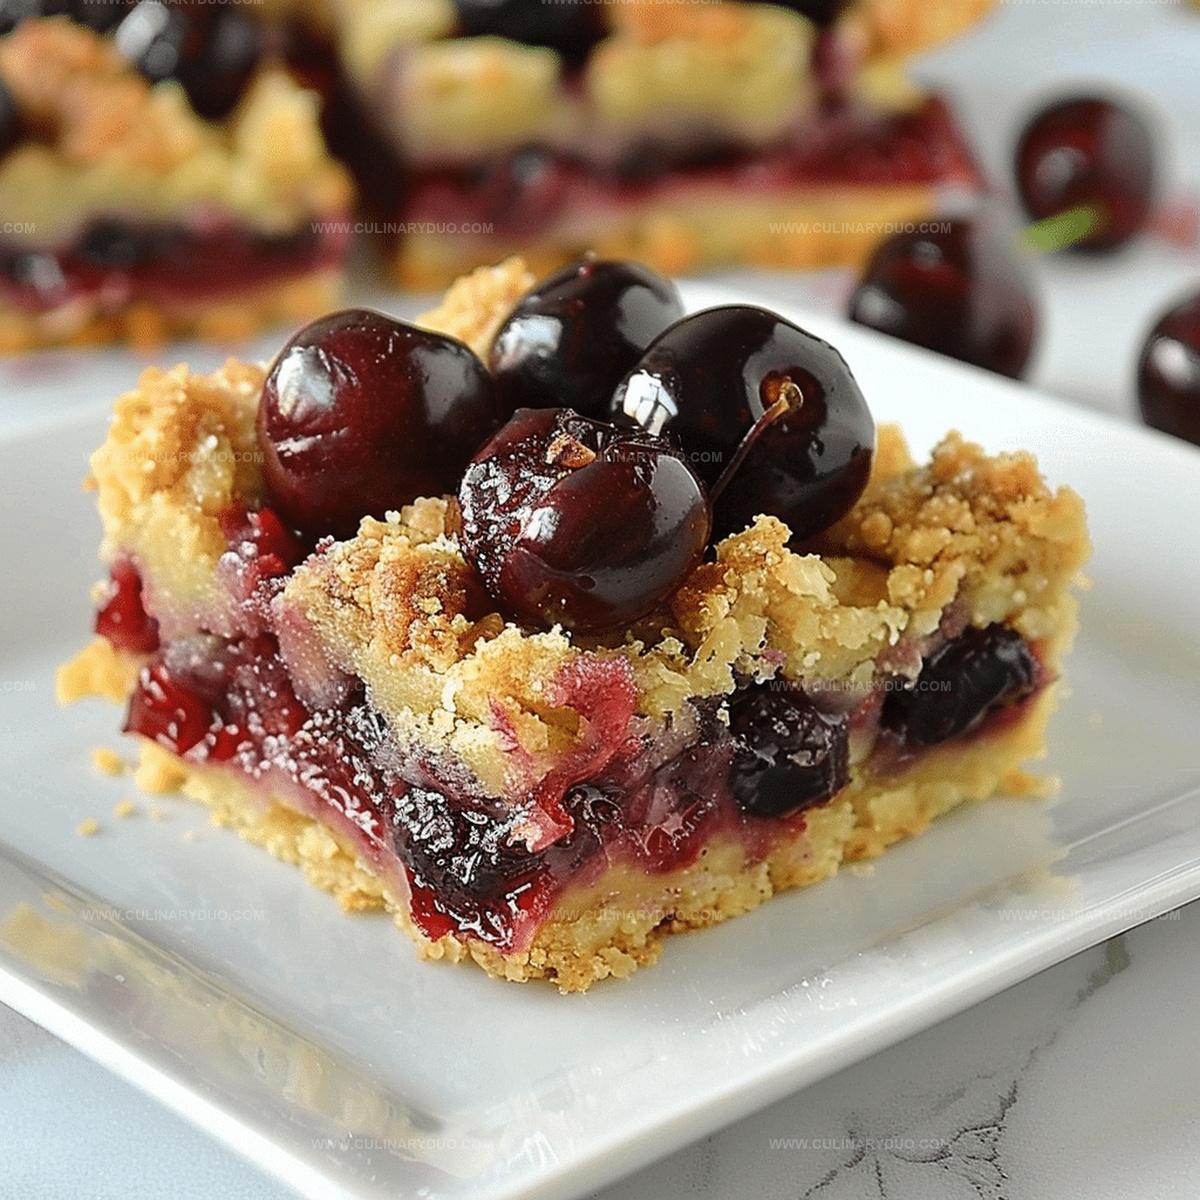
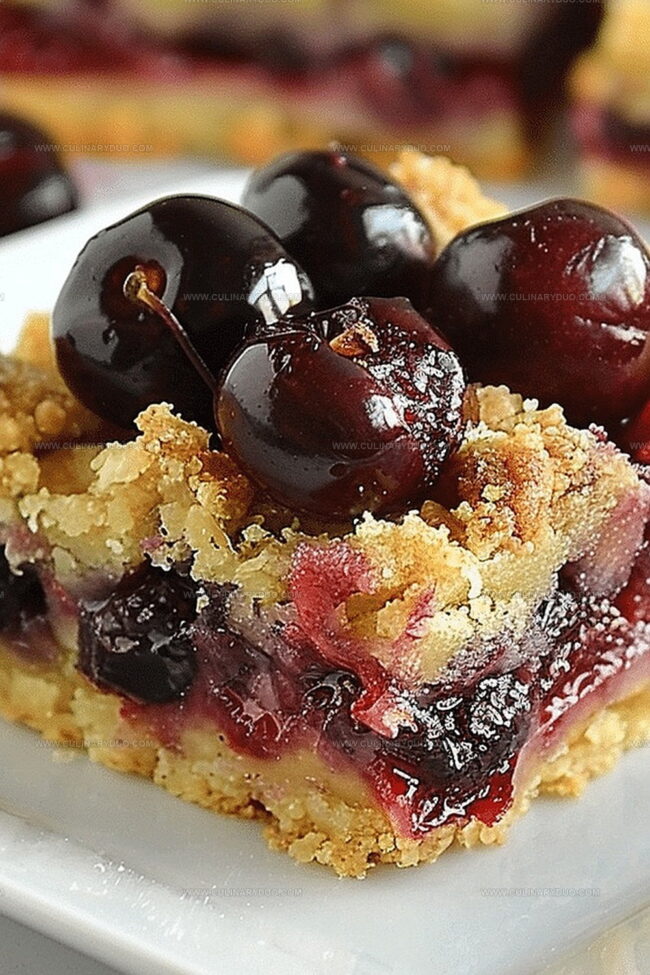
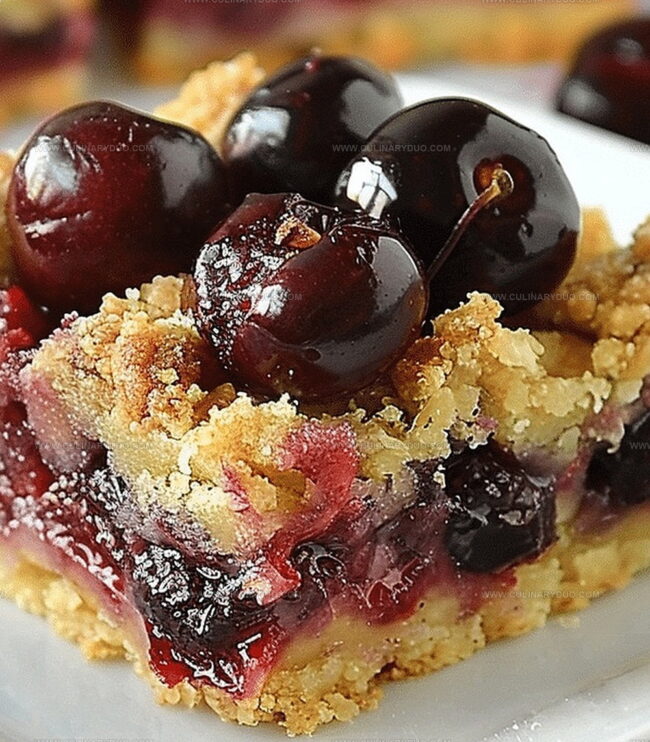
Tart cherries nestled beneath a buttery, golden crumb topping create a dessert that feels both comforting and elegant.
Soft, tender pastry provides the perfect foundation for bursting fruit flavors that dance across your palate.
Each bite promises a delicate balance between sweet and tangy notes that will make you close your eyes in pure satisfaction.
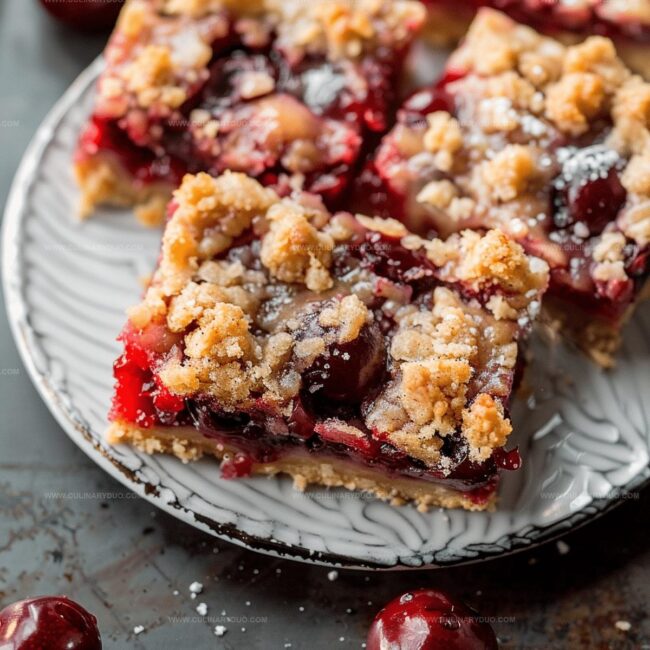
Crisp edges and a generous layer of crumbly topping ensure every slice looks as stunning as it tastes.
You can’t help but smile when these beautiful bars emerge from the oven, promising a delectable moment of pure culinary joy.
Crumb-Topped Cherry Pie Bars For Sweet Cravings
Ingredient List For Crumb Cherry Pie Bars
Base Ingredients:Filling Ingredients:Finishing Ingredients:Steps To Bake Crumb-Topped Pie Bars
Step 1: Prepare Baking Setup
Warm up your oven to 350F (177C).
Grab a 9×13-inch baking pan and line it with parchment paper, creating a smooth surface for your delicious cherry bars.
Step 2: Create Crumb Base
In a spacious mixing bowl, combine these ingredients:Stir everything together until well blended.
Step 3: Add Moisture Ingredients
Pour in melted butter and vanilla extract.
Mix thoroughly until the mixture becomes slightly crumbly and holds together.
Step 4: Form Crust and Topping
Set aside one cup of the crumb mixture for later.
Press the remaining mixture firmly into the prepared baking pan, creating an even base layer.
Step 5: Prepare Cherry Filling
In another bowl, mix:Combine ingredients until cherries are evenly coated.
Step 6: Assemble Bars
Spread the cherry filling smoothly across the crust layer, ensuring even distribution.
Step 7: Add Crumb Topping
Sprinkle the reserved crumb mixture over the cherry filling.
Add a few extra oats to the topping for extra crunch.
Step 8: Bake to Perfection
Slide the pan into the preheated oven.
Bake for 35-40 minutes until the top turns golden brown and cherry filling bubbles around the edges.
Step 9: Cool and Set
Remove from oven and let the bars cool completely on a wire rack.
This helps the filling set and makes cutting easier.
Step 10: Optional Drizzle
If desired, whip up a quick icing and drizzle over the cooled bars for an extra touch of sweetness.
Tips For Crunchy Crumb Topping On Bars
Creative Ways To Change Pie Bar Flavors
Serving Crumb Cherry Pie Bars For Dessert

Pie Bars Kept Fresh With Easy Storage
FAQs
The key ingredients include flour, oats, brown sugar, butter, frozen cherries, cornstarch, lemon juice, and optional icing sugar.
Yes, the recipe is vegetarian-friendly and contains no meat or animal-based proteins.
Fresh cherries can work, but you’ll need to adjust the cooking time and potentially reduce liquid since they release more moisture than frozen cherries.
The bars are done when the top turns golden brown and the cherry filling is visibly bubbling around the edges of the pan.
Print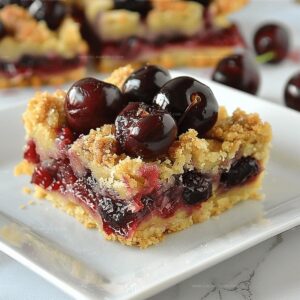
Crumb-Topped Cherry Pie Bars Recipe
- Total Time: 1 hour
- Yield: 9 1x
Description
Irresistible Cherry Pie Bars bring classic American dessert comfort to your kitchen with a delightful twist. Sweet cherries nestled in a buttery crust and crowned with a crumbly streusel topping promise pure baking bliss you’ll savor to the last crumb.
Ingredients
Main Ingredients:
- 1.5 cups (188g) all-purpose flour
- 1 cup (85g) old-fashioned whole rolled oats
- 1/2 cup (100g) packed light or dark brown sugar
- 10 tablespoons (142g) unsalted butter, melted
Additional Dry Ingredients:
- 2 tablespoons (11g) old-fashioned whole rolled oats
- 1 teaspoon baking powder
- 1 teaspoon lemon zest
- 1/8 teaspoon salt
Flavor Enhancers:
- 1 teaspoon pure vanilla extract
Instructions
- Prepare the oven at 350F (177C) and line a 9×13-inch baking pan with parchment paper, ensuring complete coverage.
- Create the base mixture by combining flour, oats, brown sugar, baking powder, lemon zest, and salt in a large mixing bowl.
- Incorporate melted butter and vanilla extract into the dry ingredients, stirring until a cohesive crumbly texture forms.
- Separate 1 cup of the mixture for the topping, then firmly press the remaining mixture into the prepared pan, creating an even base layer.
- Craft the cherry filling by blending cornstarch, frozen cherries, granulated sugar, lemon juice, and almond extract until well integrated.
- Distribute the cherry filling uniformly across the prepared crust, ensuring complete and even coverage.
- Enhance the reserved topping by mixing in additional oats, then generously sprinkle over the cherry filling.
- Bake for 35-40 minutes, watching for a golden-brown top and bubbling cherry filling as indicators of doneness.
- Allow the baked bars to cool completely within the pan, placed on a wire rack to ensure proper setting.
- Optional: Prepare and drizzle icing over the cooled bars for added sweetness and visual appeal.
Notes
- Choose frozen cherries at peak ripeness for the most vibrant flavor and intense color in your bars.
- Swap regular flour with gluten-free blend to make these bars celiac-friendly without compromising texture.
- Use quick-cooking oats for a more uniform crumb consistency that binds perfectly in the topping and base.
- Add a sprinkle of sliced almonds to the crumb topping for extra crunch and nutty depth that complements the cherry filling.
- Prep Time: 20 minutes
- Cook Time: 40 minutes
- Category: Desserts, Snacks
- Method: Baking
- Cuisine: American
Nutrition
- Serving Size: 9
- Calories: 165
- Sugar: 8 g
- Sodium: 45 mg
- Fat: 8 g
- Saturated Fat: 5 g
- Unsaturated Fat: 3 g
- Trans Fat: 0 g
- Carbohydrates: 22 g
- Fiber: 1 g
- Protein: 2 g
- Cholesterol: 20 mg
Natalie Brooks
Co-Founder & Content Strategist
Expertise
Education
eCornell
Natalie brings the vibrant, plant-powered side to Culinary Duo. After earning her Plant-Based Nutrition Certificate from eCornell, she combined her love for fresh ingredients with a passion for storytelling, aiming to make healthy cooking simple and satisfying.
Her kitchen motto: good food doesn’t need a fancy label, it just needs fresh ideas and a little creativity. Outside of writing and recipe testing, Natalie’s happiest in her garden, exploring farmers’ markets, or mixing global flavors into new kitchen experiments.