
Quick & Sweet: The Perfect Apricot Jam Recipe Everyone Loves
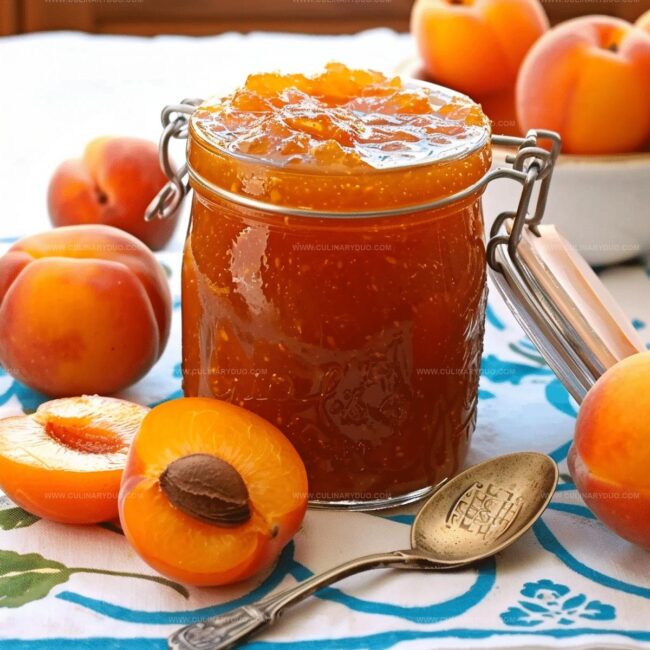
Sweet summer memories often bloom unexpectedly with an easy apricot jam that captures sunshine in a jar.
Ripe golden fruits burst with natural sweetness, waiting to be transformed into a delectable spread.
Fragrant kernels and tender flesh combine in a simple process that anyone can master.
Kitchen counters transform into culinary playgrounds when you start chopping these vibrant orbs.
Pectin and sugar dance together, creating a luscious mixture that preserves the essence of warm afternoons.
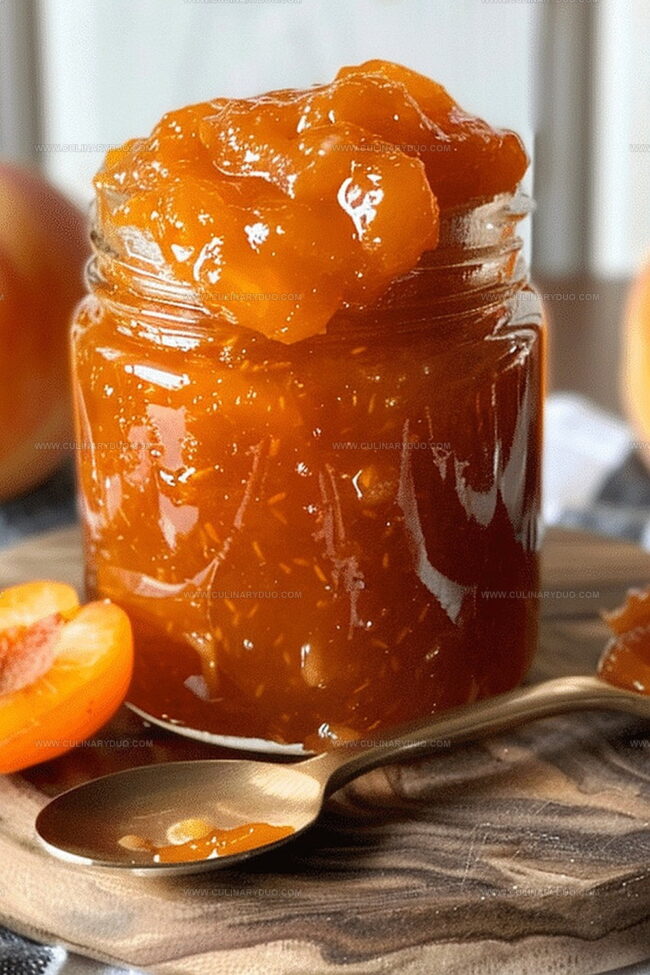
Jars stand ready to capture each spoonful of golden nectar, promising delightful moments of pure pleasure.
You’ll fall in love with this straightforward technique that turns fresh apricots into liquid gold.
Spread this jam on warm toast and savor the pure, unadulterated joy of homemade goodness.
Apricot Jam Recipe Freshness In Every Jar
All The Ingredients For Apricot Jam Success
Fresh Produce:Sweeteners:Canning Supplies:Steps To Quick Homemade Apricot Jam Today
Step 1: Prepare Delightful Apricots
Rinse the apricots thoroughly under cool running water.
Remove the pits by slicing the fruits in half and gently pulling out the stones.
Chop the apricot halves into small, uniform pieces using a sharp knife.
Step 2: Create Fruity Base
Grab a large, heavy-bottomed pot and transfer the chopped apricots into it.
Squeeze fresh lemon juice over the fruit to enhance flavor and help with preservation.
Step 3: Sweeten the Mixture
Gradually add sugar to the apricot mixture.
Stir continuously until the sugar completely dissolves, creating a smooth and glossy texture.
Step 4: Bring to Bubbling Excitement
Place the pot on the stove over medium-high heat.
Stir the mixture constantly to prevent sticking or burning.
Allow the contents to reach a full, rolling boil.
Step 5: Simmer and Thicken
Continue boiling the jam, stirring frequently to prevent scorching.
Watch for the mixture to reduce and thicken, which typically takes about 25-30 minutes.
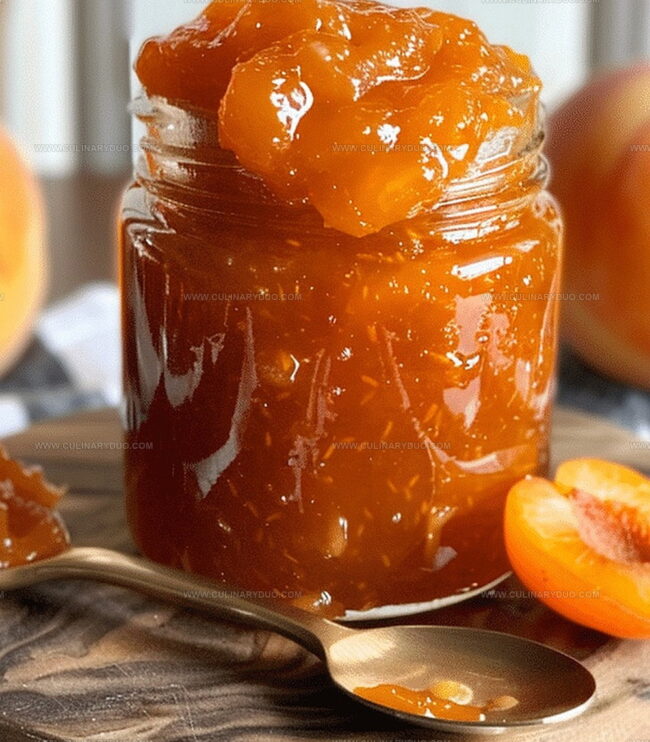
The jam will start to look glossy and slightly more viscous.
Step 6: Remove and Skim
Take the pot off the heat.
Use a metal spoon to skim off any foam that has formed on the surface of the jam.
Step 7: Jar the Goodness
Carefully pour the hot jam into clean, sterilized canning jars.
Leave about 1/4 inch of space at the top of each jar to allow for expansion.
Step 8: Seal and Process
Wipe the jar rims clean with a damp cloth to ensure a proper seal.
Attach the lids and rings.
Process the jars in a boiling water bath for 10 minutes to create a secure seal.
Step 9: Cool and Store
Remove the jars from the water bath and let them cool completely at room temperature.
You’ll hear a satisfying pop as the lids seal.
Store in a cool, dark pantry and enjoy your homemade apricot jam for months to come.
Tips For Apricot Jam You’ll Love To Share
Creative Ways To Change Up Apricot Jam
Serving Apricot Jam On Toast Or Treats
Keeping Apricot Jam Tasting Perfect Longer
FAQs
Yes, you can use frozen apricots. Thaw them completely and drain excess liquid before chopping and cooking.
When properly sealed and stored in a cool, dark place, the jam can last up to 12 months. Once opened, refrigerate and consume within 3-4 weeks.
You’ll need a large pot, wooden spoon, sterilized jars, and a boiling water bath or canning pot. Basic kitchen tools work fine for this recipe.
Lemon juice helps activate the pectin, ensures proper gel formation, and adds a bright flavor while helping preserve the jam’s color and consistency.
Print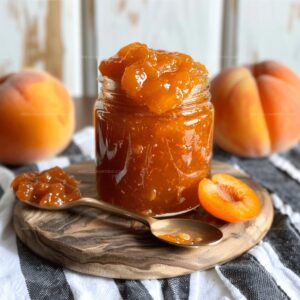
Easy Apricot Jam Recipe
- Total Time: 50 minutes
- Yield: 10 1x
Description
Homemade Apricot Jam brings sunshine to your breakfast table, dancing with sweet and tangy flavors. Summer’s golden fruit combines with sugar and lemon, creating a simple spread you’ll savor on toast or bake into delightful pastries.
Ingredients
Fruits:
- 8 cups (2 quarts) apricots
Sweeteners:
- 7 cups white sugar
Acidic Ingredients:
- 1/3 cup lemon juice
Additional:
- 5 canning jars (1 pint each)
Instructions
- Meticulously cleanse and remove pits from apricots, then create fine, uniform pieces using a sharp knife.
- Transfer chopped apricots into a spacious, heavy-bottomed cooking vessel and introduce fresh lemon juice.
- Incorporate granulated sugar gradually, gently stirring until completely integrated and crystals dissolve smoothly.
- Position pot on stove and elevate temperature to medium-high, allowing mixture to transition into a rolling boil while continuously stirring to prevent scorching.
- Maintain vigorous boiling, stirring frequently to prevent sticking, and monitor consistency transformation for approximately 25-30 minutes until jam reaches desired thick, glossy texture.
- Carefully extract pot from heat source and delicately remove any accumulated foam using a clean spoon.
- Utilize sterilized glass canning containers, gently pouring molten jam while maintaining precise 1/4 inch clearance from container rim.
- Meticulously cleanse jar edges with immaculate cloth, secure pristine lids, and submerge sealed containers in rapidly bubbling water bath for precise 10-minute processing.
- Allow jars to rest undisturbed at ambient temperature, ensuring complete cooling before transferring to storage location.
Notes
- Choose ripe, slightly soft apricots for maximum natural sweetness and best flavor intensity.
- Keep stirring constantly to prevent burning and ensure even sugar caramelization during cooking.
- Test jam’s readiness by placing a small amount on a cold plate – it should wrinkle when pushed with a finger, indicating proper gel consistency.
- Reduce sugar content for a more tart preserve by using low-sugar pectin or cutting sugar by 25% without compromising preservation quality.
- Prep Time: 20 minutes
- Cook Time: 30 minutes
- Category: Snacks, Desserts
- Method: Boiling
- Cuisine: American
Nutrition
- Serving Size: 10
- Calories: 250
- Sugar: 62 g
- Sodium: 0 mg
- Fat: 0 g
- Saturated Fat: 0 g
- Unsaturated Fat: 0 g
- Trans Fat: 0 g
- Carbohydrates: 65 g
- Fiber: 1 g
- Protein: 1 g
- Cholesterol: 0 mg
Natalie Brooks
Co-Founder & Content Strategist
Expertise
Education
eCornell
Natalie brings the vibrant, plant-powered side to Culinary Duo. After earning her Plant-Based Nutrition Certificate from eCornell, she combined her love for fresh ingredients with a passion for storytelling, aiming to make healthy cooking simple and satisfying.
Her kitchen motto: good food doesn’t need a fancy label, it just needs fresh ideas and a little creativity. Outside of writing and recipe testing, Natalie’s happiest in her garden, exploring farmers’ markets, or mixing global flavors into new kitchen experiments.