
The Fluffiest Dinner Rolls Recipe for Your Family Table
Soft, pillowy dinner rolls have always been my ultimate comfort food companion during cold winter meals.
Warm ovens create magical moments with these delicate bread gems.
Families gather around tables, eagerly anticipating the first bite of freshly baked goodness.
My grandmother’s cherished recipe inspired this delightful version that promises to melt hearts.
Professional bakers understand the delicate art of creating perfectly textured rolls.
Each carefully crafted piece brings warmth and joy to your dining experience.
You’ll fall in love with these irresistible rolls that transform ordinary dinners into memorable feasts.
Reasons To Love Fluffy Dinner Rolls
Ingredients Needed For Dinner Rolls
Bread Base Ingredients:Topping Options:Additional Ingredients:How To Bake Fluffy Dinner Rolls
Step 1: Activate the Yeast
Warm milk and butter in a small saucepan until it reaches 100 degrees F.
In a stand mixer bowl with dough hook, combine sugar and yeast.
Pour the warm milk and butter mixture over the yeast and sugar.
Let it sit for 5 minutes until the yeast becomes foamy and bubbly.
If the yeast doesn’t foam, it might be expired.
Add eggs and flour to the bowl, mixing on low speed.
Gradually sprinkle in salt as the dough forms.
Continue mixing on low for 10 minutes until the dough becomes smooth and elastic.
Step 2: First Dough Rise
Transfer the dough to a greased bowl.
Cover with plastic wrap and place in a warm location.
Allow the dough to rise until it doubles in size.
Step 3: Shape the Rolls
Grease a large baking sheet or two smaller sheets.
Punch down the risen dough.
Weigh the dough and divide it into 24 equal pieces.
Roll each piece into a smooth ball.
Place the dough balls on the baking sheet, spacing them one inch apart.
Cover loosely with plastic wrap and let rise again until doubled and rolls are touching.
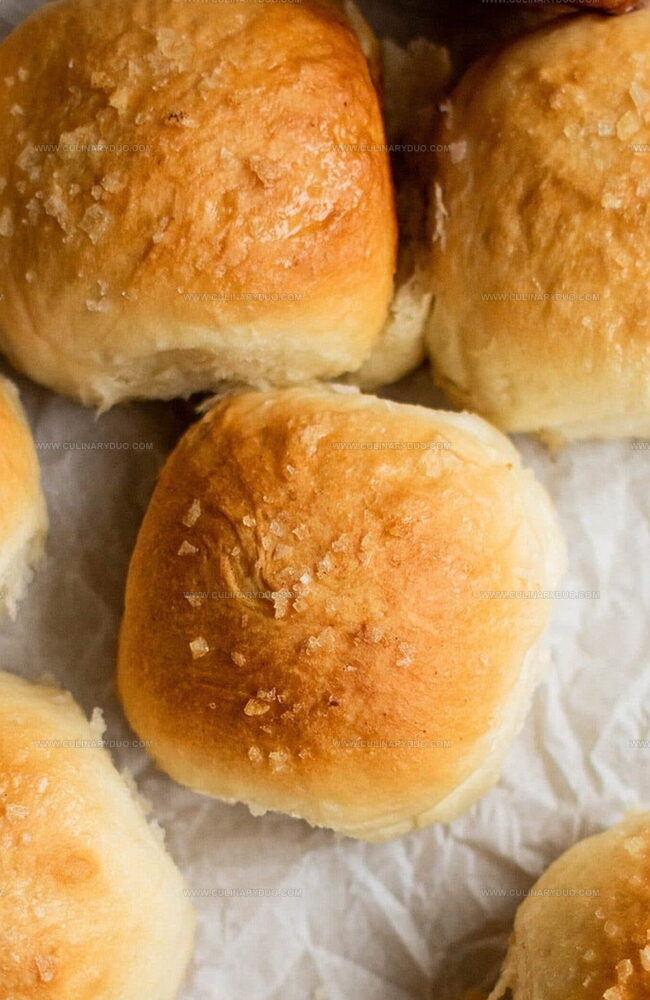
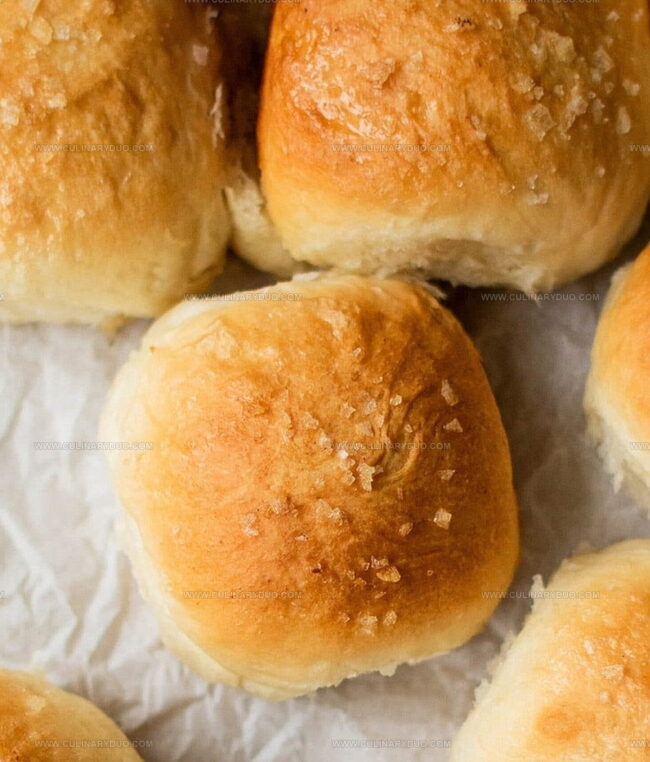
Step 4: Prepare Honey Butter
Melt butter and combine with honey until well mixed.
Allow the mixture to cool and thicken slightly.
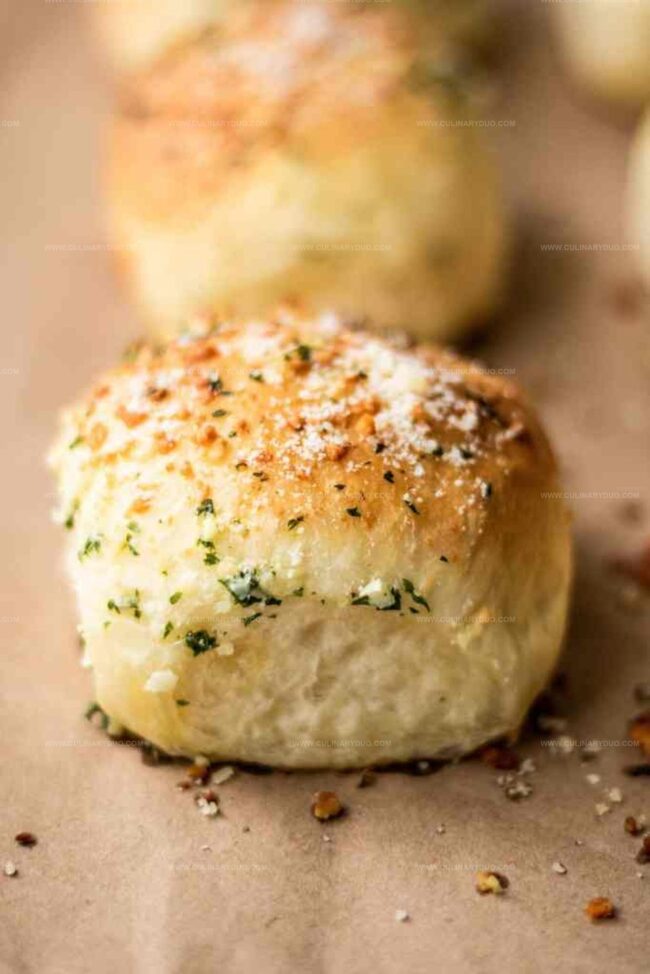
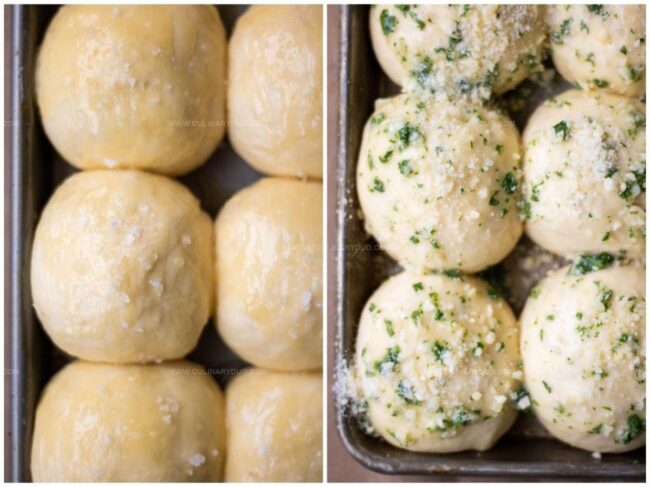
Step 5: Create Garlic Parmesan Topping
Melt butter in a small saucepan over low heat.
Add garlic and cook for 2 minutes.
Remove from heat.
Stir in salt and parsley.
Step 6: Bake the Rolls
Preheat oven to 375 degrees F.
Remove plastic wrap from rolls.
Brush rolls generously with butter.
For honey butter rolls, sprinkle with flaky sea salt.
For garlic parmesan rolls, sprinkle with parmesan cheese.
Bake for 15 minutes until golden brown on top.
Step 7: Cool and Serve
Remove rolls from oven.
Let cool before serving.
For garlic parmesan rolls, sprinkle additional parmesan cheese after cooling.
Step 8: Make-Ahead and Freezing Options
To freeze, place portioned dough balls on a parchment-lined tray.
Freeze until solid.
Defrost in refrigerator and allow to rise before baking.
This recipe can be halved or doubled as needed.
Tips For Perfect Dinner Rolls
Flavor Variations For Dinner Rolls
Serving Ideas For Dinner Rolls
Storage Tips For Dinner Rolls
FAQs
Weighing ensures each roll is exactly the same size, which means they’ll bake evenly and look uniform, preventing some rolls from being over or undercooked.
Yes, you can prepare the dough ahead of time. After portioning the dough into balls, you can freeze them on a parchment-lined tray. When ready to bake, defrost in the refrigerator and let the dough rise before baking.
If the yeast doesn’t become foamy after 5 minutes in the warm milk and sugar mixture, it’s likely old and won’t work properly. Fresh yeast will become visibly bubbly and active.
Print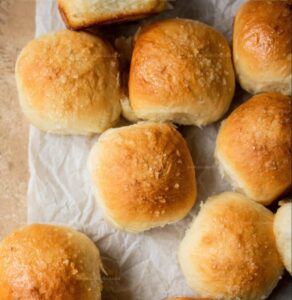
Fluffy Dinner Rolls Recipe
- Total Time: 1 hour 35 minutes
- Yield: 12 1x
Description
Homemade fluffy dinner rolls dance with buttery warmth straight from grandmother’s kitchen. Golden brown perfection welcomes you to savor comfort baked with love and shared around family tables.
Ingredients
Flour and Leavening Agents:
- 2 cups all-purpose flour
- 3 cups bread flour
- 1 1/2 tablespoons active dry yeast
Liquid and Fat Ingredients:
- 1 1/2 cups whole milk
- 2 eggs
- 1 stick (4 ounces) unsalted butter
- 3 tablespoons unsalted butter
- 4 tablespoons unsalted butter
Flavor and Seasoning Ingredients:
- 3 tablespoons granulated sugar
- 1 1/2 teaspoons kosher salt
- 1/2 teaspoon kosher salt
- 2 tablespoons honey
- 5 cloves garlic, minced
- 1 tablespoon minced fresh parsley
- 1/4 cup freshly grated parmesan
- flaky sea salt for sprinkling
Instructions
- Activate the yeast by combining it with sugar in a stand mixer bowl. Gently pour warm milk and butter mixture (100°F) over the ingredients and allow to rest for 5 minutes until foamy. Verify yeast’s viability through foam formation.
- Incorporate eggs and flour into the mixture, mixing on low speed. Gradually add salt while continuing to mix for 10 minutes until dough becomes smooth and elastic.
- Transfer dough to a greased bowl, cover with plastic wrap, and let rise in a warm environment until volume doubles.
- Prepare baking sheet by greasing thoroughly. Deflate risen dough and divide into 24 uniform pieces by weight for consistent sizing.
- Shape each portion into a round ball, positioning them one inch apart on the prepared baking sheet. Cover loosely with plastic wrap and allow second rise until rolls touch each other.
- Create honey butter by melting butter and blending with honey until well incorporated. Allow mixture to cool and slightly thicken.
- Prepare garlic butter by gently cooking minced garlic in melted butter for 2 minutes. Remove from heat and mix in salt and parsley.
- Preheat oven to 375°F. Remove plastic wrap from rolls and generously brush with selected butter variation.
- For honey butter rolls, sprinkle flaky sea salt after brushing. For garlic parmesan, dust with grated cheese after butter application.
- Bake for 15 minutes until golden brown. Remove from oven and allow slight cooling before serving.
- Optional: Freeze unbaked rolls by placing portioned dough balls on parchment-lined tray. Defrost in refrigerator and permit rise before baking.
- Recipe can be halved or doubled, with butter measurements adjusted accordingly.
Notes
- Activate instant yeast by ensuring milk and butter are precisely 100°F to guarantee proper fermentation and rise.
- Check yeast freshness before starting; inactive yeast will prevent dough from rising correctly and result in dense rolls.
- Weigh dough portions meticulously for consistent roll sizes, promoting even baking and professional-looking presentation.
- Handle dough gently during rising and shaping to maintain air pockets, which contribute to the rolls’ light, fluffy texture.
- Prep Time: 1 hour 20 minutes
- Cook Time: 15 minutes
- Category: Dinner, Snacks
- Method: Baking
- Cuisine: American
Nutrition
- Serving Size: 12
- Calories: 200 kcal
- Sugar: 4 g
- Sodium: 210 mg
- Fat: 9 g
- Saturated Fat: 5 g
- Unsaturated Fat: 3 g
- Trans Fat: 0.1 g
- Carbohydrates: 26 g
- Fiber: 1 g
- Protein: 6 g
- Cholesterol: 45 mg
Natalie Brooks
Co-Founder & Content Strategist
Expertise
Education
eCornell
Natalie brings the vibrant, plant-powered side to Culinary Duo. After earning her Plant-Based Nutrition Certificate from eCornell, she combined her love for fresh ingredients with a passion for storytelling, aiming to make healthy cooking simple and satisfying.
Her kitchen motto: good food doesn’t need a fancy label, it just needs fresh ideas and a little creativity. Outside of writing and recipe testing, Natalie’s happiest in her garden, exploring farmers’ markets, or mixing global flavors into new kitchen experiments.