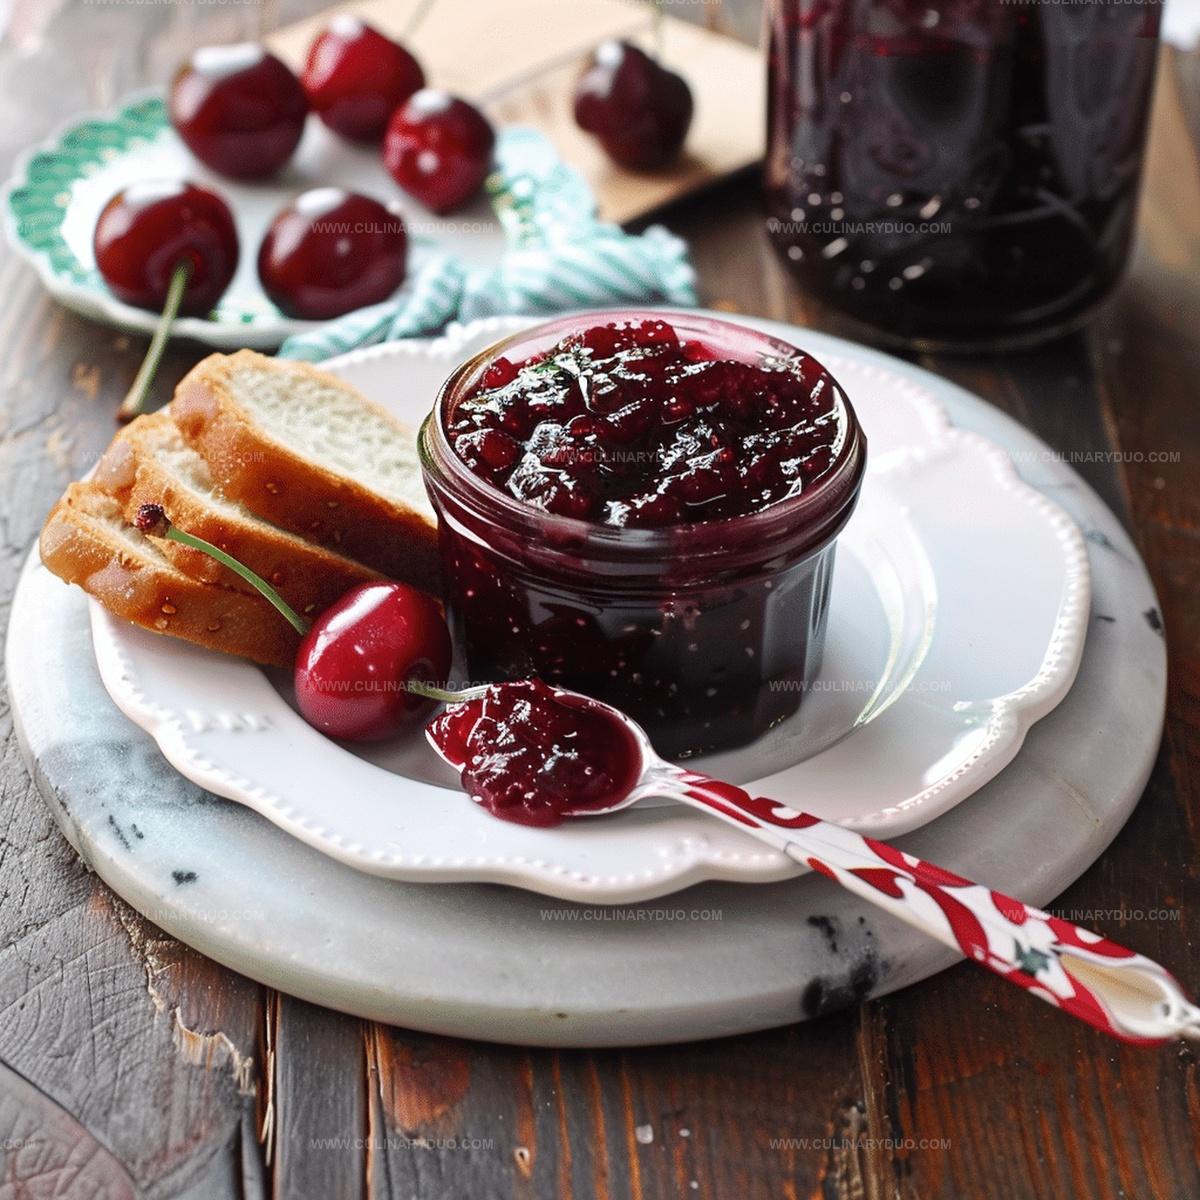
The Best Homemade Cherry Jam Recipe for Sweet Summer Spreads
Sweet summer memories bloom with this homemade cherry jam that captures sunshine in a jar.
Ripe cherries transform into a luscious spread through simple magic of cooking.
Kernels and stems vanish as fresh fruit simmers gently in copper pans.
Each spoonful whispers stories of orchard adventures and lazy afternoon picnics.
Crimson depths shimmer with natural sweetness, inviting you to savor pure fruit essence.
Smooth, rich preserves promise delightful moments spread across warm toast or swirled into morning yogurt.
Come discover how easy magic happens when fresh cherries meet gentle heat and love.
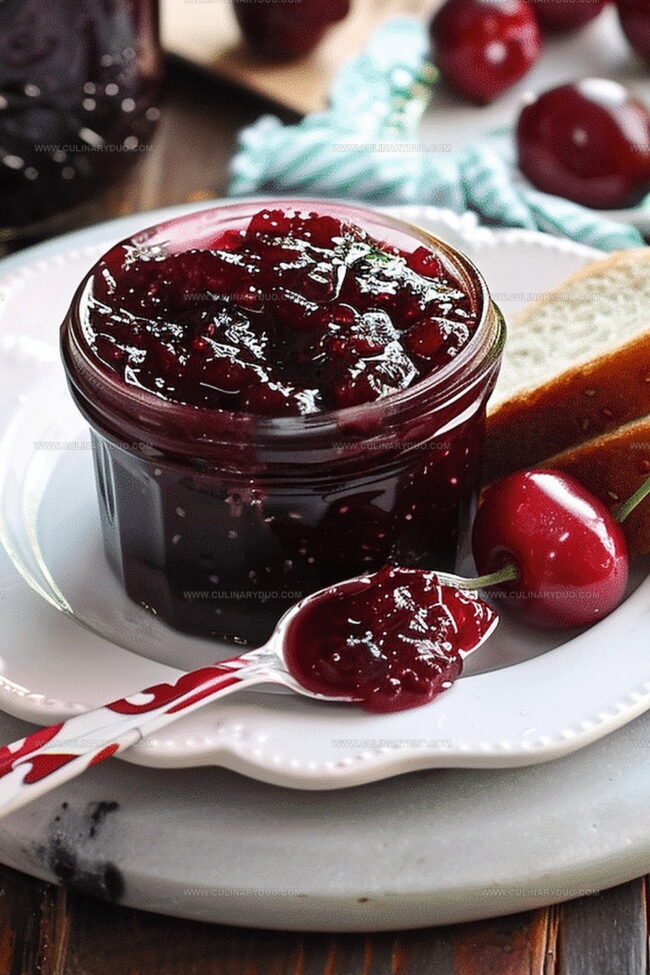
Homemade Cherry Jam With Pure Simple Flavor
Must-Have Ingredients For Fresh Cherry Jam
Fresh Fruits:Sweeteners and Flavor Enhancers:Kitchen Helpers:Simple Steps For Homemade Cherry Jam Jars
Step 1: Prep Fresh Cherries
Carefully wash the cherries and remove all pits by splitting them in half and extracting the seeds.
Discard the pits and set the cherry halves aside.
Step 2: Combine Cooking Ingredients
In a large, heavy-bottomed pot, add the prepared cherries and mix with:Step 3: Heat and Bubble
Place the pot on medium heat and stir the mixture gently.
Allow the cherries to break down and start bubbling, stirring occasionally to prevent sticking.
Step 4: Simmer and Develop Flavor
Reduce the heat to low and let the mixture simmer slowly.
Stir frequently and skim off any foam that forms on the surface.
Step 5: Enhance With Extras
Incorporate additional flavor enhancers:These ingredients help smooth out the texture and reduce foam formation.
Step 6: Check Jam Consistency
Continue simmering until the mixture thickens and becomes glossy.
To test readiness, drop a small amount on a chilled plate.
If it wrinkles when pushed and doesn’t run, the jam is perfect.
Step 7: Jar and Preserve
Carefully ladle the hot jam into sterilized glass jars, leaving a small space at the top.
Wipe the jar rims clean and secure with tight-fitting lids.
Step 8: Cool and Store
Allow the jars to cool completely at room temperature.
Once cooled, store in the refrigerator for up to three weeks.
Tips To Perfect Homemade Cherry Jam Each Time
Creative Additions To Change Up Cherry Jam
Cherry Jam Spread For Breakfast Ideas
Store Cherry Jam For Many Mornings Ahead
FAQs
When you place a small amount of jam on a cold plate and it gels or wrinkles when you push it with your finger, it means the jam has reached the right consistency.
Yes, but reducing sugar might affect the jam’s texture and preservation. If you want less sugar, look for low-sugar pectin or use a specific reduced-sugar recipe designed to maintain proper consistency.
Lemon juice helps the jam set by providing natural pectin and adds a bright flavor. It also helps preserve the jam’s color and prevents bacterial growth.
Absolutely. Removing the pits ensures a smooth texture and prevents potential choking hazards. Use a cherry pitter for quick and easy pit removal.
Print
Homemade cherry jam Recipe
- Total Time: 40 minutes
- Yield: 8 1x
Description
Sweet summer cherries dance through this classic homemade cherry jam, delivering pure seasonal delight. Rich with natural fruit sweetness and a hint of lemon, you’ll savor each spoonful of this rustic preserve perfect for morning toast or elegant dessert garnishes.
Ingredients
Main Ingredients:
- 1 kilogram (2 pounds) pitted cherries
- 400–500 grams (1 pound) white sugar
Flavor Enhancers:
- 1 tablespoon lemon juice
- 1 teaspoon vanilla extract
Optional Ingredient:
- 1 tablespoon butter
Instructions
- Carefully pit and halve fresh cherries, ensuring no stems or leaves remain.
- Transfer cherries to a heavy-bottomed pot with thick base for even heat distribution.
- Combine cherries with sugar and fresh lemon juice, gently mixing to coat evenly.
- Heat the mixture over medium-high temperature, stirring consistently to prevent scorching.
- Allow mixture to reach rapid boiling point, then reduce heat to medium-low for gentle simmering.
- Continuously stir the jam, removing any white foam that accumulates on surface using a metal spoon.
- Add vanilla extract and small piece of butter to enhance flavor and minimize foam formation.
- Monitor jam’s consistency, cooking approximately 20-25 minutes until mixture thickens and coats back of spoon.
- Perform gel test by placing small amount on chilled ceramic plate; jam should wrinkle when pushed with finger.
- Carefully ladle piping hot jam into sanitized glass containers, leaving 1/4-inch headspace.
- Secure lids tightly and allow jars to cool completely at room temperature.
- Store sealed jam in refrigerator for optimal preservation, consuming within 3-4 weeks.
Notes
- Choose sweet, ripe cherries for the most intense flavor and natural sweetness in your jam.
- Use a candy thermometer to ensure precise jam consistency, aiming for 220°F (soft-ball stage) for perfect setting.
- Remove pits carefully to prevent any hard fragments in the final jam, using a cherry pitter for quick and safe removal.
- Reduce sugar content by using low-sugar pectin or swapping some sugar with natural sweeteners like honey for a healthier version.
- Prep Time: 15 minutes
- Cook Time: 25 minutes
- Category: Snacks, Desserts
- Method: Simmering
- Cuisine: American
Nutrition
- Serving Size: 8
- Calories: 172
- Sugar: 42 g
- Sodium: 1 mg
- Fat: 0.5 g
- Saturated Fat: 0.3 g
- Unsaturated Fat: 0.2 g
- Trans Fat: 0 g
- Carbohydrates: 44 g
- Fiber: 1.5 g
- Protein: 0.5 g
- Cholesterol: 1 mg
Natalie Brooks
Co-Founder & Content Strategist
Expertise
Education
eCornell
Natalie brings the vibrant, plant-powered side to Culinary Duo. After earning her Plant-Based Nutrition Certificate from eCornell, she combined her love for fresh ingredients with a passion for storytelling, aiming to make healthy cooking simple and satisfying.
Her kitchen motto: good food doesn’t need a fancy label, it just needs fresh ideas and a little creativity. Outside of writing and recipe testing, Natalie’s happiest in her garden, exploring farmers’ markets, or mixing global flavors into new kitchen experiments.