
Homemade Cherry Pie: Dreamy Thick Filling Recipe
Sweet summer memories flood back when I whip up this incredible homemade cherry pie packed with luscious, thick filling.
Ripe cherries bursting with natural sweetness create a vibrant dessert that melts hearts.
My grandmother’s secret technique ensures each slice holds together perfectly without running.
Tart cherries blend seamlessly with just enough sugar to balance their natural kick.
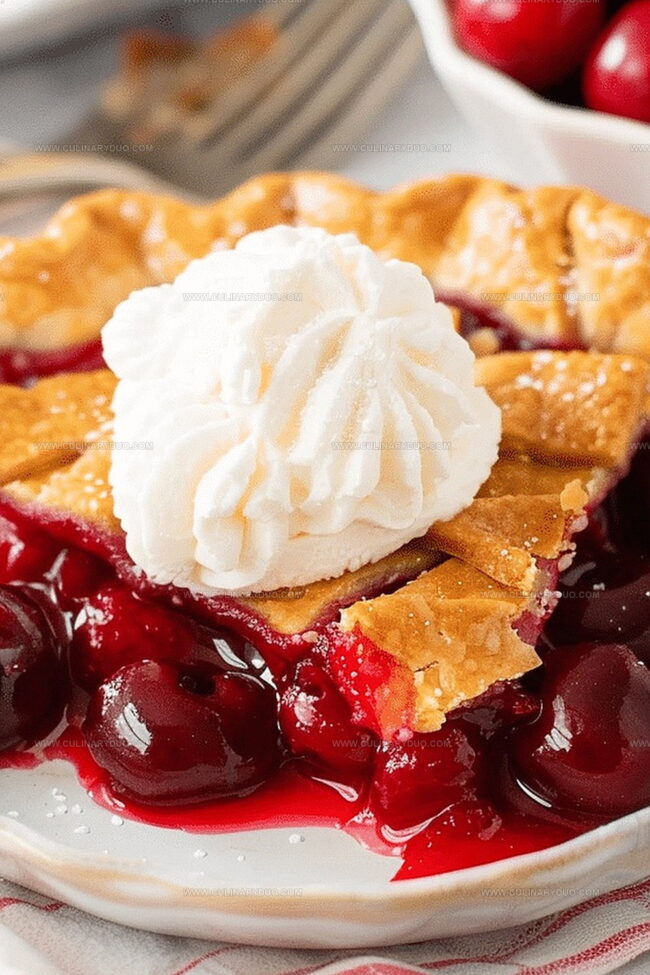
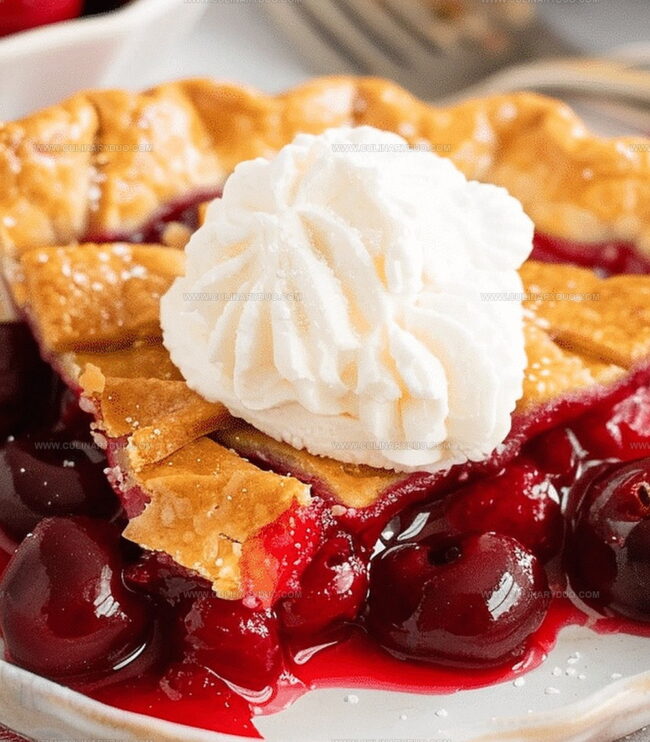
Flaky, golden crust provides the ideal crisp contrast to the rich, jammy center.
Baking this pie fills the kitchen with an irresistible aroma that draws everyone close.
You can easily master this classic dessert and impress your loved ones with minimal effort.
Slice into pure comfort and savor every delectable bite.
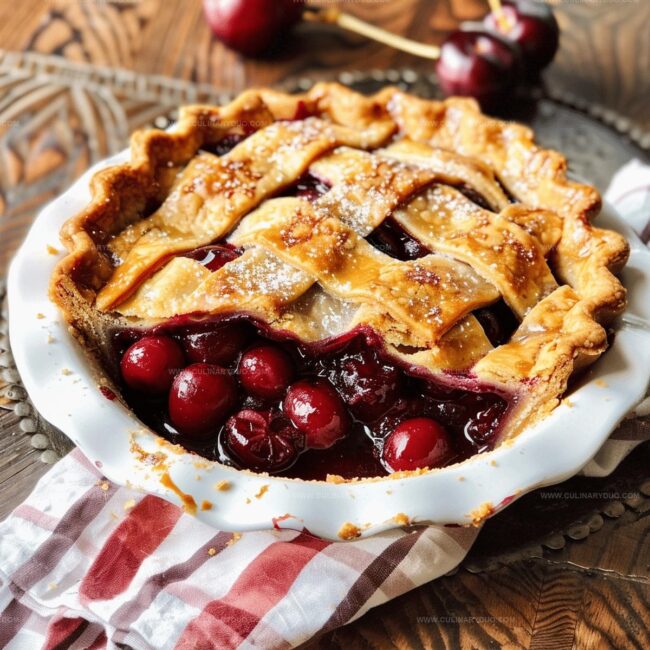
Homemade Cherry Pie With Thick Jammy Filling
Ingredients To Make Cherry Pie Stand Out
Pie Crust:Pie Filling:Finishing Touches:Baking Steps For Perfect Cherry Pie Crust
Step 1: Fire Up the Oven
Crank the oven to a toasty 400°F (204°C) to get ready for pie magic.
Step 2: Craft the Pie Foundation
Gently drape the bottom pie crust into your pie dish, creating a smooth base for the delicious filling.
Step 3: Create Cherry Filling Fusion
In a spacious mixing bowl, combine:Stir everything together until the ingredients dance and mingle perfectly.
Step 4: Transfer Cherry Mixture
Pour the vibrant cherry mixture into the waiting pie crust, spreading it evenly across the surface.
Step 5: Add Buttery Touches
Sprinkle small butter cubes across the filling, creating pockets of rich, melty goodness.
Step 6: Crown with Top Crust
Carefully place the second pie crust on top of the cherry filling.
Pinch and crimp the edges to seal in all the juicy goodness.
Slice a few decorative vents to let steam escape.
Step 7: Beautify the Pie
Brush the top crust with egg wash for a gorgeous golden shine.
Sprinkle coarse sugar for extra sparkle and crunch if you’re feeling fancy.
Step 8: Bake to Perfection
Slide the pie into the preheated oven and bake for 45-55 minutes.
Look for a gorgeous golden-brown crust and bubbling filling that signals pie perfection.
Step 9: Patience for Serving
Allow the pie to cool completely, letting the filling set and flavors meld.
Slice and serve when ready to enjoy your homemade cherry masterpiece.
Cherry Pie Tips For Rich, Jammy Results
Fun Twists For Homemade Cherry Pie Filling
Serve Cherry Pie Warm With Ice Cream
Store Cherry Pie For The Next Slice
FAQs
Use a glass or ceramic pie dish and place it on the lowest oven rack. Sprinkle a thin layer of breadcrumbs or ground nuts on the bottom crust before adding filling to absorb excess moisture.
Yes, you can use frozen cherries. Thaw and drain them completely before mixing with other ingredients to prevent excess liquid in the pie filling.
Cornstarch helps thicken the cherry filling, creating a rich, not runny consistency. It helps the pie set properly and prevents a watery texture.
Look for a golden brown crust and bubbling filling through the steam slits. The filling should look thick and not watery when you remove the pie from the oven.
Print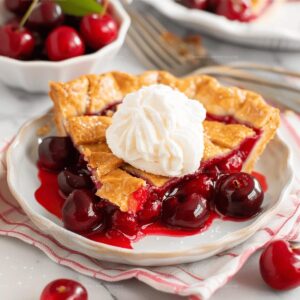
Homemade Cherry Pie (With Thick Filling) Recipe
- Total Time: 1 hour 20 minutes
- Yield: 8 1x
Description
Homemade Cherry Pie delivers classic comfort with its rich, glossy filling nestled in a golden, flaky crust. Sweet-tart cherries and buttery pastry promise a nostalgic dessert that connects generations of bakers with pure, delightful flavor.
Ingredients
Filling Ingredients:
- 4.5 cups halved & quartered pitted fresh cherries
- 2/3 cup (135g) granulated sugar
- 1/4 cup (28g) cornstarch
- 1 tablespoon (15ml) lemon juice
- 1 teaspoon pure vanilla extract
- 1/4 teaspoon almond extract
- 1 tablespoon (14g) cold unsalted butter, cut into small cubes
Crust Ingredients:
- 2 homemade pie crusts or all butter pie crust
Egg Wash and Topping:
- 1 large egg
- 1 tablespoon (15ml) milk
- Coarse sugar for sprinkling on crust
Instructions
- Heat the oven to a precise 400F (204C) for optimal pie baking conditions.
- Craft the pie crust, carefully positioning the bottom layer into a standard pie dish, ensuring complete coverage.
- Blend fresh cherries with sugar, cornstarch, lemon juice, vanilla, and almond extracts in a spacious mixing bowl, stirring until ingredients harmonize perfectly.
- Transfer the vibrant cherry mixture into the prepared pie crust, spreading evenly across the surface.
- Strategically place small butter cubes throughout the filling to enhance richness and flavor.
- Layer the second pie crust on top, meticulously sealing the edges and creating decorative steam vents using precise knife cuts.
- Apply a glossy egg wash across the pie’s surface, optionally sprinkling coarse sugar for a sparkling, crisp finish.
- Roast in the preheated oven for 45-55 minutes, watching for a golden-brown crust and bubbling fruit filling that indicates perfect doneness.
- Allow the pie to cool completely, letting the filling set and flavors meld before slicing and serving.
Notes
- Prevent soggy bottom crust by preheating a baking sheet and placing the pie dish directly on the hot surface during baking.
- Use fresh or frozen cherries interchangeably, but if using frozen, thaw and drain excess liquid to maintain filling thickness.
- Create a gluten-free version by substituting regular flour with gluten-free pie crust mix and using cornstarch as a thickener.
- Add depth to the flavor by mixing sweet and tart cherries for a more complex taste profile.
- Prep Time: 30 minutes
- Cook Time: 50 minutes
- Category: Desserts
- Method: Baking
- Cuisine: American
Nutrition
- Serving Size: 8
- Calories: 290 kcal
- Sugar: 29 g
- Sodium: 110 mg
- Fat: 12 g
- Saturated Fat: 7 g
- Unsaturated Fat: 4 g
- Trans Fat: 0.3 g
- Carbohydrates: 42 g
- Fiber: 2 g
- Protein: 3 g
- Cholesterol: 45 mg
Natalie Brooks
Co-Founder & Content Strategist
Expertise
Education
eCornell
Natalie brings the vibrant, plant-powered side to Culinary Duo. After earning her Plant-Based Nutrition Certificate from eCornell, she combined her love for fresh ingredients with a passion for storytelling, aiming to make healthy cooking simple and satisfying.
Her kitchen motto: good food doesn’t need a fancy label, it just needs fresh ideas and a little creativity. Outside of writing and recipe testing, Natalie’s happiest in her garden, exploring farmers’ markets, or mixing global flavors into new kitchen experiments.