Irresistible Homemade Frosted Brown Sugar Cinnamon Pop Tarts Recipe
Crafting delectable homemade frosted brown sugar cinnamon pop tarts sparks pure childhood nostalgia with a gourmet twist.
Memories of breakfast mornings flood back when golden pastry squares emerge from the kitchen.
Sweet cinnamon aromas waft through the house, promising delightful comfort in every bite.
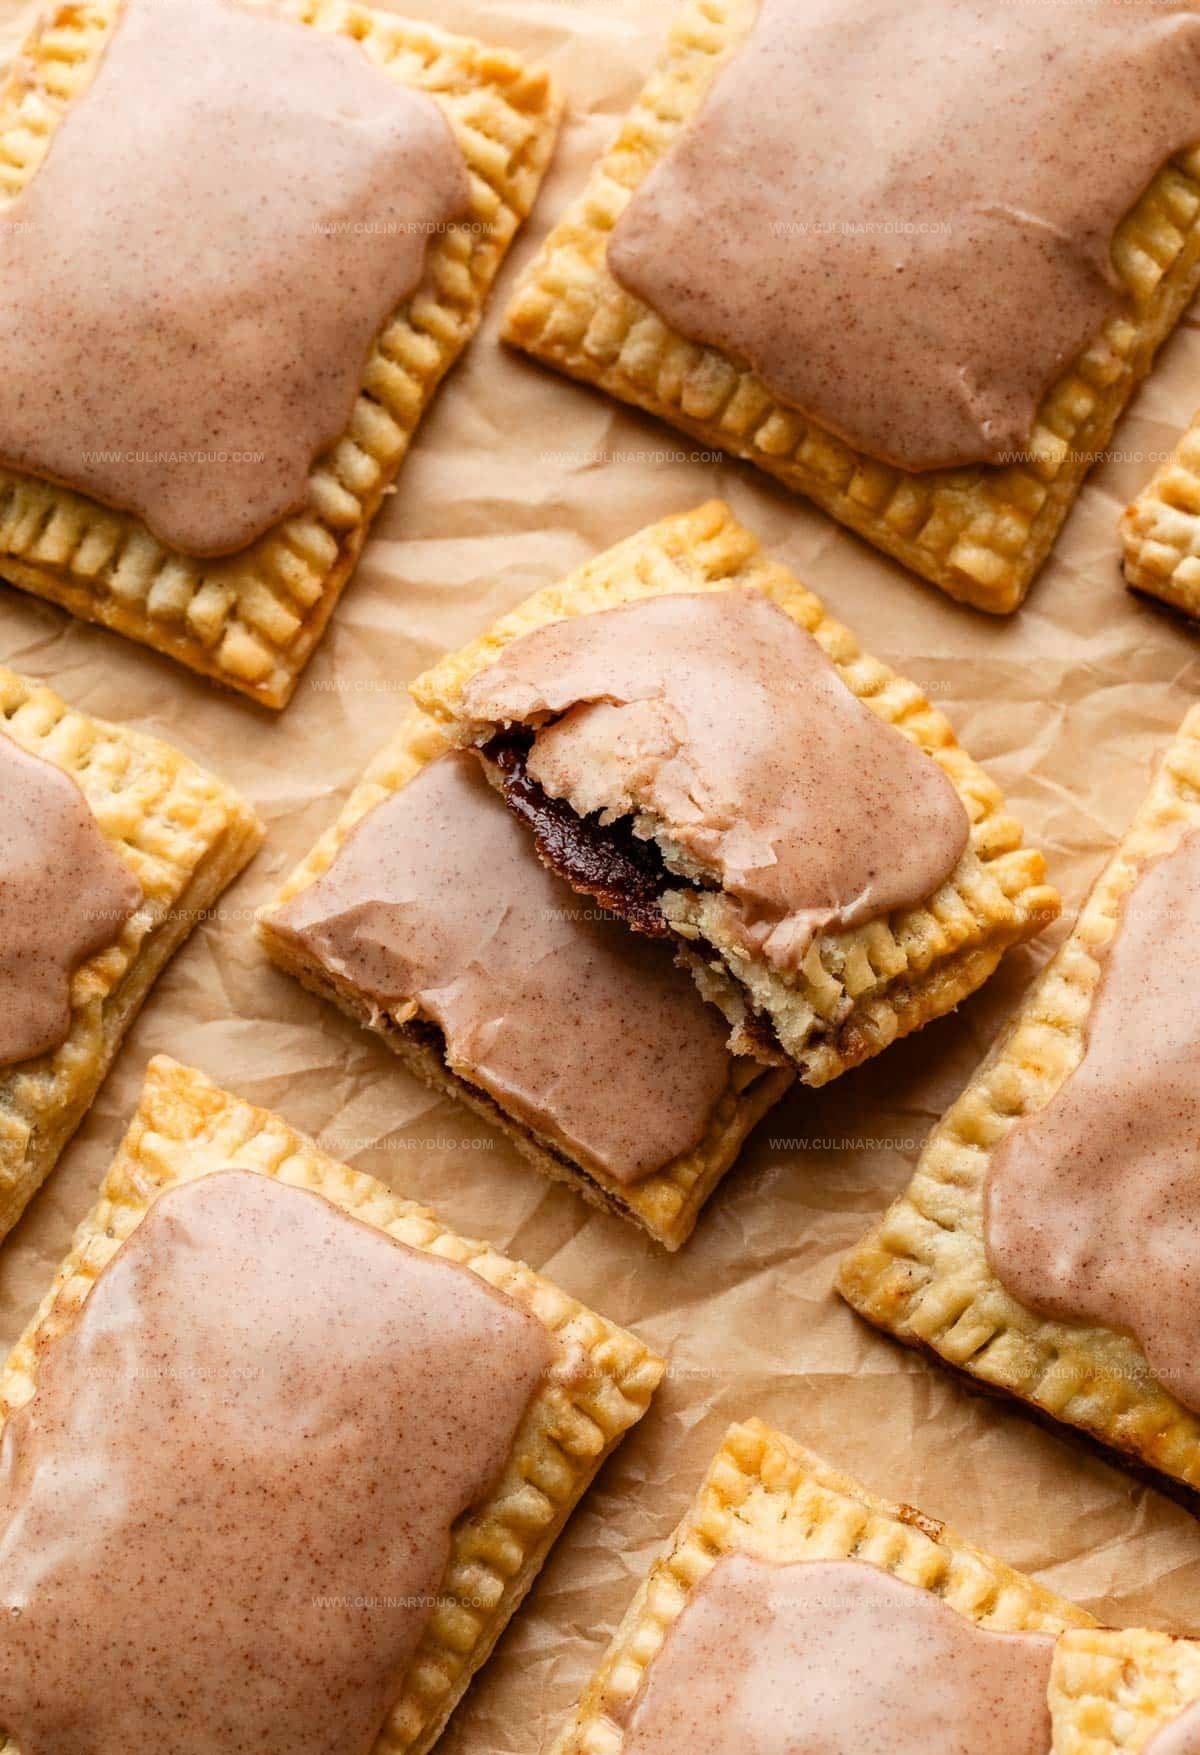
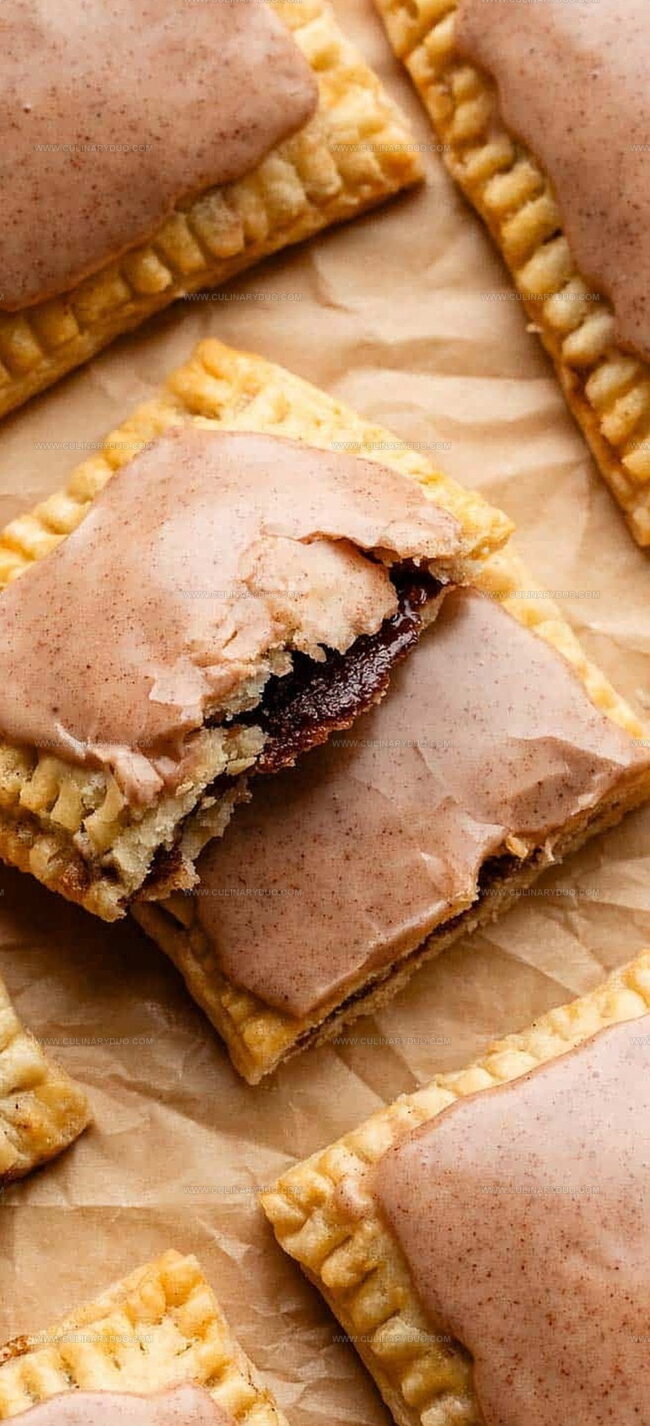
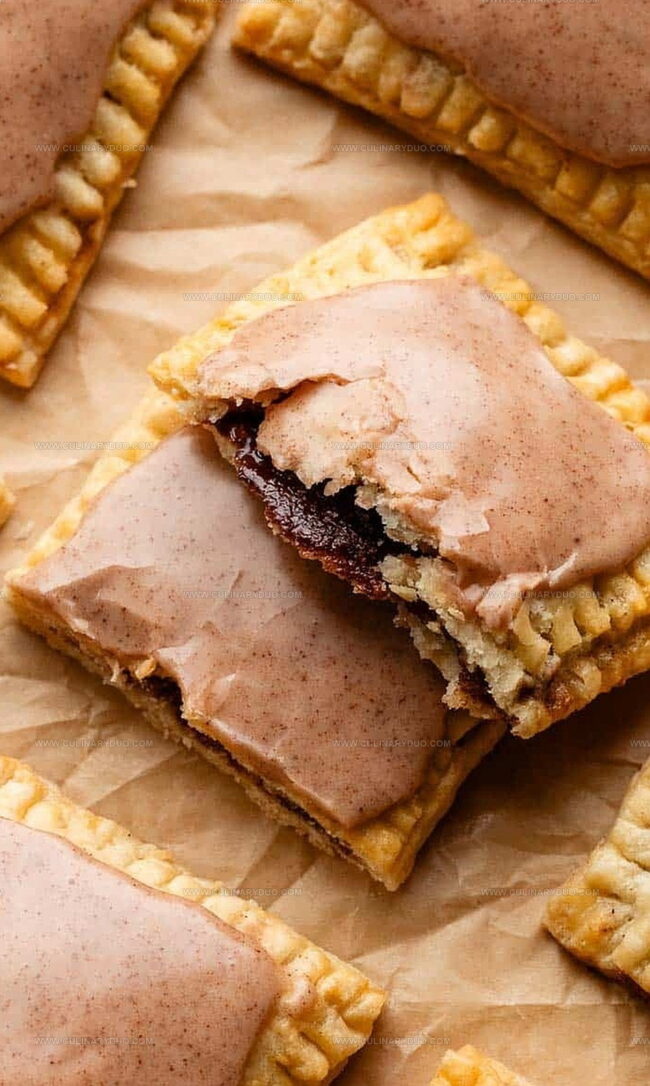
Flaky layers of buttery dough embrace rich brown sugar filling, creating irresistible treats.
Crisp edges and warm spices make these pop tarts far superior to anything from a box.
Drizzling glossy frosting adds the perfect finishing touch that turns simple pastries into a celebration.
Whip up these magical squares and watch faces light up with pure joy.
Why Frosted Brown Sugar Cinnamon Pop Tarts
Essential Ingredients For Cinnamon Pop Tarts
Pie Crust Ingredients:Filling Ingredients:Egg Wash and Icing Ingredients:How To Bake Brown Sugar Pop Tarts
Step 1: Whip Up the Buttery Pie Crust
Grab flour, sugar, and salt in a large bowl.
Mix them together.
Slice cold butter into tiny pieces and work it into the flour mixture until it looks like coarse crumbs.
The goal is a texture that’s bumpy and uneven, with little butter bits scattered throughout.
Step 2: Bring the Dough Together
Splash cold water into the flour mixture, one tablespoon at a time.
Gently stir until the dough starts clumping.
Transfer the dough to a floured surface and softly shape it into a ball.
Don’t overwork the dough – be gentle!
If it feels too dry, dab your fingers in cold water.
If too sticky, dust with extra flour.
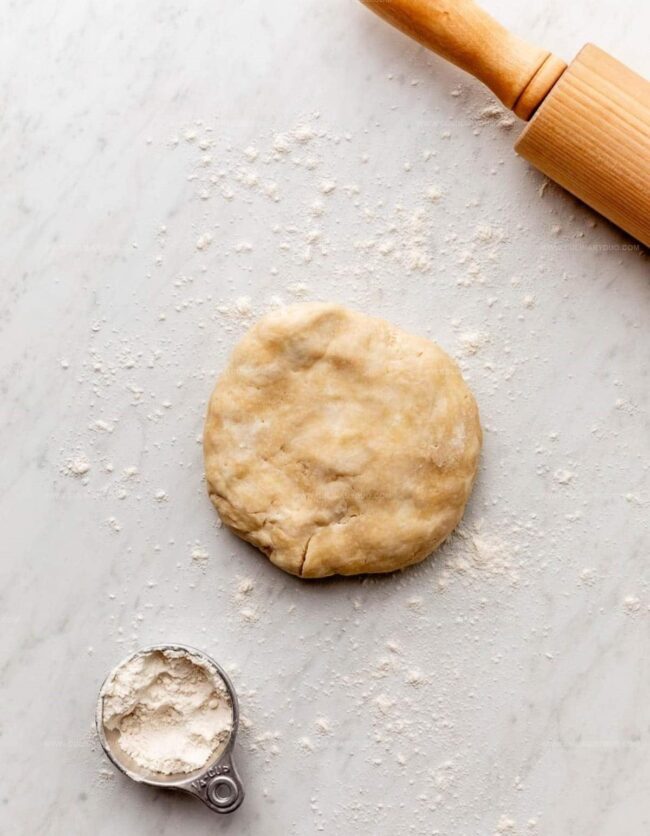
Step 3: Chill the Dough
Slice the dough in half and flatten each piece into a thick disc.
Wrap each disc tightly in plastic wrap.
Slide them into the refrigerator and let them rest for at least 2 hours.
Step 4: Roll Out the Pastry
Pull out one dough disc and let it sit at room temperature for 5 minutes.
Roll it into a large rectangle about 1/8 inch thick.
Trim the edges and cut into 9 smaller rectangles, each 3×4 inches.
Step 5: Prepare the Filling
In a small bowl, mix together:Step 6: Assemble the Pop Tarts
Place pastry rectangles on baking sheets.
Brush with egg wash.
Spread filling in the center of half the rectangles.
Top with remaining pastry rectangles.
Press edges to seal and crimp with a fork.
Poke small holes on top to let steam escape.
Step 7: Chill and Prep for Baking
Refrigerate the assembled pop tarts for 20 minutes.
Preheat the oven to 350°F.
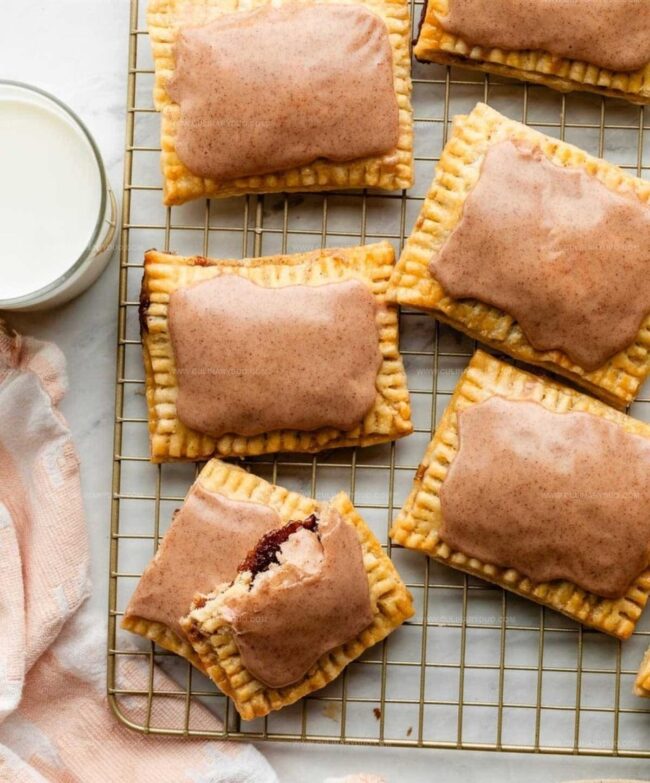
Step 8: Bake to Golden Perfection
Brush tops with egg wash.
Bake for 25-30 minutes until golden brown.
Rotate the pan halfway through baking.
Step 9: Create the Creamy Glaze
Whisk together:Adjust consistency by adding milk if needed.
Step 10: Frost and Finish
Once pop tarts are completely cool, spread the glaze on top.
Let the icing set for about an hour.
Step 11: Store and Enjoy
Keep pop tarts in an airtight container at room temperature for up to 3 days.
For longer storage, refrigerate up to 5 days or freeze for 3 months.
Pro Tip: Get creative with fillings!
Try fruit preserves, Nutella, or chocolate for exciting variations.
Tips For Perfect Brown Sugar Pop Tarts
Flavor Options For Frosted Pop Tarts
Best Pairings For Brown Sugar Pop Tarts
Storage Advice For Pop Tarts
FAQs
Yes, you can prepare the pie crust dough up to 5 days in advance and refrigerate, or freeze it for up to 3 months. Just wrap it tightly in plastic wrap and store in the refrigerator or freezer.
Use egg wash and press firmly around the edges with your fingertips. Then crimp the edges with a fork to create a tight seal that prevents the filling from leaking during baking.
Dip your fingers in cold water and continue bringing the dough together. If it’s too sticky, sprinkle a bit more flour on the dough while kneading.
Print
Homemade Frosted Brown Sugar Cinnamon Pop Tarts Recipe
- Total Time: 3 hours
- Yield: 8 1x
Description
Homemade frosted brown sugar cinnamon pop tarts bring nostalgic comfort straight from your kitchen, elevating childhood memories with flaky pastry and warm spices. Crisp edges, sweet filling, and sugary glaze make these pop tarts an irresistible treat you’ll want to savor with morning coffee or afternoon snack.
Ingredients
For Pastry Dough:
- 2.5 cups (313g) all-purpose flour
- 1 cup (226g) unsalted butter, chilled and cubed
- 1/2 cup (120ml) ice water
- 2 teaspoons granulated sugar
- 1 teaspoon salt
For Filling:
- 1/2 cup (100g) packed dark or light brown sugar
- 2 teaspoons ground cinnamon
- 1 tablespoon (8g) all-purpose flour
For Frosting:
- 3/4 cup (90g) confectioners’ sugar
- 1 tablespoon (15ml) milk
- 1/2 teaspoon ground cinnamon
- 1/4 teaspoon pure vanilla extract
Additional:
- 1 large egg
- 2 teaspoons milk (for egg wash)
Instructions
- Prepare the pie crust by mixing flour, sugar, and salt in a bowl, then incorporate cold butter until the mixture resembles coarse crumbs.
- Gradually add cold water, stirring until the dough forms large clumps without becoming too wet or dry.
- Gently knead the dough on a floured surface, forming two disc-shaped portions, and refrigerate for at least 2 hours.
- Roll out each chilled dough disc into a 9×12-inch rectangle, trimming edges to create precise 3×4-inch rectangles.
- Arrange dough rectangles on parchment-lined baking sheets, keeping them chilled between steps.
- Create the cinnamon filling by combining brown sugar, cinnamon, and flour in a small bowl.
- Brush egg wash on bottom dough rectangles, then spread filling in the center, leaving a narrow border.
- Place top dough rectangles over the filling, pressing edges to seal completely.
- Puncture the top of each pastry with 6-8 holes to allow steam escape, then crimp edges with a fork.
- Chill assembled pop tarts for 20 minutes while preheating the oven to 350°F.
- Brush additional egg wash on top before baking for 25-30 minutes until golden brown.
- Cool pop tarts on a wire rack, then prepare a cinnamon glaze by whisking confectioners’ sugar, milk, cinnamon, and vanilla.
- Spread icing over completely cooled pop tarts, allowing it to set for approximately one hour.
- Store in an airtight container at room temperature for up to 3 days, or refrigerate for 5 days.
- For long-term storage, freeze unfrosted pop tarts for up to 3 months, reheating at 350°F when ready to serve.
Notes
- Chill the dough thoroughly to ensure a flaky, tender crust that doesn’t shrink during baking.
- Keep all ingredients cold, especially butter, to maintain the pastry’s delicate texture and prevent toughness.
- Use a ruler for precise rectangle cutting to create uniform pop tarts that bake evenly.
- Try alternative fillings like fruit preserves, Nutella, or chocolate for exciting flavor variations.
- Prep Time: 2 hours 30 minutes
- Cook Time: 30 minutes
- Category: Breakfast, Snacks, Desserts
- Method: Baking
- Cuisine: American
Nutrition
- Serving Size: 8
- Calories: 308 kcal
- Sugar: 13 g
- Sodium: 146 mg
- Fat: 18 g
- Saturated Fat: 11 g
- Unsaturated Fat: 7 g
- Trans Fat: 0.5 g
- Carbohydrates: 33 g
- Fiber: 1 g
- Protein: 3 g
- Cholesterol: 32 mg
Natalie Brooks
Co-Founder & Content Strategist
Expertise
Education
eCornell
Natalie brings the vibrant, plant-powered side to Culinary Duo. After earning her Plant-Based Nutrition Certificate from eCornell, she combined her love for fresh ingredients with a passion for storytelling, aiming to make healthy cooking simple and satisfying.
Her kitchen motto: good food doesn’t need a fancy label, it just needs fresh ideas and a little creativity. Outside of writing and recipe testing, Natalie’s happiest in her garden, exploring farmers’ markets, or mixing global flavors into new kitchen experiments.