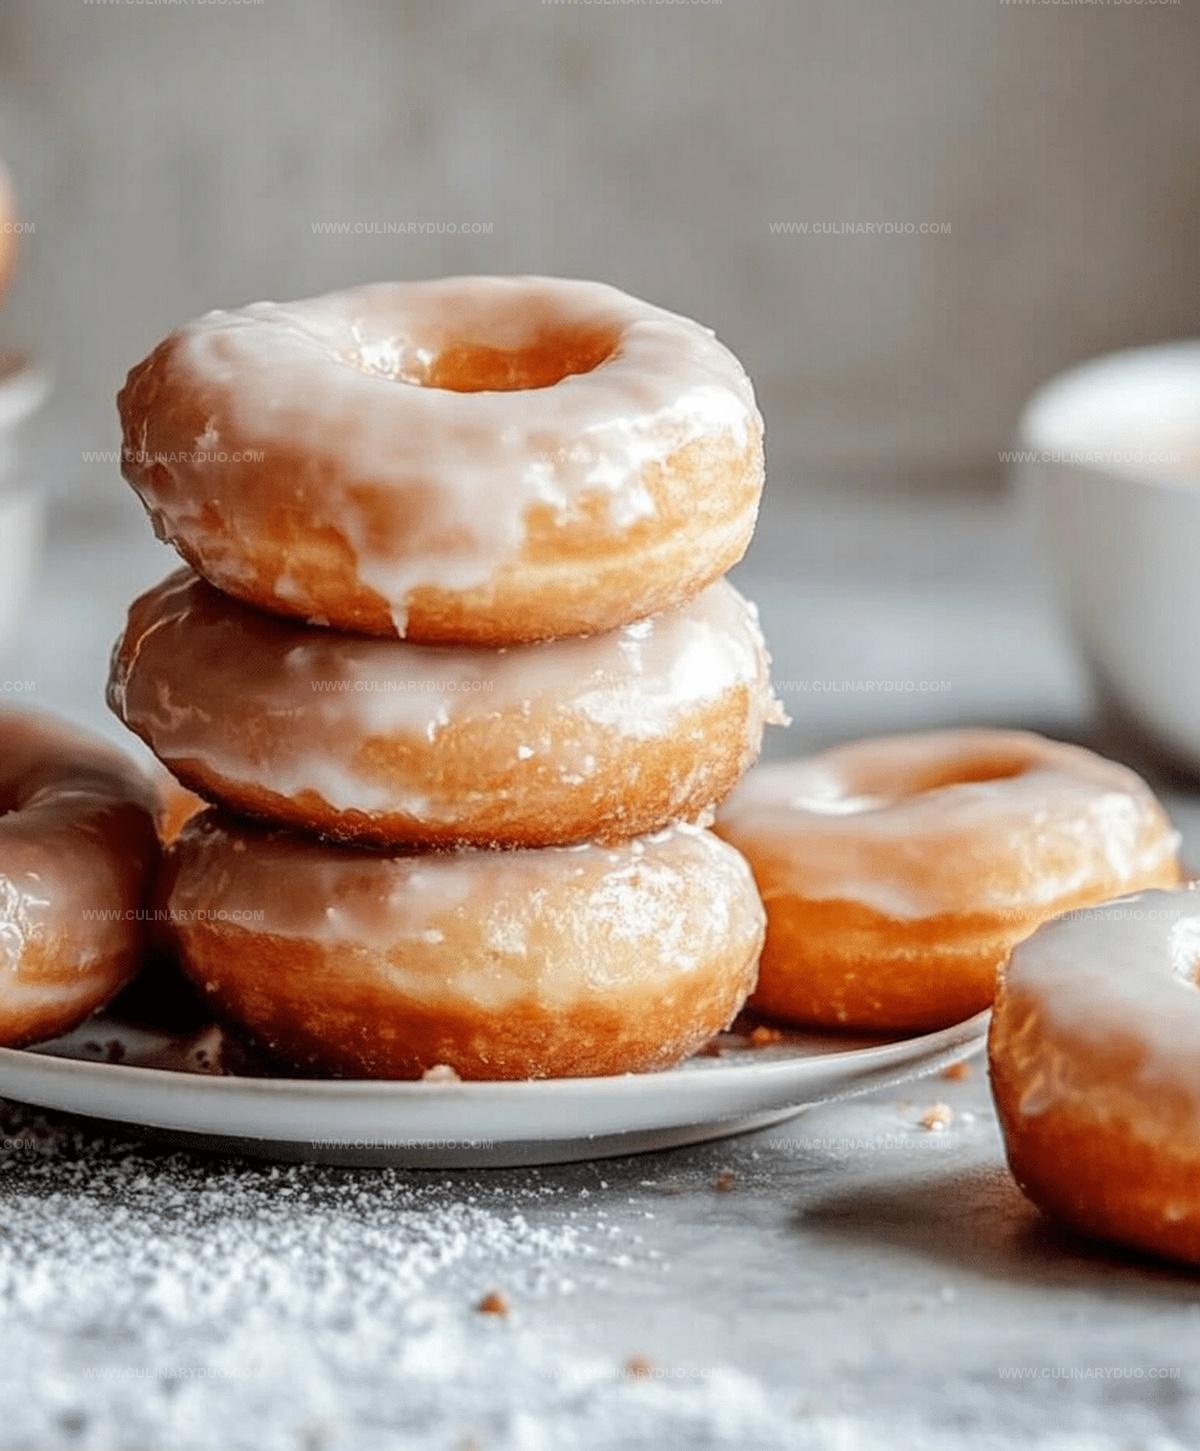
Easy Homemade Krispy Kremes Recipe: Fluffy Doughnut Magic
Doughnuts fresh from the homemade krispy kremes recipe warm kitchen always spark pure joy and deliciousness.
Sweet pastry lovers understand the magic of perfectly crafted treats.
Soft, pillowy dough creates an irresistible texture that melts in your mouth.
These classic doughnuts bring comfort and happiness with every single bite.
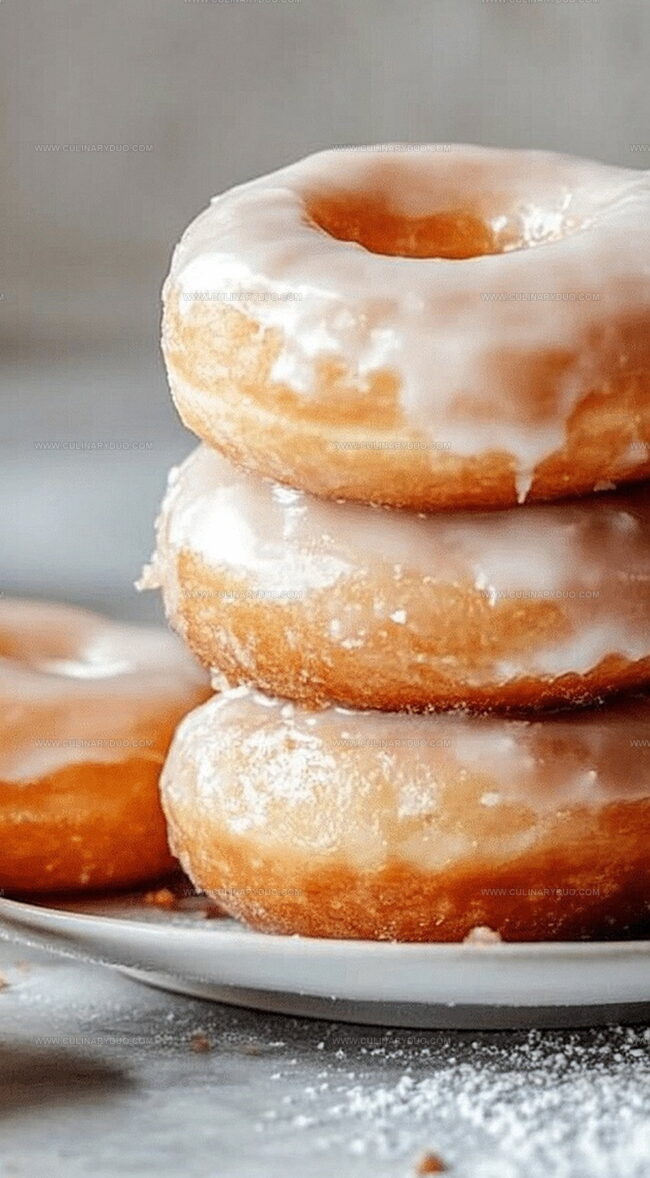
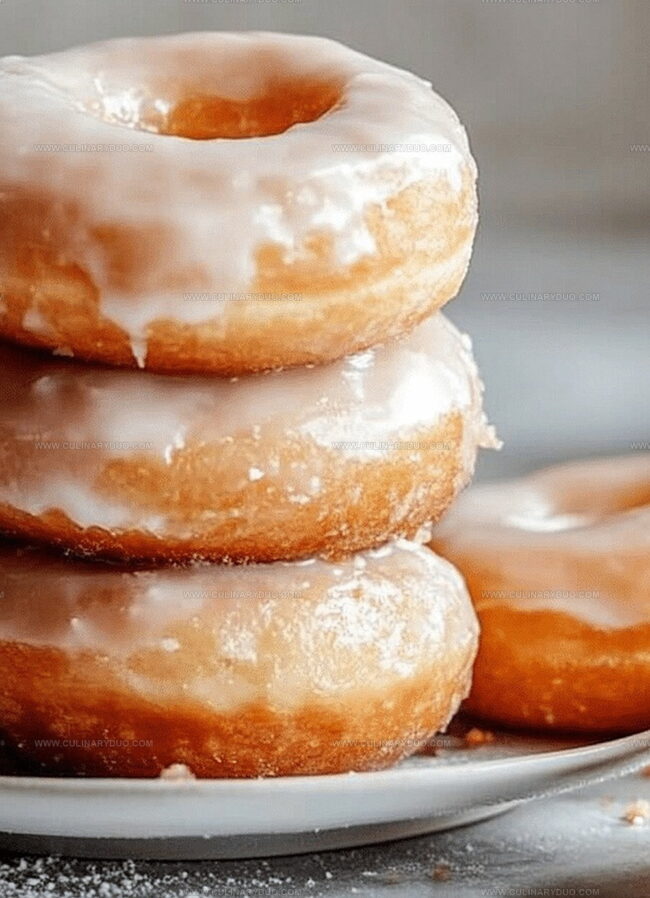
Golden-brown rounds dripping with glossy glaze will make anyone’s day brighter.
Each carefully prepared piece connects us to childhood memories and simple pleasures.
You won’t be able to resist trying this delectable recipe that transforms ordinary ingredients into extraordinary delight.
Why Homemade Krispy Kremes Are Loved
Ingredients Needed for Krispy Kremes
Yeast and Activators:Wet Ingredients:Dry Ingredients:Glaze Ingredients:Steps for Fluffy Homemade Krispy Kremes
Step 1: Activate the Yeast
In a large mixing bowl, sprinkle the yeast into warm water.
Allow the mixture to rest and become frothy, watching as tiny bubbles develop and transform the liquid over 5-10 minutes.
Step 2: Create the Wet Mixture
Combine the following ingredients thoroughly:Whisk everything together until the mixture becomes smooth and well-integrated.
Step 3: Form the Dough
Gradually incorporate flour into the wet ingredients, kneading consistently until a soft, pliable dough emerges.
Once the texture feels right, cover the bowl and let the dough rise in a warm spot for one full hour.
Step 4: Shape the Doughnuts
Roll out the risen dough to a half-inch thickness.
Use a doughnut cutter to create classic ring shapes.
Allow the cut doughnuts to rise again for an additional 30 minutes, becoming puffy and light.
Step 5: Fry to Golden Perfection
Heat oil in a deep fryer or heavy pot to 350°F.
Carefully lower the doughnuts into the hot oil, frying each side until they reach a beautiful golden-brown color, approximately one minute per side.
Step 6: Glaze with Sweetness
Remove the fried doughnuts and drain excess oil on paper towels.
While still warm, dip each doughnut into a luscious glaze, ensuring complete coverage.
Step 7: Final Touch and Enjoyment
Let the glaze set and cool slightly.
Serve these heavenly doughnuts immediately, savoring the crisp exterior and soft, pillowy interior.
Tips for Glazed Krispy Kremes
Krispy Kreme Donut Variations
Serving Homemade Krispy Kremes Anytime
Storage for Homemade Krispy Kremes
FAQs
Active dry yeast or instant yeast are perfect for this recipe. Ensure the yeast is fresh and not expired for the best rising results.
The dough should roughly double in size and look puffy. When you gently press the dough, it should slowly spring back without deflating completely.
Yes, absolutely! A stand mixer with a dough hook makes kneading easier and more consistent. Mix on low speed until the dough becomes smooth and elastic.
Resting allows gluten to develop, which gives the doughnuts their soft, light texture. It also helps the yeast create those signature fluffy air pockets in the dough.
Print
Homemade Krispy Kremes Recipe
- Total Time: 2 hours 2 minutes
- Yield: 12 1x
Description
Krispy Kreme donuts emerge from your kitchen with golden, pillowy perfection that rivals the classic bakery. Sweet glaze cascades over light dough, promising delectable moments of pure indulgence for anyone craving authentic homemade goodness.
Ingredients
Dough Ingredients:
- 2 1/4 teaspoons (11 grams) active dry yeast
- 1/2 cup (120 milliliters) warm water
- 2 1/2 cups (313 grams) all-purpose flour
- 1 large egg
Liquid Ingredients:
- 1/4 cup (50 grams) granulated sugar
- 1/4 cup (60 milliliters) milk
- 1/4 cup (57 grams) unsalted butter, melted
Seasoning Ingredients:
- 1/2 teaspoon salt
Instructions
- Activate yeast in tepid water, allowing it to bloom and become frothy for 5-10 minutes at room temperature.
- Incorporate sugar, warmed milk, liquefied butter, whisked egg, and salt into the yeast mixture, blending thoroughly until smooth.
- Gradually fold in flour, kneading methodically to create a silky, elastic dough with consistent texture.
- Shield dough with clean kitchen towel and permit rising in draft-free environment for approximately one hour until volume doubles.
- Gently roll prepared dough to half-inch thickness on lightly floured surface, utilizing circular cutters to shape classic ring doughnuts.
- Allow shaped doughnuts to proof for additional 30 minutes, enabling further expansion and lighter texture.
- Preheat vegetable oil to precise 350°F in deep fryer or heavy-bottomed pot, monitoring temperature carefully.
- Carefully lower doughnuts into hot oil, frying approximately 60 seconds per side until achieving golden-amber coloration.
- Transfer freshly fried doughnuts onto absorbent paper towels to eliminate excess oil.
- Immerse warm doughnuts into prepared glaze, ensuring complete and even coating.
- Rest glazed doughnuts briefly, allowing sugar coating to set and crystallize before serving.
Notes
- Activate yeast precisely by using water between 100-110°F to ensure proper proofing and prevent killing the live cultures.
- Choose bread flour for higher protein content, creating a more tender and structured doughnut with superior texture.
- Rest dough in a warm, draft-free environment to help achieve optimal rising and develop rich, complex flavors.
- Control oil temperature meticulously with a digital thermometer to guarantee even cooking and prevent greasy or burnt doughnuts.
- Prep Time: 2 hours
- Cook Time: 2 minutes
- Category: Snacks, Desserts
- Method: Frying
- Cuisine: American
Nutrition
- Serving Size: 12
- Calories: 160
- Sugar: 6 g
- Sodium: 85 mg
- Fat: 6 g
- Saturated Fat: 3.5 g
- Unsaturated Fat: 2 g
- Trans Fat: 0.1 g
- Carbohydrates: 22 g
- Fiber: 1 g
- Protein: 3 g
- Cholesterol: 35 mg
Natalie Brooks
Co-Founder & Content Strategist
Expertise
Education
eCornell
Natalie brings the vibrant, plant-powered side to Culinary Duo. After earning her Plant-Based Nutrition Certificate from eCornell, she combined her love for fresh ingredients with a passion for storytelling, aiming to make healthy cooking simple and satisfying.
Her kitchen motto: good food doesn’t need a fancy label, it just needs fresh ideas and a little creativity. Outside of writing and recipe testing, Natalie’s happiest in her garden, exploring farmers’ markets, or mixing global flavors into new kitchen experiments.