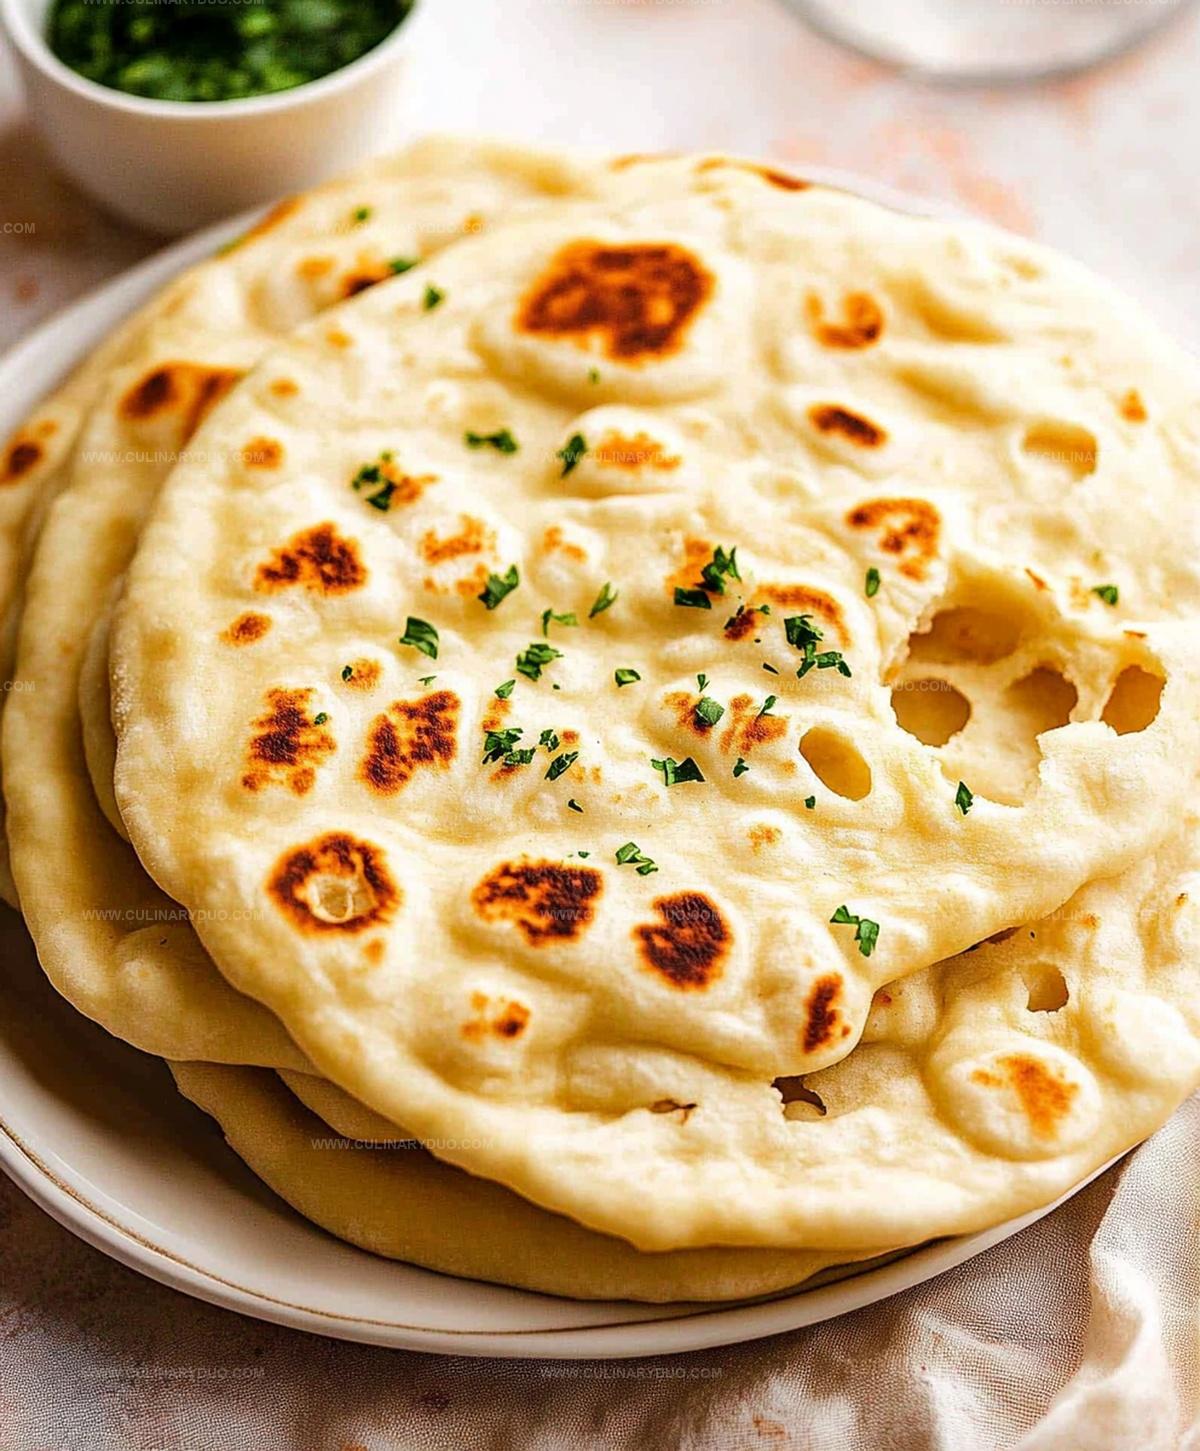
Fluffy, Homemade Naan Bread Recipe Anyone Can Master
Warm, pillowy naan bread has been a staple in kitchens across India for generations.
This easy naan bread recipe brings authentic flavors straight to your home cooking.
Soft and tender, these flatbreads pair perfectly with curries, stews, and grilled meats.
Each bite offers a delightful combination of crispy edges and soft, chewy centers.
The secret lies in simple ingredients and a few key techniques that anyone can master.
Whether you’re a seasoned cook or a kitchen novice, this recipe promises restaurant-quality results with minimal effort.
Why Naan Bread Is Always a Good Idea
Ingredients Needed for Easy Naan Bread
Wet Ingredients:Dry Ingredients:Leavening Agent:How to Make Homemade Naan Bread Easily
Step 1: Activate Yeast
Grab a cozy mixing bowl and pour in warm water.
Sprinkle sugar and yeast into the liquid.
Allow the mixture to sit and transform, watching tiny bubbles emerge and create a frothy surface.
This magical process wakes up the yeast and prepares it for bread-making.
Step 2: Build Flavor Base
Introduce rich ingredients to boost the dough’s taste and texture:Whisk everything together until the mixture becomes smooth and well-integrated.
Step 3: Form Soft Dough
Gradually incorporate flour into the wet ingredients.
Begin mixing with a wooden spoon, then transition to hand kneading.
Work the dough for 5-7 minutes, transforming it into a supple, elastic consistency.
The goal is a tender dough that feels smooth and springy.
Step 4: Let Dough Rise
Transfer the dough to a lightly oiled bowl.
Cover with a clean kitchen towel and place in a warm, draft-free zone.
Allow the dough to expand and rise, doubling in volume over 30-45 minutes.
Step 5: Shape Naan Breads
Punch down the risen dough and divide into equal portions.
Roll each piece into a classic oval shape, creating traditional naan silhouettes.
Step 6: Cook Delicious Flatbreads
Heat a skillet or griddle over medium-high temperature.
Cook each naan for 1-2 minutes per side.
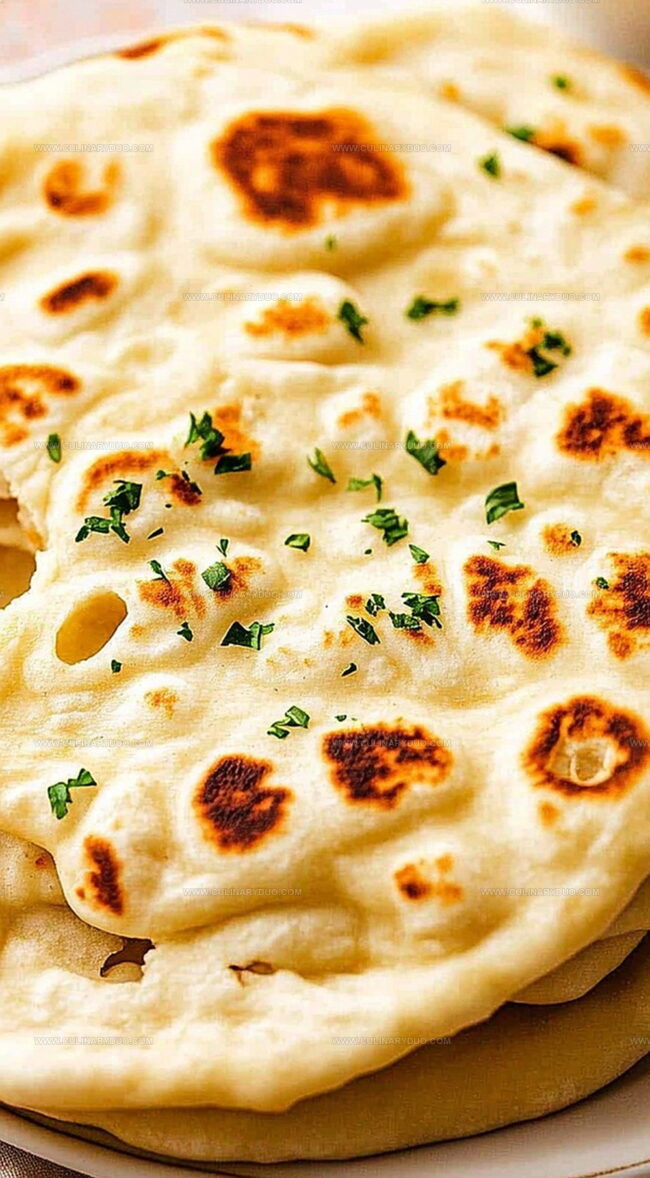
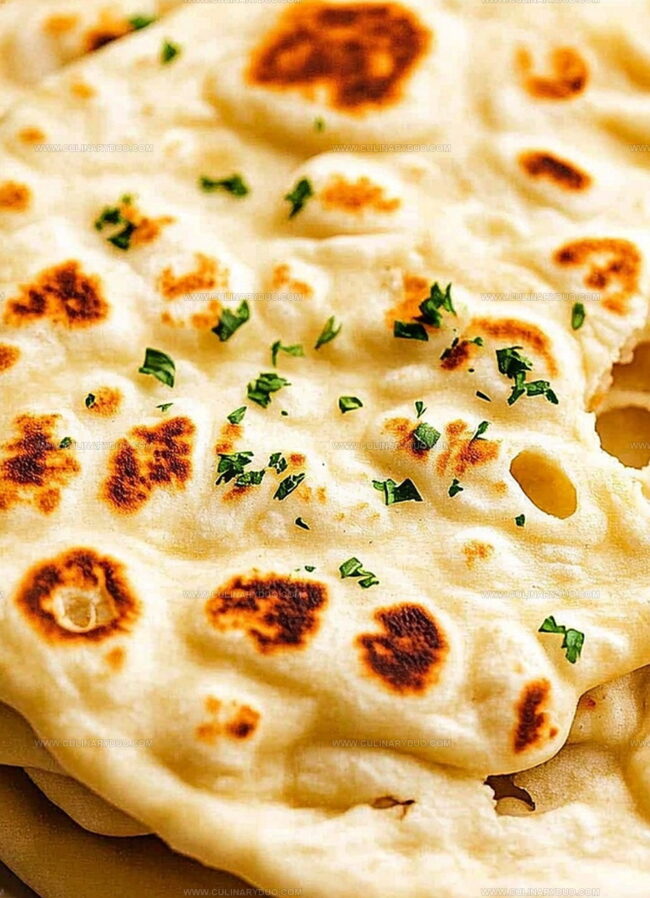
Look for golden brown spots and delightful bubbles forming on the surface.
Brush with melted butter for extra richness if desired.
Tips for the Softest Naan Bread Results
Naan Bread Recipe Variations to Try
Best Ways to Serve Fresh Naan Bread
Keeping Naan Bread Fresh After Baking
FAQs
Yogurt and olive oil help create the tender, pillowy consistency by adding moisture and fat to the dough, which breaks down gluten and makes the bread incredibly soft.
Yes, a hot skillet works perfectly. The high heat creates those characteristic charred spots and bubbles, mimicking traditional tandoor cooking techniques.
Look for foam and bubbles after 5-10 minutes when mixing warm water, sugar, and yeast. This indicates the yeast is alive and ready to help the dough rise.
Absolutely. Kneading develops gluten, which gives naan its stretchy texture and helps the bread rise properly, creating those delightful air pockets.
Print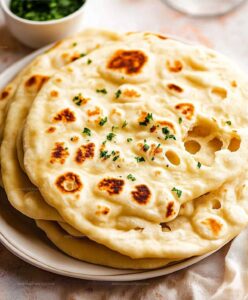
Naan Bread Easy Recipe
- Total Time: 1 hour 10 minutes
- Yield: 8 1x
Description
Delightful Naan Bread emerges as a golden, pillowy delight straight from Indian kitchens. Crisp edges and tender center invite warm enjoyment, promising a simple yet authentic culinary journey you’ll savor with each delectable bite.
Ingredients
Main Ingredients:
- 2 1/2 cups (300 grams) all-purpose flour
- 1 cup (240 milliliters) warm water
- 1/2 cup (120 grams) plain yogurt
Yeast and Leavening Agents:
- 2 1/4 teaspoons active dry yeast
- 1/2 teaspoon baking powder
Flavor and Seasoning Ingredients:
- 1 tablespoon sugar
- 2 tablespoons olive oil or melted butter
- 1 teaspoon salt
- 2 tablespoons melted butter (for brushing)
Instructions
- Activate yeast by dissolving it in warm water with sugar, allowing the mixture to become frothy and bubbly for 5-10 minutes.
- Incorporate yogurt, olive oil, salt, and baking powder into the activated yeast mixture, stirring until thoroughly combined.
- Gradually fold in flour, using gentle kneading motions to create a smooth, elastic dough with consistent texture.
- Allow dough to rest and expand in a draft-free environment for 30-45 minutes, ensuring it doubles in volume.
- Gently punch down the risen dough and separate into uniform portions, shaping each piece into elegant oval forms.
- Prepare a skillet over medium-high heat, creating an ideal surface for cooking the naan bread.
- Place each shaped dough portion onto the hot skillet, cooking for approximately 1-2 minutes per side until golden brown patches emerge and characteristic bubbles form.
- Transfer cooked naan to a warming plate, covering with a clean kitchen towel to maintain softness and warmth.
Notes
- Ensure water is warm (not hot) to prevent killing the yeast, creating a perfect rising environment for soft, fluffy naan.
- Knead until smooth and elastic, adding flour gradually to avoid a dry or sticky texture that can ruin the bread’s delicate structure.
- Let dough rise in a draft-free, warm spot like near a preheated oven to help it expand and develop rich, complex flavors.
- Use a cast-iron or heavy-bottomed skillet for even heat distribution and those signature charred spots that make naan irresistible.
- Prep Time: 60 minutes
- Cook Time: 10 minutes
- Category: Lunch, Dinner, Appetizer, Snacks
- Method: Sautéing
- Cuisine: Indian
Nutrition
- Serving Size: 8
- Calories: 168 kcal
- Sugar: 2 g
- Sodium: 190 mg
- Fat: 5 g
- Saturated Fat: 1.5 g
- Unsaturated Fat: 3.5 g
- Trans Fat: 0 g
- Carbohydrates: 28 g
- Fiber: 1 g
- Protein: 5 g
- Cholesterol: 6 mg
Natalie Brooks
Co-Founder & Content Strategist
Expertise
Education
eCornell
Natalie brings the vibrant, plant-powered side to Culinary Duo. After earning her Plant-Based Nutrition Certificate from eCornell, she combined her love for fresh ingredients with a passion for storytelling, aiming to make healthy cooking simple and satisfying.
Her kitchen motto: good food doesn’t need a fancy label, it just needs fresh ideas and a little creativity. Outside of writing and recipe testing, Natalie’s happiest in her garden, exploring farmers’ markets, or mixing global flavors into new kitchen experiments.