Festive Patriotic 4th of July Oreo Balls Recipe for Fun Celebrations
Celebrating independence with this patriotic 4th of july oreo balls recipe brings festive cheer to summer gatherings.
Crumbled cookies mix perfectly with cream cheese for a delightful no-bake treat.
Red, white, and blue sprinkles add a playful touch to these bite-sized delights.
Sweet cream cheese blends seamlessly with crushed oreos, creating a smooth base.
Decorative colors echo american flag themes and spark conversation at any party.
Cool and creamy textures make these oreo balls irresistible for guests of all ages.
Patriotic 4th Of July Oreo Balls: Festive Fun Bites
Ingredients For 4th Of July Oreo Balls
Base Ingredients:Coating Ingredients:Decorative Ingredients:How To Assemble Patriotic Oreo Balls

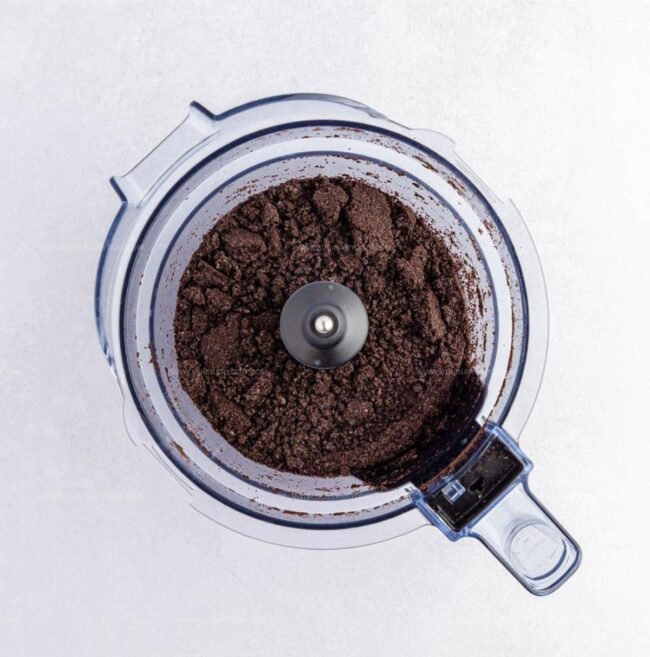
Step 1: Crush Oreo Cookies
Grab your Oreo cookies and transform them into fine crumbs using a food processor, blender, or by placing them in a Ziploc bag and crushing with a rolling pin.
Step 2: Whip Cream Cheese
In a large mixing bowl, beat the softened cream cheese with a hand mixer on high speed until it becomes silky smooth.
Step 3: Combine Oreo Crumbs and Cream Cheese
Mix the Oreo crumbs into the cream cheese using a medium speed until perfectly blended.
Step 4: Shape Oreo Balls
Use a small cookie scoop to create uniform balls.
Roll each one between your palms to achieve a smooth, round shape.
Place the balls on parchment-lined baking trays.
Step 5: Chill Oreo Balls
Refrigerate the balls for 2 hours.
If you’re in a hurry, pop them in the freezer for 15-20 minutes.
Step 6: Prepare Blue Coating
Melt blue candy melts using a double boiler or microwave, stirring every 30 seconds until completely smooth.
Step 7: Dip Blue Oreo Balls
Step 8: Create Red Coating
Melt red candy melts using a clean double boiler or microwave, stirring every 30 seconds until completely smooth.
Step 9: Dip Red Oreo Balls
Repeat the dipping process with red candy melts, ensuring each ball is fully coated.
Step 10: Add White Drizzle
Microwave white melting wafers in 30-second intervals, massaging the piping bag to ensure even melting.
Step 11: Finish and Serve
Drizzle white lines over the red Oreo balls.
Refrigerate for 10 minutes to set.
Keep chilled until ready to enjoy your patriotic treat.
Tips For Flawless 4th Of July Oreo Balls
Flavor Variations For Oreo Balls

How To Serve Patriotic Oreo Balls
Best Way To Store Oreo Balls
FAQs
Yes, you can experiment with flavored Oreos like mint, peanut butter, or birthday cake to create unique Oreo balls with different tastes.
Always melt candy melts slowly and stir frequently. Use low heat and add a teaspoon of vegetable shortening to help create a smoother, more fluid coating.
You can place Oreos in a sealed Ziploc bag and crush them with a rolling pin or the bottom of a heavy skillet until they become fine crumbs.
Chill the mixture in the refrigerator before forming balls and use a small cookie scoop to create uniform sizes.
Print
Patriotic 4th of July Oreo Balls Recipe
- Total Time: 3 hours
- Yield: 24 1x
Description
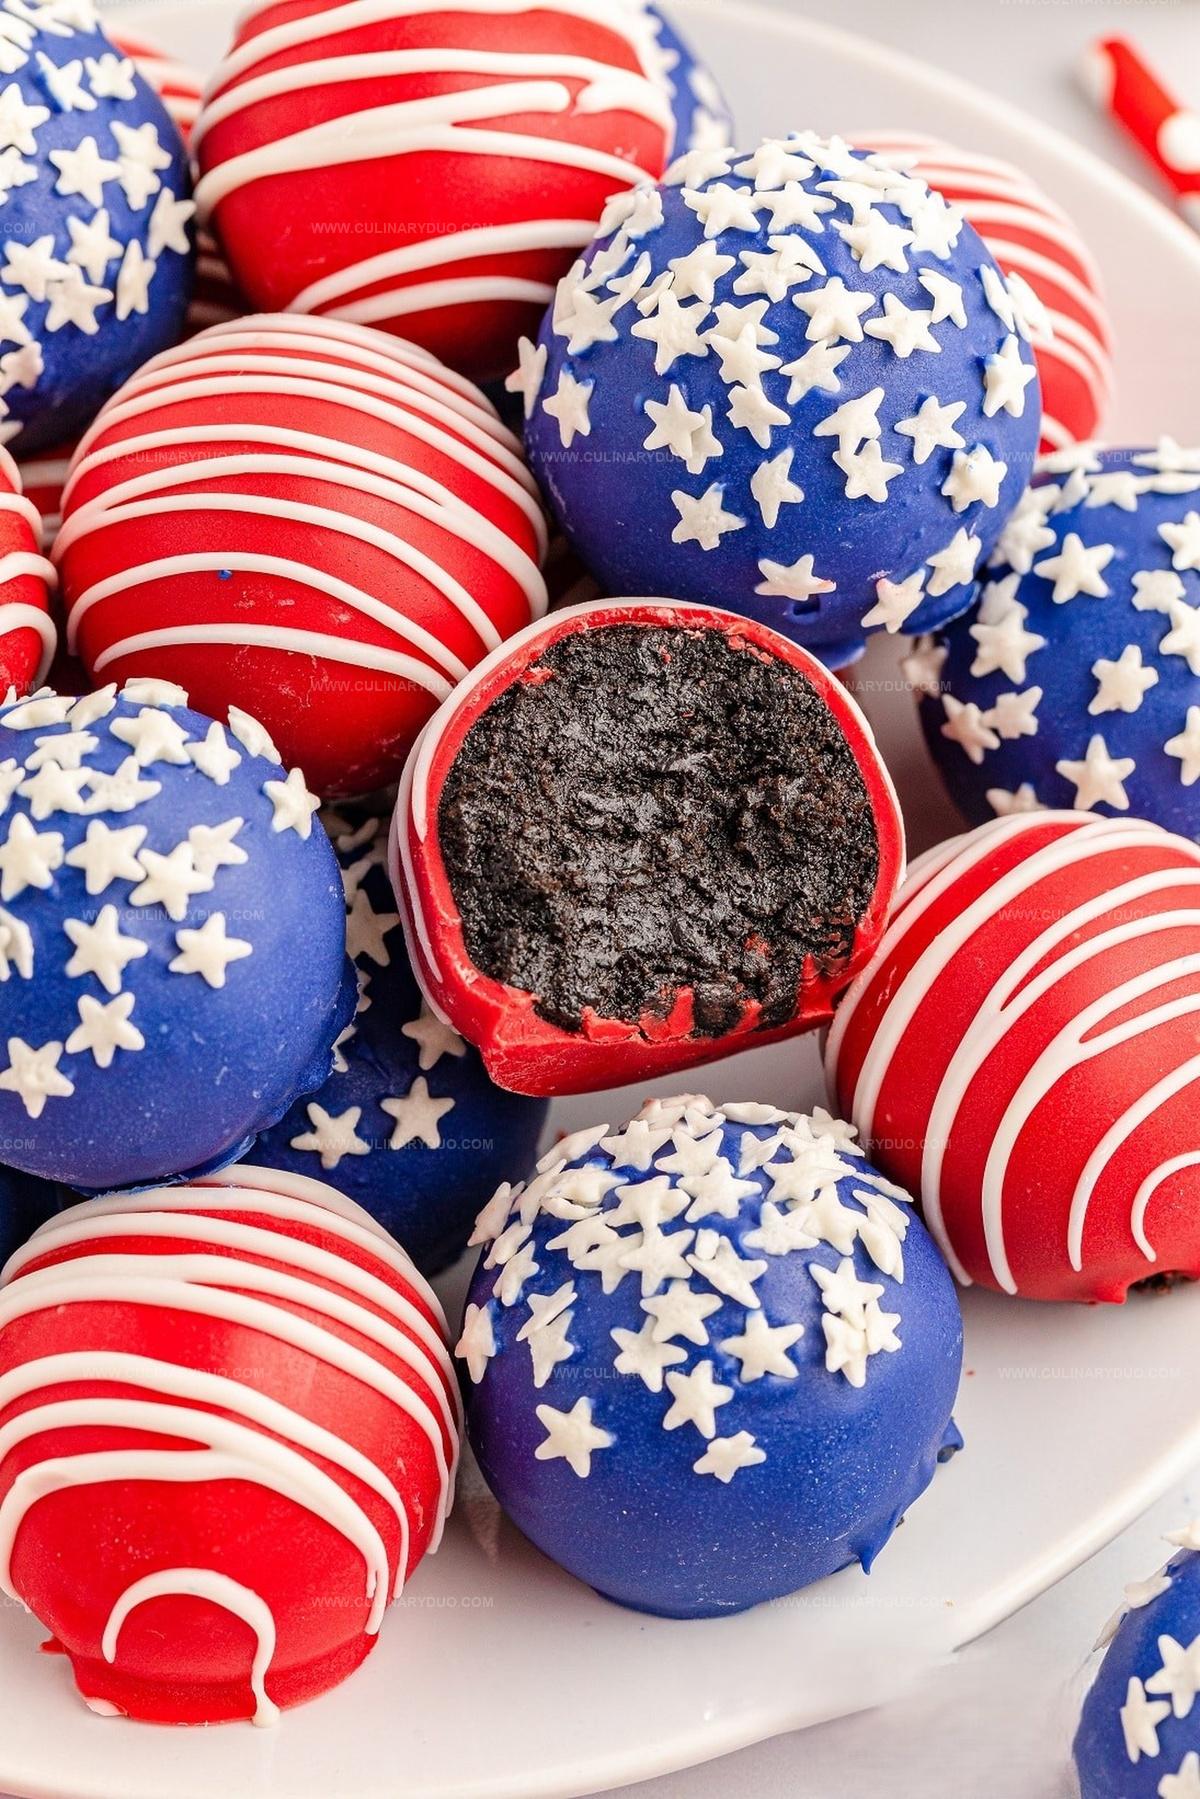
Red, white, and blue Oreo Balls celebrate Independence Day with a sweet American twist. These festive no-bake treats combine crushed Oreos, cream cheese, and patriotic sprinkles that you’ll love sharing at summer gatherings.
Ingredients
Oreo Balls:
Main Ingredients:
- 1 pound (454 grams) Oreo Cookies
- 8 ounces (226 grams) cream cheese
Coating Ingredients:
- 12 ounces (340 grams) blue candy melts
- 12 ounces (340 grams) red candy melts
- 1/3 cup (80 milliliters) white candy melts
Decorative Ingredients:
- White star confetti sprinkles
Instructions
- Prepare two parchment-lined baking trays for Oreo ball assembly. Pulverize Oreo cookies into fine crumbs using a food processor or by crushing in a sealed bag with a rolling pin.
- In a large mixing bowl, whip softened cream cheese using a hand mixer until completely smooth and creamy.
- Incorporate Oreo crumbs into cream cheese mixture, blending thoroughly on medium speed to create a uniform consistency.
- Carefully form mixture into uniform spheres by using a cookie scoop, then gently roll between palms to achieve smooth, round shapes. Arrange balls on prepared baking sheets.
- Chill balls in refrigerator for 2 hours or freeze for 15-20 minutes to firm up the texture.
- Melt blue candy melts in a double boiler over low heat, stirring consistently until completely smooth and glossy.
- Submerge each chilled ball into melted blue coating using a fork, allowing excess to drip off. Place on tray and immediately garnish with white star confetti.
- Refrigerate blue-coated balls to set the chocolate shell.
- Repeat coating process with red candy melts, dipping remaining balls and ensuring complete coverage.
- Gently melt white melting wafers in a microwave-safe piping bag, stirring at 30-second intervals to prevent burning.
- Trim piping bag’s tip and delicately drizzle white lines across red-coated Oreo balls for decorative finish.
- Return decorated balls to refrigerator for 10 minutes to solidify coatings. Store chilled until serving time.
Notes
- Crush Oreos thoroughly to ensure a smooth, consistent texture without large cookie chunks for better binding.
- Keep cream cheese at room temperature to mix more easily and create a homogeneous mixture without lumps.
- Chill balls before coating to prevent them from falling apart during the chocolate dipping process and maintain their shape.
- Use a fork for dipping to allow excess chocolate to drip off, creating a cleaner, more professional-looking finish.
- Work quickly when adding sprinkles to ensure they stick before the candy coating hardens completely.
- For gluten-free version, substitute regular Oreos with gluten-free chocolate sandwich cookies.
- Store in an airtight container in the refrigerator for up to 5 days to maintain freshness and texture.
- Allow balls to sit at room temperature for 5-10 minutes before serving for optimal taste and softer texture.
- Prep Time: 30 minutes
- Cook Time: 2 hours 30 minutes
- Category: Snacks, Desserts
- Method: Blending
- Cuisine: American
Nutrition
- Serving Size: 24
- Calories: 202
- Sugar: 18 g
- Sodium: 80 mg
- Fat: 12 g
- Saturated Fat: 7 g
- Unsaturated Fat: 5 g
- Trans Fat: 0.1 g
- Carbohydrates: 22 g
- Fiber: 0.5 g
- Protein: 2 g
- Cholesterol: 20 mg
Natalie Brooks
Co-Founder & Content Strategist
Expertise
Education
eCornell
Natalie brings the vibrant, plant-powered side to Culinary Duo. After earning her Plant-Based Nutrition Certificate from eCornell, she combined her love for fresh ingredients with a passion for storytelling, aiming to make healthy cooking simple and satisfying.
Her kitchen motto: good food doesn’t need a fancy label, it just needs fresh ideas and a little creativity. Outside of writing and recipe testing, Natalie’s happiest in her garden, exploring farmers’ markets, or mixing global flavors into new kitchen experiments.