Irresistible Pepperoni Pizza Bombs Recipe: Snack Time Magic
Bursting with cheesy goodness and zesty pepperoni pizza bombs, this snack promises a flavor explosion that’ll make taste buds dance.
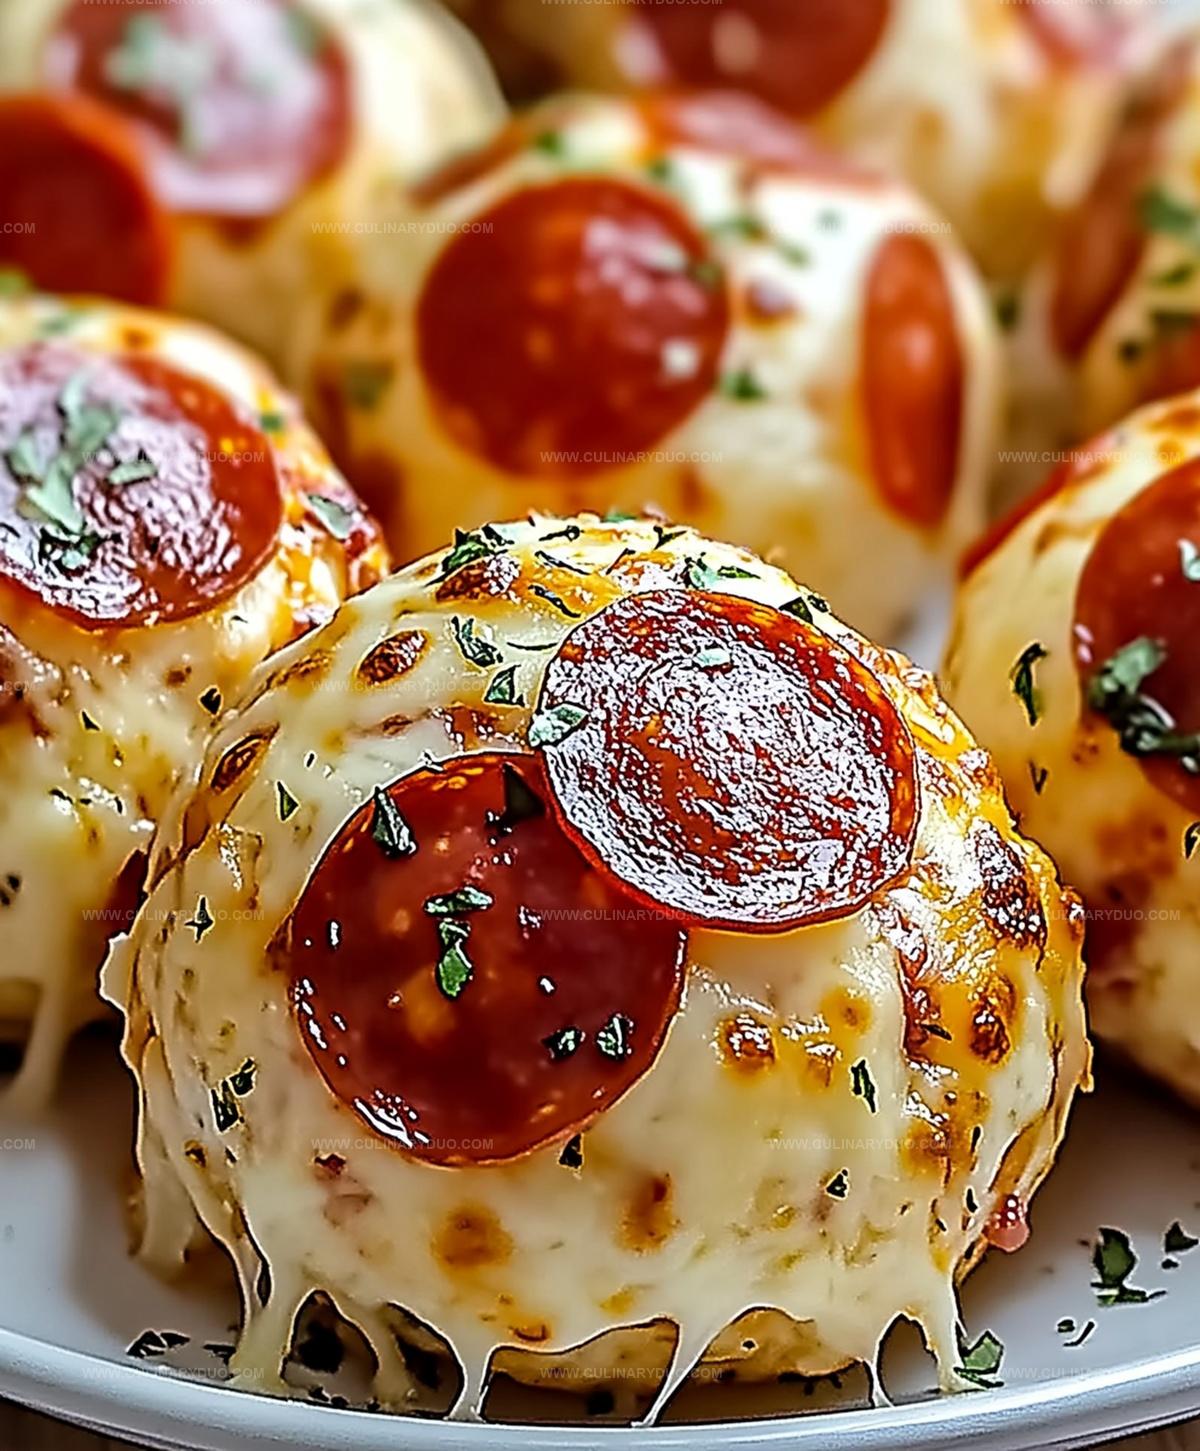
Crispy on the outside and gooey on the inside, these little bites pack an irresistible punch of classic pizza flavors.
Packed with melted mozzarella and tangy marinara, each bomb delivers a satisfying crunch that elevates the traditional pizza experience.
The recipe combines simple ingredients into a mouthwatering treat perfect for game days, parties, or quick appetizers.
Crisp golden dough wraps around savory fillings, creating pockets of pure deliciousness.
Kids and adults alike will devour these handheld delights for sure!
Why Pepperoni Pizza Bombs Are a Snack Hit
Pepperoni Pizza Bombs Ingredient List
Main Ingredients:Sauce and Flavor Enhancers:Finishing Ingredients:Making Pizza Bombs Step by Step
Step 1: Warm Up the Oven
Set your oven to a toasty 375°F and grab a baking sheet.
Line it with parchment paper to prevent any sticky situations.
Step 2: Prepare Pizza Bomb Bases
Take each biscuit and gently press it flat with your hands.
Create a delicious center by adding:Step 3: Create Delightful Parcels
Carefully fold the dough over the yummy filling.
Pinch and seal the edges completely, shaping it into a neat little ball.
Make sure no filling escapes!
Step 4: Position Pizza Bombs
Place each pizza bomb on the prepared baking sheet with the sealed side facing down.
This helps keep all the delicious ingredients inside.
Step 5: Add Flavor Boost
Brush each pizza bomb with melted butter for a golden, rich finish.
Sprinkle generously with:Step 6: Bake to Perfection
Slide the baking sheet into the preheated oven.
Bake for 12-15 minutes until the pizza bombs turn a beautiful golden brown color.
Watch them transform into crispy, mouth-watering treats!
Tips for Cheesy Pepperoni Pizza Bombs
Pizza Bombs Recipe Variations for Pizza Lovers
Serving Hot Pepperoni Pizza Bombs at Parties
Storing Leftover Pepperoni Pizza Bombs
FAQs
Yes, you can substitute refrigerated biscuit dough with homemade pizza dough or even puff pastry for a similar result.
Absolutely! You can prepare the pizza bombs and refrigerate them before baking. Just add an extra 2-3 minutes to the baking time when cooking from cold.
Swap pepperoni for cooked sausage, ham, or even vegetarian options like spinach and mushrooms. Just ensure fillings are pre-cooked and not too wet.
Seal the edges carefully by pinching and pressing the dough together. Make sure there are no gaps or thin spots where filling can escape during baking.
Print
Pepperoni Pizza Bombs Recipe
- Total Time: 30 minutes
- Yield: 8 1x
Description
Pepperoni pizza bombs explode with cheesy goodness, delivering classic Italian-American flavors in one irresistible bite. Crispy golden shells packed with melted mozzarella and spicy pepperoni promise an epic snack you’ll crave again and again.
Ingredients
Main Ingredients:
- 1 can refrigerated biscuit dough
- 20 slices pepperoni
- 1 cup (240 milliliters) shredded mozzarella cheese
Cheese Topping and Seasoning:
- 1/2 teaspoon garlic powder
- 1/2 teaspoon Italian seasoning
Sauce and Finishing Ingredients:
- 1/2 cup (120 milliliters) marinara sauce
- 2 tablespoons (30 milliliters) melted butter
Instructions
- Prepare the oven by heating to 375°F and lining a baking sheet with parchment paper for optimal cooking surface.
- Gently press each biscuit dough into a thin, even circle, creating a flat canvas for the filling.
- Layer marinara sauce at the center of each dough circle, ensuring a moderate amount to prevent overfilling.
- Distribute mozzarella cheese evenly over the marinara, creating a smooth cheese base.
- Carefully place two pepperoni slices on top of the cheese, positioning them centrally.
- Carefully fold the dough edges over the filling, creating a secure pocket and pinching the seams tightly to prevent leakage.
- Arrange the sealed pizza bombs seam-side down on the prepared baking sheet, allowing space between each bomb.
- Melt butter and generously brush the exterior of each pizza bomb for a golden, crispy finish.
- Sprinkle a blend of garlic powder, Italian seasoning, and Parmesan cheese over the buttered surface for enhanced flavor.
- Bake in the preheated oven for 12-15 minutes, watching for a rich golden-brown color indicating perfect doneness.
Notes
- Seal edges tightly to prevent filling from leaking during baking, ensuring a perfect pizza bomb every time.
- Try alternative fillings like vegetarian options, using diced bell peppers, mushrooms, or plant-based cheese for dietary preferences.
- Use cold ingredients to maintain dough structure and prevent soggy bottoms, creating a crisp and golden exterior.
- Allow pizza bombs to cool slightly before serving to avoid burning your mouth and let flavors meld together perfectly.
- Prep Time: 15 minutes
- Cook Time: 15 minutes
- Category: Lunch, Dinner, Appetizer, Snacks
- Method: Baking
- Cuisine: Italian
Nutrition
- Serving Size: 8
- Calories: 280 kcal
- Sugar: 3 g
- Sodium: 620 mg
- Fat: 18 g
- Saturated Fat: 8 g
- Unsaturated Fat: 7 g
- Trans Fat: 0.5 g
- Carbohydrates: 20 g
- Fiber: 1 g
- Protein: 12 g
- Cholesterol: 40 mg
Natalie Brooks
Co-Founder & Content Strategist
Expertise
Education
eCornell
Natalie brings the vibrant, plant-powered side to Culinary Duo. After earning her Plant-Based Nutrition Certificate from eCornell, she combined her love for fresh ingredients with a passion for storytelling, aiming to make healthy cooking simple and satisfying.
Her kitchen motto: good food doesn’t need a fancy label, it just needs fresh ideas and a little creativity. Outside of writing and recipe testing, Natalie’s happiest in her garden, exploring farmers’ markets, or mixing global flavors into new kitchen experiments.