Dreamy Simple Cream Cheese Mints Recipe for Sweet Celebrations
Creamy, delicate, and utterly irresistible, these homemade cream cheese mints are a delightful treat that will melt in your mouth.
With just a few simple ingredients, you can whip up these delectable bite-sized confections that are perfect for any occasion.
The secret to their melt-in-your-mouth texture lies in the smooth cream cheese base, creating a luxurious and velvety sensation.
Crafted with care and a touch of sweetness, these mints offer a refreshing burst of flavor that will leave everyone asking for more.
Whether you’re hosting a party, celebrating a special event, or simply indulging in a sweet moment, these cream cheese mints are sure to impress.
Why Cream Cheese Mints Are Crowd-Pleasers
Ingredients for Simple Cream Cheese Mints
Main Ingredients:Optional Ingredients:Serving and Preparation Tools:Easy Steps to Make Mints
Step 1: Whip Cream Cheese
Grab a spacious mixing bowl and plop in the softened cream cheese.
Use an electric mixer to whirl and beat the cream cheese until it becomes silky smooth and free of lumps.
The texture should look creamy and glossy.
Step 2: Create Dough Base
Slowly sprinkle powdered sugar into the cream cheese while continuing to mix.
Keep blending until the mixture transforms into a soft, pliable dough that holds together nicely.
The consistency should feel similar to play-dough but smoother.
Step 3: Infuse Peppermint Flavor
Pour peppermint extract into the dough and gently fold it throughout.
Mix thoroughly to ensure the minty essence is evenly distributed, giving your mints a refreshing and bright taste.
Step 4: Add Color and Personality
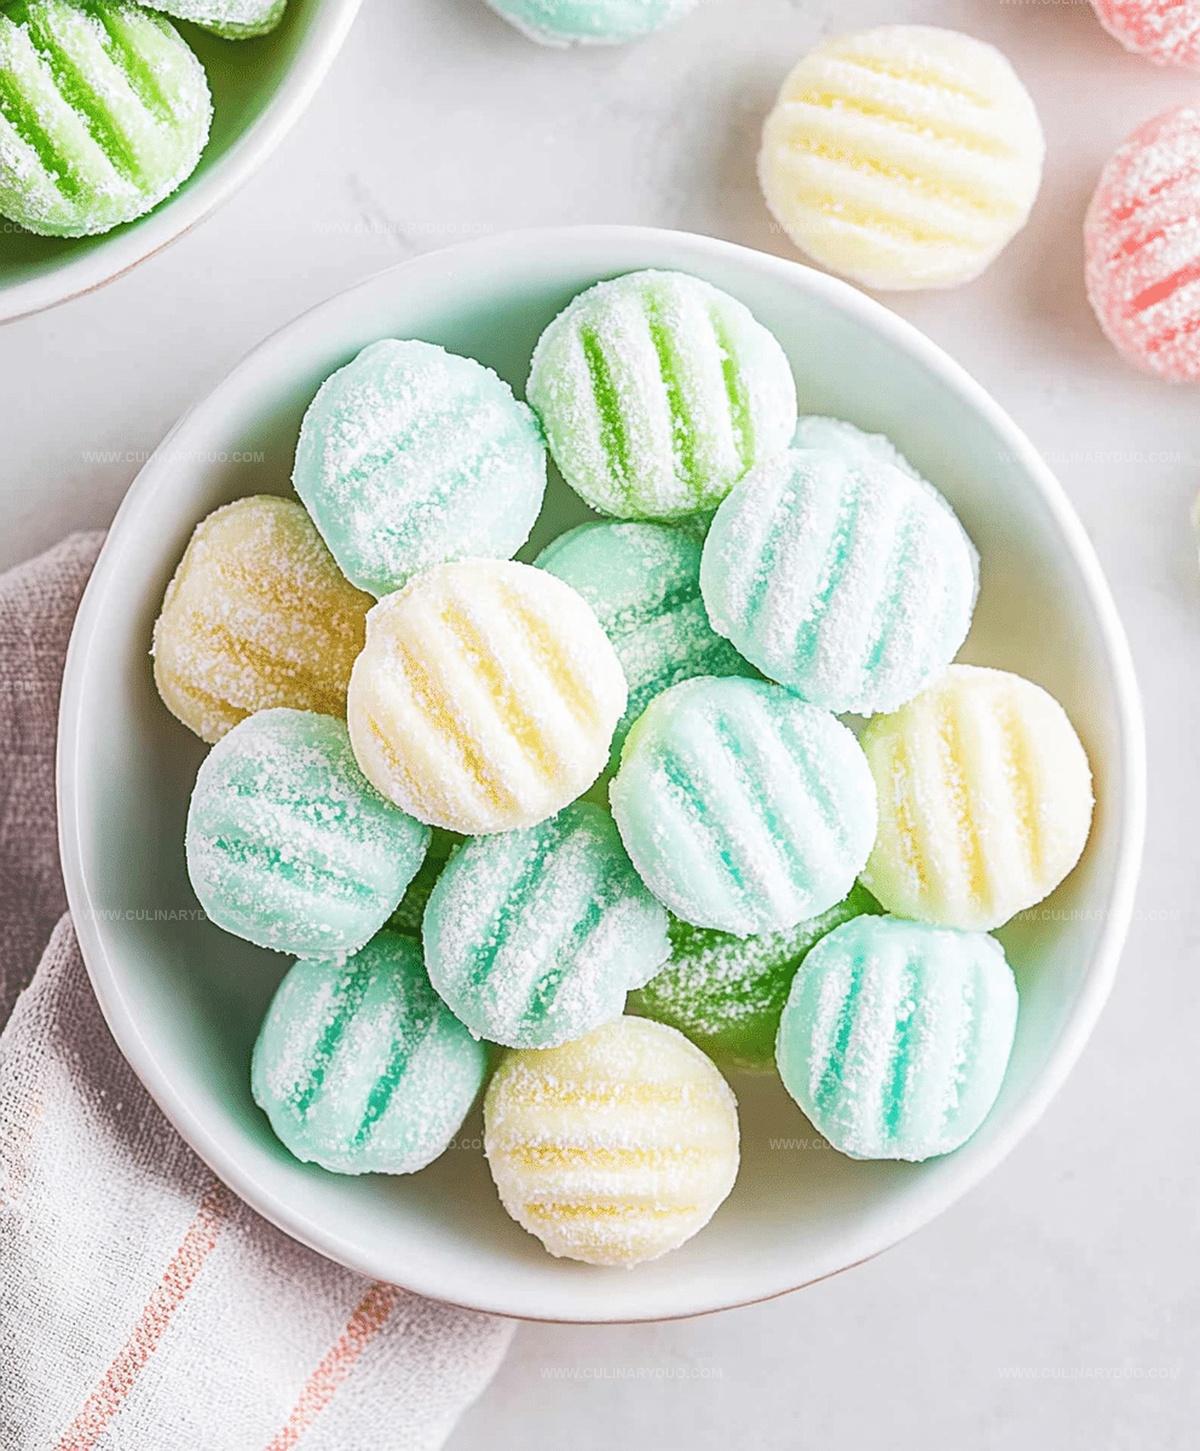
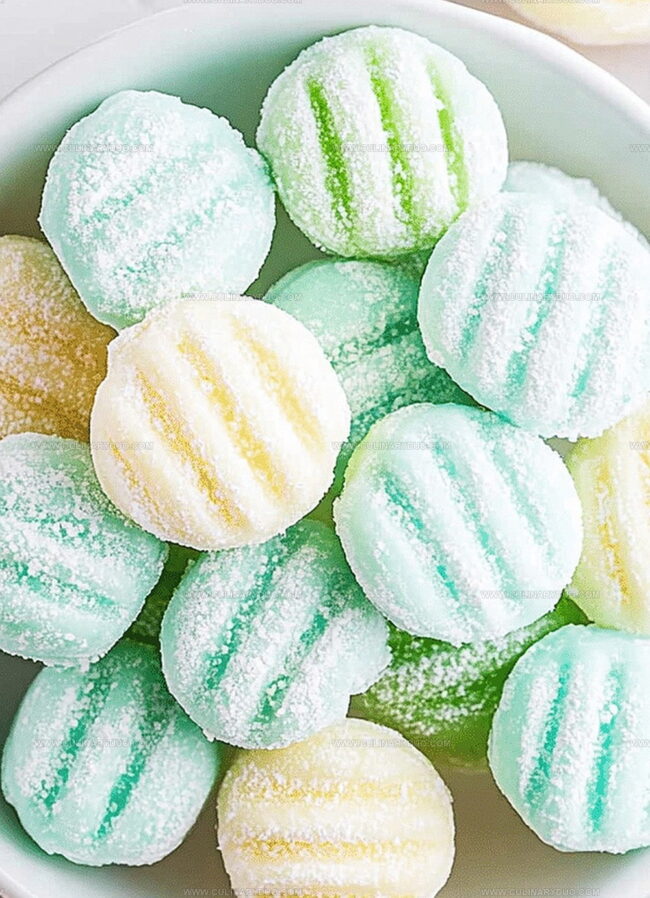
If you want vibrant mints, divide the dough and add gel food coloring.
Knead the color into each portion until it’s completely uniform.
You can create multiple color variations like pastel pink, soft blue, or mint green.
Step 5: Shape Delightful Treats
Use your hands to roll small portions of dough into petite balls.
Alternatively, press the dough into decorative silicone molds for fancy shapes.
Work gently to maintain the dough’s smooth texture.
Step 6: Set and Dry
Place your shaped mints on parchment paper, allowing them space to set.
Let them dry at room temperature for 2-3 hours until they become firm and hold their shape perfectly.
Once set, they’re ready to enjoy or store.
Tips for Cream Cheese Mint Success

Creative Cream Cheese Mint Twists
Serving Cream Cheese Mints Creatively
Mint Storage for Special Occasions
FAQs
Absolutely! You can swap peppermint extract with other extracts like vanilla, almond, or lemon for unique mint variations.
When stored in an airtight container in the refrigerator, these mints can stay fresh for up to two weeks.
No special equipment is required. You can use your hands, a rolling pin, or even simple candy molds to shape the mints.
Yes, these mints are perfect for weddings, baby showers, holidays, and other special occasions. They’re easy to make and always impress guests.
Print
Simple Cream Cheese Mints Recipe
- Total Time: 3 hours 20 minutes
- Yield: 24 1x
Description
Delightful cream cheese mints bring sweet nostalgia to any gathering, offering a melt-in-your-mouth treat perfect for celebrations. Guests will savor these light, creamy confections that blend classic flavor with elegant simplicity.
Ingredients
Main Ingredients:
- 4 ounces (113 grams) cream cheese, softened
- 3 cups (375 grams) powdered sugar
Flavoring:
- 12 teaspoons peppermint extract
Optional Ingredient:
- Gel food coloring
Instructions
- Whip softened cream cheese in a spacious mixing bowl until velvety and lump-free.
- Incorporate powdered sugar gradually, blending until a cohesive dough forms with a smooth consistency.
- Infuse the mixture with peppermint extract, ensuring even distribution throughout the dough.
- Separate the dough into portions and introduce gel food coloring for vibrant hues, thoroughly mixing to achieve uniform color.
- Craft small, uniform spheres by gently rolling the dough between palms, or delicately press into decorative silicone molds for intricate shapes.
- Arrange mints on parchment-lined trays, allowing them to rest and solidify at room temperature for 2-3 hours until they develop a firm, stable texture.
Notes
- Gentle mixing prevents tough mints, so fold ingredients softly and avoid overmixing the cream cheese and sugar blend.
- Try natural food colorings like beet juice or matcha powder for vibrant, chemical-free colors that add subtle flavor undertones.
- Control sweetness by gradually adding powdered sugar and tasting, allowing customization for different palate preferences.
- Use silicone molds with interesting shapes to create elegant, restaurant-style presentation that elevates these simple homemade treats.
- Prep Time: 20 minutes
- Cook Time: 3 hours
- Category: Snacks, Desserts
- Method: Rolling
- Cuisine: American
Nutrition
- Serving Size: 24
- Calories: 110
- Sugar: 23 g
- Sodium: 25 mg
- Fat: 3 g
- Saturated Fat: 2 g
- Unsaturated Fat: 1 g
- Trans Fat: 0 g
- Carbohydrates: 24 g
- Fiber: 0 g
- Protein: 1 g
- Cholesterol: 10 mg
Natalie Brooks
Co-Founder & Content Strategist
Expertise
Education
eCornell
Natalie brings the vibrant, plant-powered side to Culinary Duo. After earning her Plant-Based Nutrition Certificate from eCornell, she combined her love for fresh ingredients with a passion for storytelling, aiming to make healthy cooking simple and satisfying.
Her kitchen motto: good food doesn’t need a fancy label, it just needs fresh ideas and a little creativity. Outside of writing and recipe testing, Natalie’s happiest in her garden, exploring farmers’ markets, or mixing global flavors into new kitchen experiments.