Sweet & Tangy Sour Cherry Jam Recipe: No Pectin, Small Batch Magic
Sweet memories dance through my sour cherry jam, bursting with childhood nostalgia and pure seasonal delight.
Grandma’s kitchen whispers secrets of preserving summer’s bounty in each glistening spoonful.
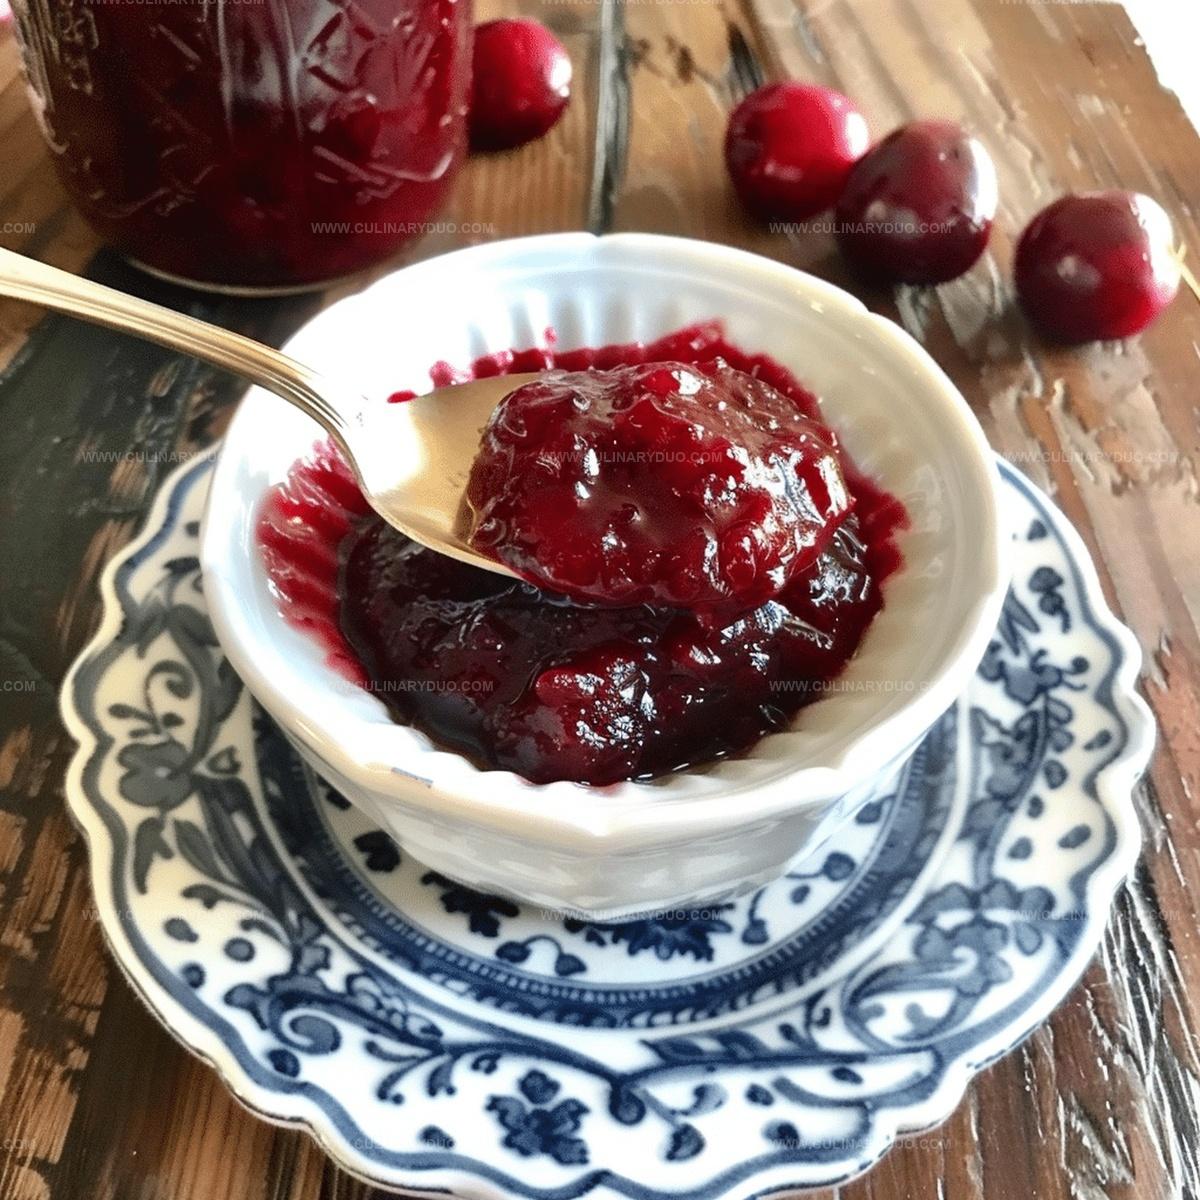
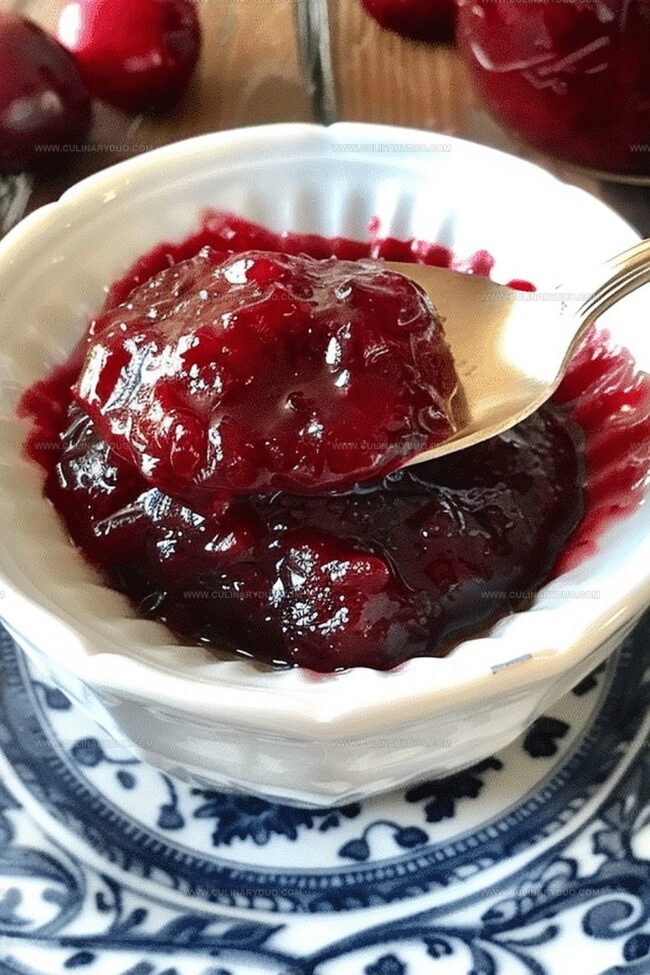
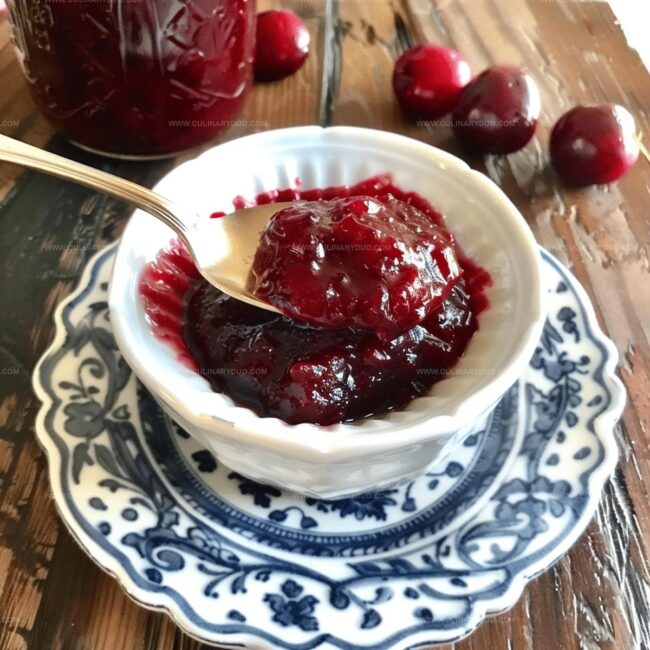
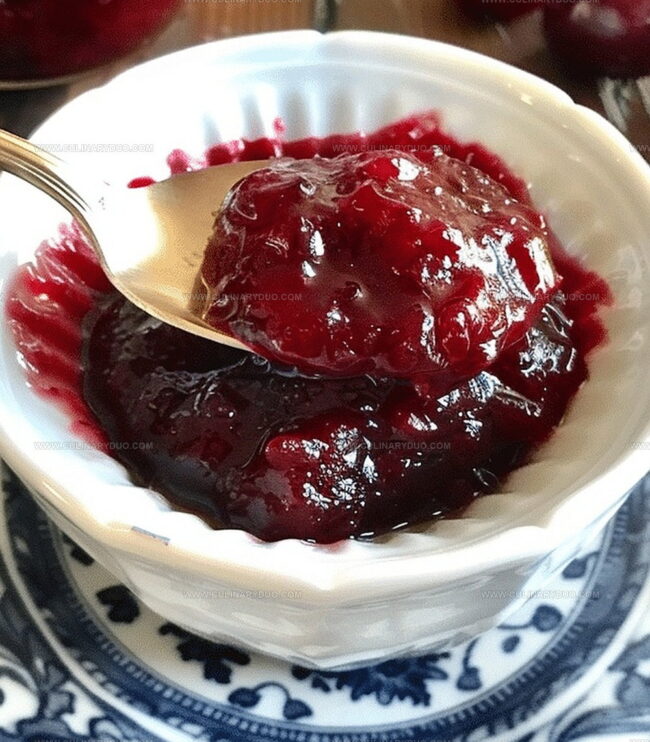
Deep ruby colors peek from glass jars, promising intense fruit flavor without commercial pectin.
Simple ingredients blend perfectly with minimal cooking time.
Small batches guarantee maximum freshness and concentrated taste.
Homemade preserves always beat store-bought versions hands down.
Sour Cherry Jam Small Batch, Big Taste
Ingredients For Small Batch Sour Cherry Jam
Fresh Fruit:Sugar and Sweetener:Flavor Enhancers:Steps To Make Sour Cherry Jam At Home
Step 1: Prepare Cherries and Sugar
Grab a saucepan and toss in your fresh sour cherries.
Sprinkle the sugar over the cherries, creating a sweet-tart base.
Gently stir to coat every cherry with sugar, helping them release their natural juices.
Let the mixture rest and mingle for half an hour, allowing the flavors to develop and the sugar to draw out the cherries’ vibrant essence.
Step 2: Simmer and Thicken
Place the saucepan on the stove over medium heat.
Watch as the cherry-sugar mixture begins to bubble and transform.
Reduce the heat to a gentle simmer, stirring frequently to prevent sticking.
Keep a close eye on the jam as it slowly thickens and develops a rich, glossy texture.
This process will take about 20-30 minutes, so be patient and enjoy the amazing aroma filling your kitchen.
Step 3: Add Vanilla Essence
When the jam starts to look thick and syrupy, introduce a splash of vanilla.
Stir the vanilla into the bubbling mixture, letting it infuse its warm, comforting flavor throughout the jam.
Continue cooking for an additional 5 minutes, allowing the vanilla to blend seamlessly with the sour cherries.
Step 4: Cool and Store
Remove the saucepan from the heat and let the jam cool down naturally.
Once it reaches room temperature, carefully transfer the jam into clean, sterilized jars.
Pop these jars into the refrigerator to chill and set.
Your homemade sour cherry jam is now ready to spread on toast, swirl into yogurt, or enjoy straight from the spoon!
Tips To Nail Sour Cherry Jam Texture
Fresh Ways To Use Sour Cherry Jam Up
Serving Sour Cherry Jam With Breads
How To Store Sour Cherry Jam Properly
FAQs
Sour cherries have a tart, intense flavor and are smaller and softer than sweet cherries. They’re perfect for making jam because of their high pectin content and bright, tangy taste.
Yes, remove the pits before cooking. You can use a cherry pitter or carefully cut the cherries and remove pits by hand to ensure a smooth jam texture.
The jam is ready when it coats the back of a spoon and leaves a clear trail when you run a finger through it. The mixture will also look thicker and slightly glossy.
Sugar is crucial for preservation and setting the jam, so reducing it significantly might affect the texture and shelf life.
Print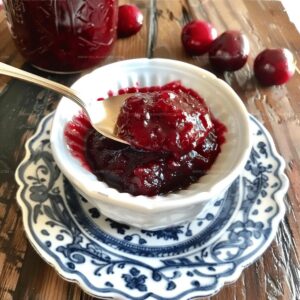
Sour Cherry Jam (No Pectin, Small Batch) Recipe
- Total Time: 1 hour 5 minutes
- Yield: 4 1x
Description
Homemade sour cherry jam brings rustic European charm to your breakfast table, singing with tart and sweet notes. Polish grandmothers would proudly share this simple, pure preserve that celebrates summer’s most beloved fruit.
Ingredients
Main Fruits:
- 2 cups sour cherries, pitted and chopped
Sweeteners:
- 1 cup granulated sugar
Flavor Enhancers:
- 1 teaspoon vanilla bean paste, seeds from 1 vanilla bean, or vanilla extract
Instructions
- Gently mix pitted sour cherries with granulated sugar in a heavy-bottomed saucepan, allowing the fruit to macerate and release natural juices for half an hour at room temperature.
- Place the saucepan over medium heat, stirring occasionally and bringing the mixture to a gentle boil, which helps dissolve sugar crystals and intensify fruit flavors.
- Reduce heat to low, maintaining a soft simmer and continuously stirring to prevent scorching, allowing the liquid to gradually thicken and reduce for approximately 25 minutes.
- Observe the jam’s consistency, watching for a glossy, slightly viscous texture that coats the back of a spoon without immediately running off.
- Incorporate pure vanilla extract, stirring thoroughly to distribute the aromatic essence evenly throughout the jam.
- Continue cooking for an additional 3-4 minutes, which helps meld the flavors and further concentrate the jam’s texture.
- Remove from heat and let the jam cool naturally for 10-15 minutes, during which it will continue to set and thicken.
- Carefully transfer the warm jam into sanitized glass containers, leaving a small headspace to allow for potential expansion.
- Seal the jars and refrigerate, where the jam will maintain its vibrant flavor and smooth consistency for several weeks.
Notes
- Adjust sugar levels to control sweetness, using less for tart cherries or more for a sweeter spread.
- Check jam consistency by placing a small amount on a cold plate; it should wrinkle when pushed with a finger, indicating it’s ready.
- Consider adding a splash of lemon juice to enhance flavor and help with natural pectin activation.
- For a smoother texture, gently mash cherries during cooking or use an immersion blender to break down fruit chunks.
- Prep Time: 30 minutes
- Cook Time: 35 minutes
- Category: Snacks, Desserts
- Method: Simmering
- Cuisine: American
Nutrition
- Serving Size: 4
- Calories: 162 kcal
- Sugar: 39 g
- Sodium: 0 mg
- Fat: 0 g
- Saturated Fat: 0 g
- Unsaturated Fat: 0 g
- Trans Fat: 0 g
- Carbohydrates: 43 g
- Fiber: 1.5 g
- Protein: 1 g
- Cholesterol: 0 mg


Natalie Brooks
Co-Founder & Content Strategist
Expertise
Education
eCornell
Natalie brings the vibrant, plant-powered side to Culinary Duo. After earning her Plant-Based Nutrition Certificate from eCornell, she combined her love for fresh ingredients with a passion for storytelling, aiming to make healthy cooking simple and satisfying.
Her kitchen motto: good food doesn’t need a fancy label, it just needs fresh ideas and a little creativity. Outside of writing and recipe testing, Natalie’s happiest in her garden, exploring farmers’ markets, or mixing global flavors into new kitchen experiments.