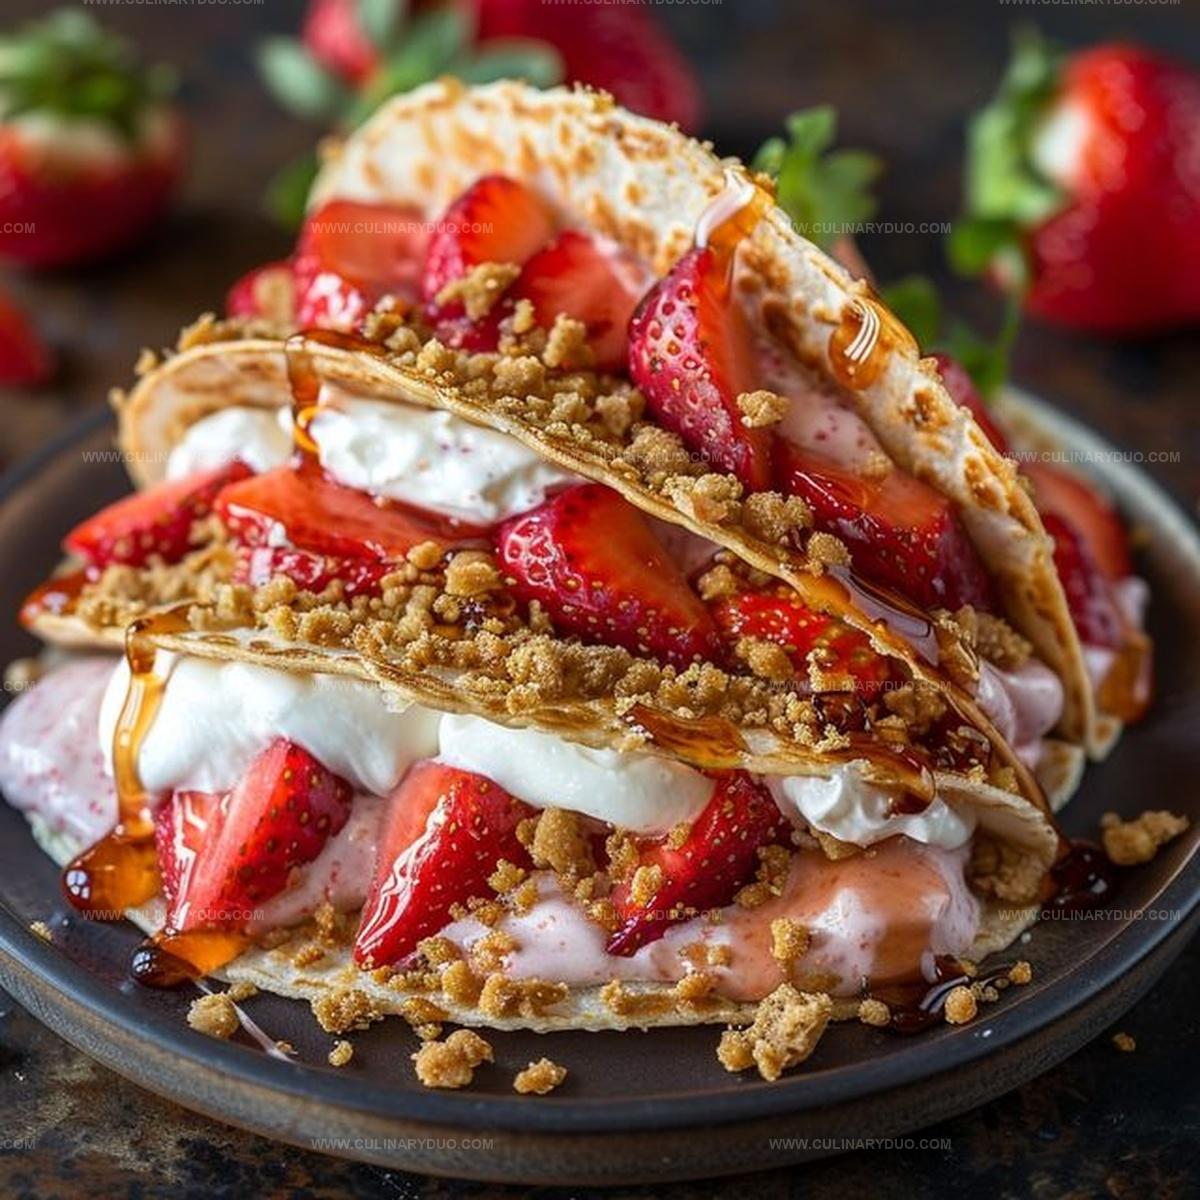
Sweet Strawberry Crunch Cheesecake Tacos Recipe for Dessert Lovers
Sweet meets savory in these delightful strawberry crunch cheesecake tacos that blend creamy and crispy textures into one irresistible dessert.
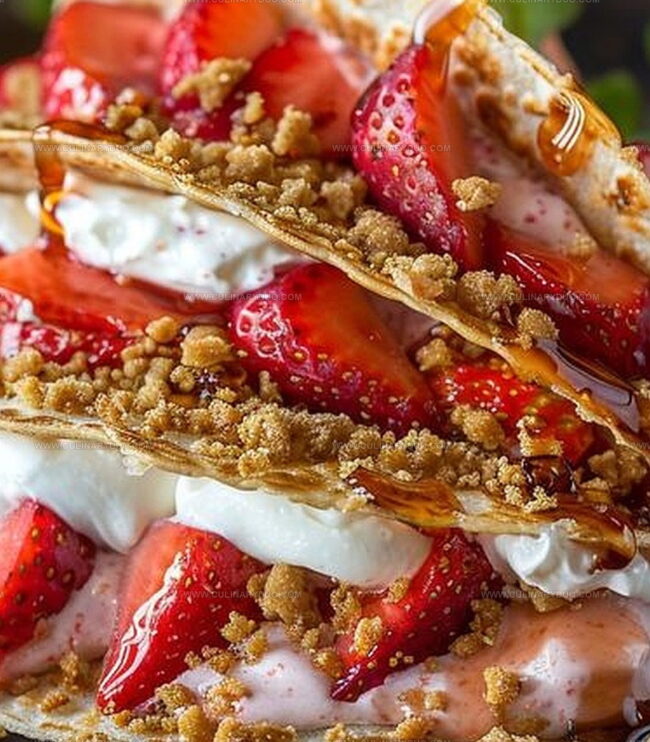
The unexpected combination of soft cheesecake filling nestled in a crunchy taco shell creates a mouthwatering treat that surprises and delights.
Strawberries add a burst of fresh, vibrant flavor to every single bite.
Crispy shells provide the perfect contrast to the smooth, rich cheesecake mixture.
Layers of strawberry and a crunchy topping elevate this dessert from ordinary to extraordinary.
Each taco promises a symphony of flavors and textures that will have everyone asking for seconds.
Strawberry Crunch Cheesecake Tacos – Taste Why

What’s Needed For Cheesecake Taco Fun
Cheesecake Base:Taco Shell Components:Topping and Filling Ingredients:Making Strawberry Crunch Cheesecake Tacos Easily
Step 1: Whip Up Creamy Cheesecake Filling
Grab a mixing bowl and combine cream cheese, sugar, and vanilla extract.
Beat the ingredients until the mixture becomes incredibly smooth and velvety.
Whip with enthusiasm until no lumps remain.
Step 2: Fold In Fluffy Whipped Cream
Gently fold whipped cream into the cream cheese mixture.
Use a soft, sweeping motion to keep the filling light and airy.
Set the bowl aside once the mixture looks perfectly blended.
Step 3: Prepare Sweet Strawberry Topping
Slice fresh strawberries and toss them with sugar.
Let the berries sit and develop a delicious syrupy texture while you continue preparing the other components.
Step 4: Create Crispy Taco Shells
Preheat the oven to 350°F.
Take soft tortillas and brush them with melted butter.
Sprinkle a generous coating of cinnamon sugar over each tortilla.
Carefully drape the tortillas over oven racks to create a taco shell shape.
Bake for 8-10 minutes until golden and crisp.
Step 5: Assemble Cheesecake Tacos
Once the shells have cooled slightly, fill them with the creamy cheesecake mixture.
Top with the sugared strawberries.
Sprinkle crushed graham crackers and sliced almonds over the filling for a delightful crunch.
Step 6: Serve and Enjoy
Arrange the strawberry crunch cheesecake tacos on a serving platter.
These treats are best enjoyed immediately while the shells remain crisp and the filling is cool and creamy.
Pro Tips For Sweet Cheesecake Taco Success
Taco Styles For Cheesecake Crunch Fans
Serve Strawberry Cheesecake Tacos Like A Pro

Storing Strawberry Crunch Tacos Right Every Time
FAQs
Make sure to drape tortillas gently over the oven rack and bake them until just crisp. Use thin flour tortillas for best results.
Yes, prepare the filling up to 2 days in advance and store covered in the refrigerator. Just whip it briefly before assembling to restore its creamy texture.
Fresh, ripe strawberries are ideal. Choose bright red, firm berries without bruises or soft spots for the most flavorful result.
Absolutely! Kids love the fun taco shape and sweet combination of creamy cheesecake, fresh strawberries, and crunchy graham cracker topping.
Print
Strawberry Crunch Cheesecake Tacos Recipe
- Total Time: 30 minutes
- Yield: 6 1x
Description
Indulgent Strawberry Crunch Cheesecake Tacos blend sweet and creamy flavors with crispy textures in a delightful dessert mashup. Mexican-inspired creativity meets classic cheesecake, offering a playful twist that promises pure culinary excitement for dessert enthusiasts.
Ingredients
Strawberry Crunch Cheesecake Tacos
Main Ingredients:
- 8 ounces (226 grams) cream cheese (softened)
- 6 small flour tortillas
- 1 cup (240 milliliters) fresh strawberries (diced)
Dairy and Cream Ingredients:
- 1 cup (240 milliliters) whipped cream
- 1/4 cup (50 grams) granulated sugar
- 1 tablespoon (15 grams) granulated sugar
- 1 teaspoon (5 milliliters) vanilla extract
Coating and Topping Ingredients:
- 2 tablespoons (30 grams) unsalted butter (melted)
- 1/4 cup (50 grams) cinnamon sugar
- 1/2 cup (60 grams) crushed graham crackers
- 1/4 cup (30 grams) sliced almonds (toasted)
Instructions
- Whip cream cheese, sugar, and vanilla until velvety and lump-free at room temperature.
- Gently incorporate whipped cream into mixture, creating a light and airy filling.
- Macerate strawberries with sugar to release natural juices and enhance sweetness.
- Heat oven to 350°F, preparing a rack for shaping taco shells.
- Liberally brush tortillas with melted butter, ensuring complete coverage.
- Generously dust buttered tortillas with cinnamon sugar mixture for caramelized exterior.
- Carefully drape tortillas over oven rack, creating curved taco shell shape.
- Bake shells for 8-10 minutes until golden and crisp, watching closely to prevent burning.
- Allow shells to cool completely, maintaining their delicate curved structure.
- Fill crisp shells with creamy cheesecake mixture, spreading evenly to edges.
- Top filled shells with macerated strawberries for vibrant fruity layer.
- Sprinkle crushed graham crackers and sliced almonds over top for crunchy texture.
- Serve immediately to preserve shell’s crispness and prevent sogginess.
Notes
- Soften cream cheese at room temperature for at least 30 minutes to achieve a silky, lump-free filling that blends seamlessly.
- Use fresh, ripe strawberries for the most vibrant flavor and natural sweetness in the filling.
- Transform this dessert into a gluten-free option by substituting regular tortillas with corn tortillas and using gluten-free graham crackers.
- Make shells ahead of time and store in an airtight container to maintain their crispy texture and save preparation time.
- Prep Time: 20 minutes
- Cook Time: 10 minutes
- Category: Desserts, Snacks
- Method: Baking
- Cuisine: American
Nutrition
- Serving Size: 6
- Calories: 299 kcal
- Sugar: 19 g
- Sodium: 146 mg
- Fat: 20 g
- Saturated Fat: 10 g
- Unsaturated Fat: 8 g
- Trans Fat: 0.3 g
- Carbohydrates: 23 g
- Fiber: 2 g
- Protein: 5 g
- Cholesterol: 44 mg
Natalie Brooks
Co-Founder & Content Strategist
Expertise
Education
eCornell
Natalie brings the vibrant, plant-powered side to Culinary Duo. After earning her Plant-Based Nutrition Certificate from eCornell, she combined her love for fresh ingredients with a passion for storytelling, aiming to make healthy cooking simple and satisfying.
Her kitchen motto: good food doesn’t need a fancy label, it just needs fresh ideas and a little creativity. Outside of writing and recipe testing, Natalie’s happiest in her garden, exploring farmers’ markets, or mixing global flavors into new kitchen experiments.