Dreamy Banana Pudding Rice Krispie Treats Recipe for Sweet Smiles
Creamy banana pudding meets classic rice krispie squares in a nostalgic banana pudding rice krispie treat that sparks childhood memories.
Marshmallows melt into a sweet canvas, blending comfort and creativity.
Each bite promises a delightful twist on a beloved dessert.
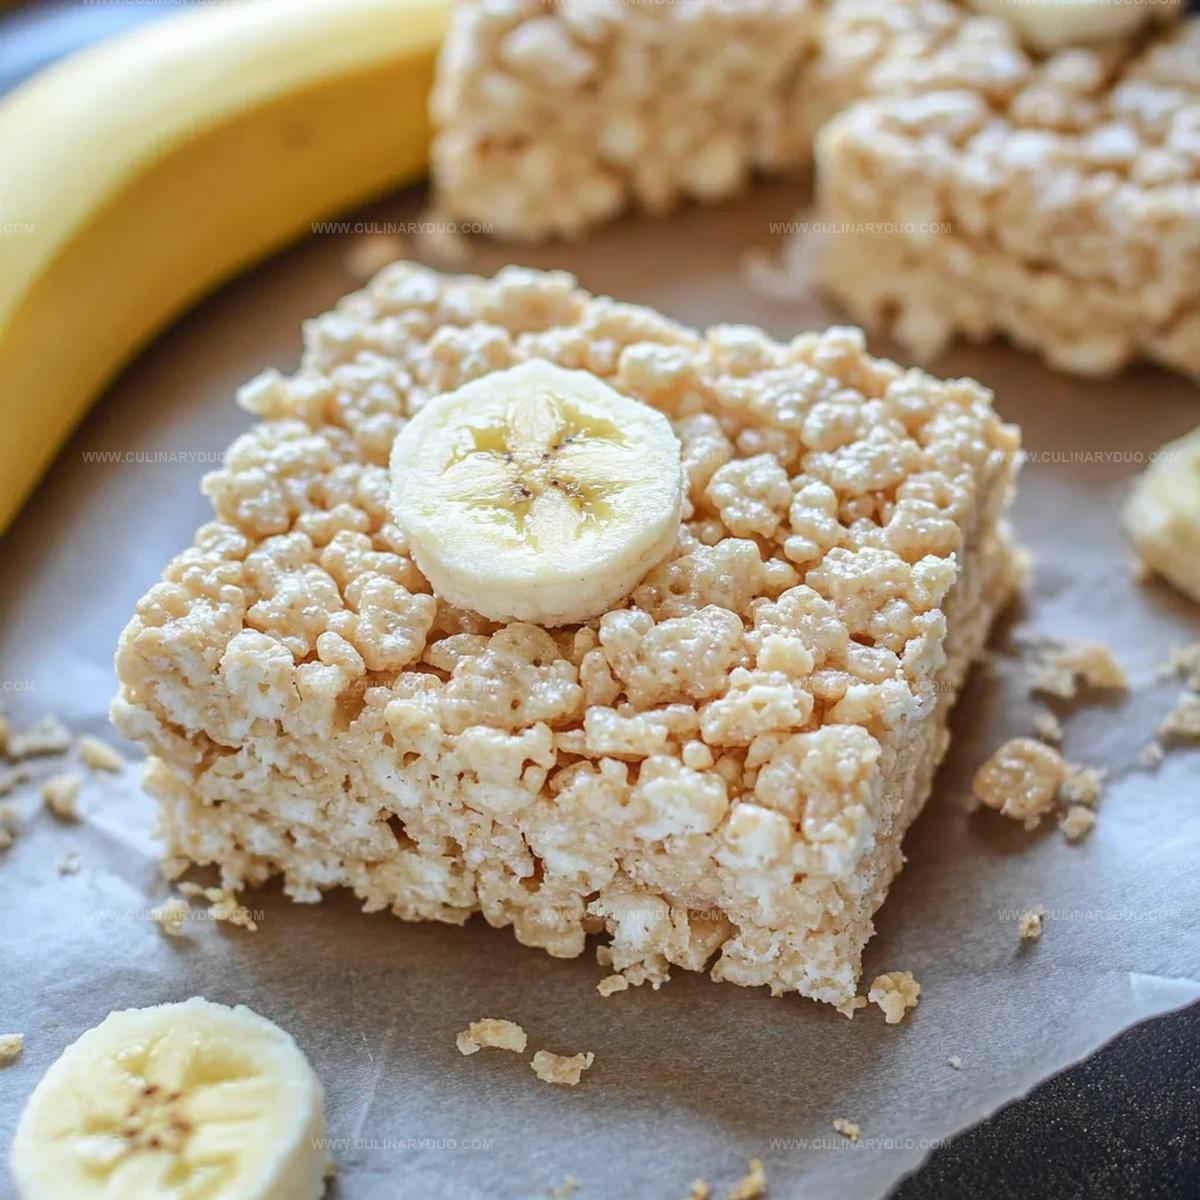
Soft, gooey textures combine with subtle banana essence, creating an irresistible snack.
Southern charm infuses every morsel of this simple yet spectacular treat.
Layers of flavor dance across your palate, inviting pure indulgence.
You’ll want to share these magical squares with everyone at the table.
Reasons To Try Banana Pudding Rice Krispie Treats
What’s Needed For Banana Krispie Treat Perfection
Base Ingredients:Flavor Enhancers:Preparation Helper:Steps For Sweet Banana Krispie Treat Success
Step 1: Prepare Baking Surface
Grab a 9 x 13 inch pan and generously coat it with non-stick cooking spray to ensure easy removal of your delicious treats later.
Step 2: Melt Butter
Place butter in a spacious microwave-safe bowl and heat until completely liquefied, creating a smooth base for your sweet creation.
Step 3: Activate Marshmallow Magic
Drop the entire bag of marshmallows into the melted butter and begin stirring to start the transformation.
Step 4: Create Marshmallow Smoothness
Microwave the marshmallow mixture in 45-second intervals, stirring between each session.
This process ensures a silky, consistent texture that will bind your treats perfectly.
Step 5: Infuse Banana Flavor
Sprinkle the instant banana pudding mix into the marshmallow blend, stirring thoroughly to distribute the creamy banana essence throughout the mixture.
Step 6: Incorporate Crunchy Base
Fold the Rice Krispies into the marshmallow-pudding mixture, ensuring every crisp is coated with the sweet, banana-flavored coating.
Step 7: Shape Your Treats
Transfer the mixture into the prepared pan, using a spatula or slightly dampened hands to spread evenly and press firmly, creating a smooth, compact layer.
Step 8: Add Nostalgic Crunch (Optional)
Crush Nilla Wafers and sprinkle them across the top of the treats, adding a delightful textural contrast and classic banana pudding reminiscence.
Tips For Soft And Gooey Krispie Treats Always
Banana Krispie Treat Variations For New Tastes
How To Serve Banana Krispie Treats For Fun
Storage Solutions For Banana Krispie Treats
FAQs
Yes, these two key ingredients create the unique flavor and texture of the dessert, transforming classic Rice Krispie treats into a banana pudding-inspired sweet treat.
No, instant pudding mix is recommended because it provides the right consistency and flavor without adding extra moisture that could affect the treats’ texture.
Stirring ensures even melting and prevents burning, helping create a smooth base for the Rice Krispie treats and distributing heat consistently throughout the mixture.
Print
Banana Pudding Rice Krispie Treats Recipe
- Total Time: 17 minutes
- Yield: 12 1x
Description
Southern comfort meets sweet innovation in this banana pudding rice krispie treats masterpiece. Creamy banana pudding flavor and classic marshmallow crunch combine to create a delightful dessert you’ll crave again and again.
Ingredients
Main Ingredients:
- 6 cups Rice Krispies cereal
- 1 (10 ounces / 283 grams) bag marshmallows
- 1 (3.4 ounces / 96 grams) box instant banana pudding mix
- 3 tablespoons butter, melted
Optional Topping:
- Crushed Nilla Wafers
Instructions
- Prepare a 9 x 13 inch pan by coating it thoroughly with non-stick cooking spray to ensure easy removal of treats.
- In a large microwave-safe bowl, completely melt butter until smooth and liquid.
- Add entire bag of marshmallows to melted butter, stirring to initiate the initial coating process.
- Microwave marshmallow mixture for 45 seconds, then carefully remove and stir. Return to microwave for another 45 seconds, mixing again until marshmallows are completely transformed into a silky, uniform texture.
- Incorporate instant banana pudding mix directly into the marshmallow base, whisking until fully integrated and creating a creamy, fragrant mixture.
- Gently fold Rice Krispies cereal into the marshmallow pudding blend, ensuring each crisp piece is evenly coated and distributed throughout the mixture.
- Transfer the mixture to the prepared pan, using clean hands or a spatula to spread and compress the treats uniformly, creating a smooth, compact layer.
- For an optional finishing touch, delicately sprinkle crushed Nilla Wafers across the surface, adding a delightful crunch and visual appeal to the treats.
Notes
- Swap pudding mix for homemade banana cream for a more authentic flavor boost.
- Chill treats briefly to help them set faster and slice cleaner.
- Customize toppings with extra crushed cookies or drizzled white chocolate for texture variation.
- Use gluten-free Rice Krispies and pudding mix to make the recipe celiac-friendly.
- Prep Time: 15 minutes
- Cook Time: 2 minutes
- Category: Desserts, Snacks
- Method: None
- Cuisine: American
Nutrition
- Serving Size: 12
- Calories: 215 kcal
- Sugar: 15 g
- Sodium: 105 mg
- Fat: 5 g
- Saturated Fat: 3 g
- Unsaturated Fat: 2 g
- Trans Fat: 0 g
- Carbohydrates: 40 g
- Fiber: 1 g
- Protein: 2 g
- Cholesterol: 10 mg
Michael Reyes
Founder & Lead Recipe Developer
Expertise
Education
Santa Fe Community College
Michael’s love for cooking runs deep, rooted in the bold, colorful flavors of his New Mexico upbringing.
After earning his Culinary Arts Certificate from Santa Fe Community College, he spent years sharpening his skills in kitchens that celebrated traditional Southwestern and Latin American dishes.
He believes cooking should feel approachable and fun, never complicated. When he’s not stirring up new recipe ideas, Michael’s out hiking scenic trails, chatting with farmers at local markets, or chasing the perfect sunset shot for inspiration.