The Ultimate Buckeye Bars Recipe: Chocolate-Peanut Butter Bliss
Chocolate and peanut butter create a heavenly combination in these decadent buckeye bars that satisfy every sweet craving.
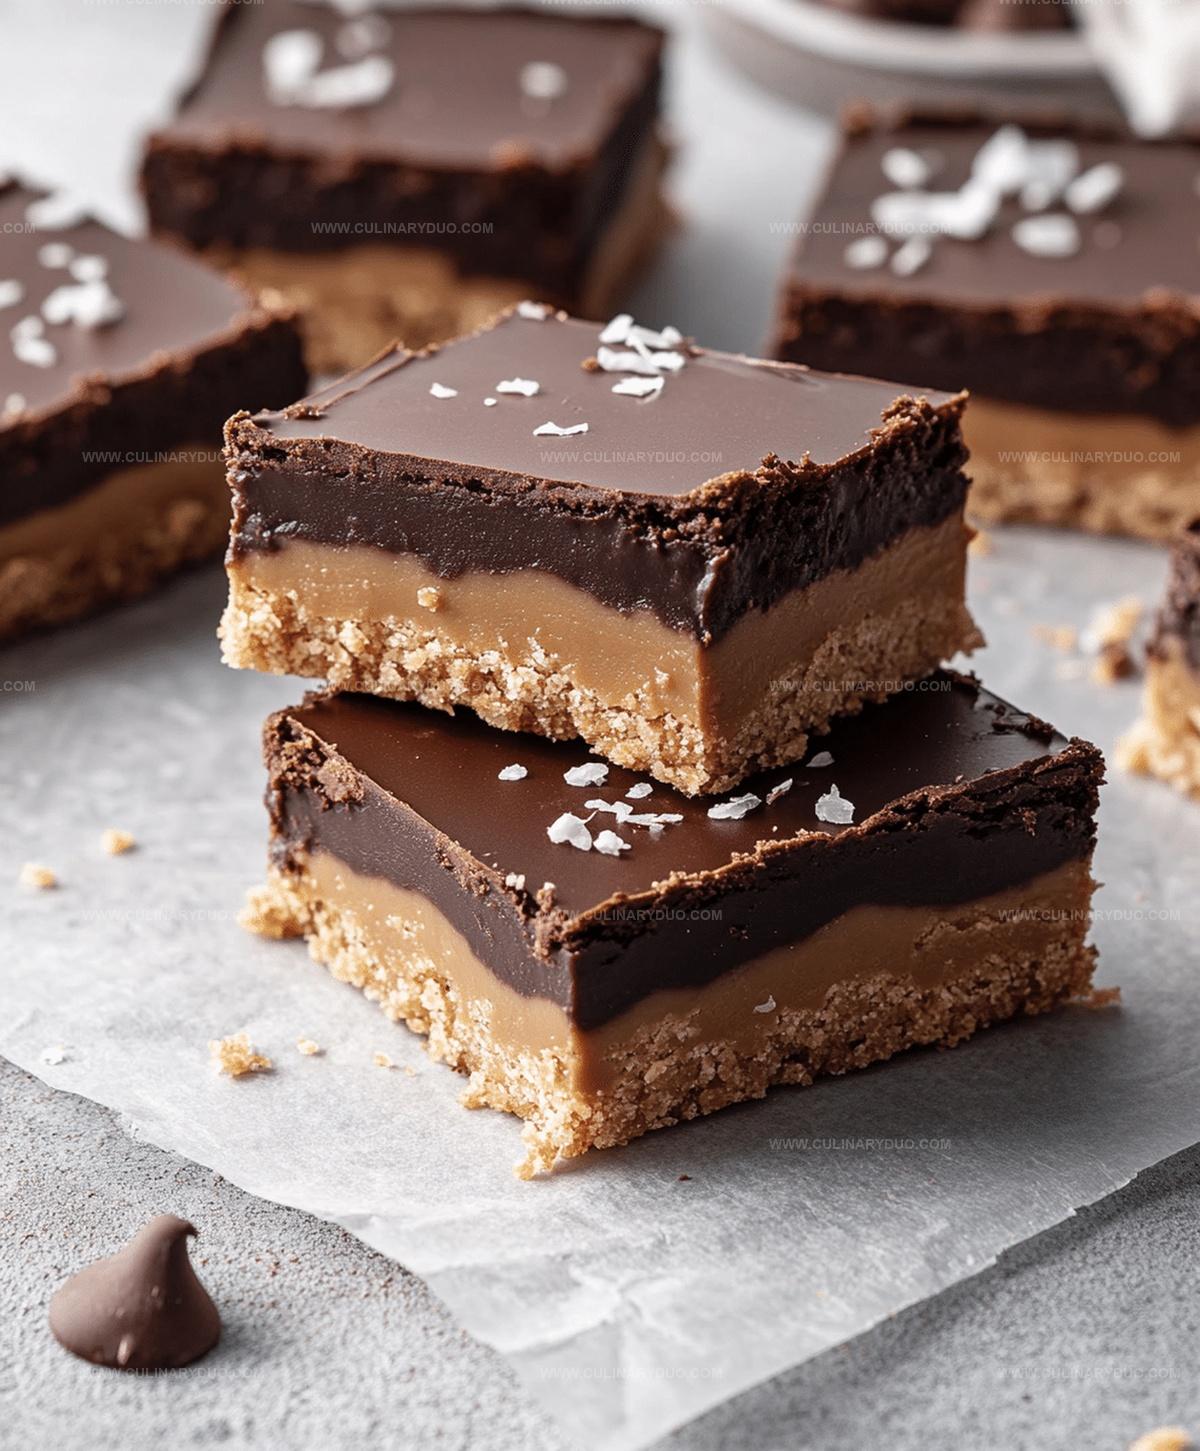
Inspired by the classic Ohio treat, this no-bake dessert brings rich, creamy flavors to your kitchen.
Layers of smooth peanut butter filling nestled between chocolate create an irresistible indulgence.
The recipe captures the essence of the beloved buckeye candy in an easy-to-serve bar format.
Each bite delivers a perfect balance of sweet and salty notes that dance across your palate.
Chocolate lovers and peanut butter enthusiasts will absolutely adore these simple yet spectacular bars.
Buckeye Bars Everyone Will Want Seconds Of
Gather Everything for Easy Buckeye Bars
Base Ingredients:Binding Ingredients:Topping Ingredient:How to Make Peanut Butter Buckeyes
Step 1: Whip Up the Peanut Butter Base
In a spacious mixing bowl, blend together creamy peanut butter, softened butter, powdered sugar, aromatic vanilla extract, and finely crushed graham cracker crumbs.
Stir the ingredients until they transform into a smooth, consistent mixture that holds together perfectly.
Step 2: Create the Foundational Layer
Transfer the peanut butter mixture into a parchment-lined 9×13 inch baking pan.
Use your hands or a spatula to press and spread the mixture evenly, creating a solid and compact base that will serve as the delicious bottom of your Buckeye Bars.
Step 3: Melt the Chocolate Topping
Place chocolate chips in a microwave-safe bowl.
Heat in short intervals, stirring every 20 seconds, until the chocolate becomes completely smooth and glossy.
This careful melting process ensures a silky, even chocolate layer.
Step 4: Crown with Chocolate
Gently pour the melted chocolate over the peanut butter layer.
Use a spatula to spread the chocolate evenly, ensuring complete coverage of the peanut butter base from edge to edge.
Step 5: Chill and Slice
Place the pan in the refrigerator and let it set for 2 hours.
Once the bars are firm and chilled, remove from the fridge and slice into squares using a sharp knife.
Serve and enjoy these decadent Buckeye Bars that combine the classic flavors of peanut butter and chocolate.
Buckeye Bar Tips for Perfect Results
Tasty Variations for Buckeye Bars
Serving Peanut Butter Buckeye Bars
Storing Buckeye Bars for Snack Time
FAQs
Named after the buckeye nut from Ohio, these bars resemble the chocolate-covered peanut butter balls traditionally made in Ohio. The state’s beloved buckeye tree inspired the dessert’s name and appearance.
It’s best to use creamy, processed peanut butter like Jif or Skippy. Natural peanut butter can make the mixture too oily and might not hold together as well.
Use a sharp knife and wipe it clean between each cut. For extra precision, let the bars sit at room temperature for 5-10 minutes before cutting to prevent cracking.
Print
Buckeye Bars Recipe
- Total Time: 15 minutes
- Yield: 12 1x
Description
Chocolate and peanut butter lovers rejoice with these irresistible Buckeye Bars that blend Ohio’s classic sweet treat into an easy, no-bake dessert. Rich chocolate and creamy peanut butter layers create a mouthwatering indulgence you won’t be able to resist.
Ingredients
Chocolate and Peanut Butter Base:
- 1 1/2 cups semi-sweet chocolate chips
- 1 1/2 cups graham cracker crumbs
- 1 cup peanut butter
- 1/2 cup unsalted butter, melted
Sweet and Flavoring Ingredients:
- 2 cups powdered sugar
- 1 teaspoon vanilla extract
Instructions
- In a spacious mixing bowl, thoroughly blend peanut butter, melted butter, powdered sugar, vanilla extract, and graham cracker crumbs until a cohesive, smooth consistency forms.
- Transfer the creamy mixture into a parchment-lined 9×13 inch baking pan, using a spatula to distribute the mixture evenly and create a uniform layer.
- Utilize a microwave-safe bowl to melt chocolate chips, pausing every 20 seconds to stir and prevent burning, continuing until the chocolate achieves a silky, glossy texture.
- Gently cascade the liquefied chocolate across the peanut butter foundation, carefully maneuvering the pan to ensure complete and consistent coverage.
- Refrigerate the dessert for approximately 120 minutes, allowing the layers to solidify and bond together.
- Once chilled and set, extract the dessert from the refrigerator and slice into rectangular bars using a sharp knife, creating clean, precise cuts.
- Serve the buckeye bars chilled for optimal flavor and texture, perfect for sharing at gatherings or enjoying as a decadent personal treat.
Notes
- Use room temperature ingredients to ensure smooth mixing and consistent texture throughout the peanut butter layer.
- Line the baking pan with parchment paper for easy removal and clean cutting of bars.
- Opt for high-quality chocolate chips for a richer, more decadent chocolate topping.
- For a gluten-free version, substitute graham cracker crumbs with gluten-free graham-style crackers or almond flour.
- Prep Time: 15 minutes
- Cook Time: 0 minutes
- Category: Desserts, Snacks
- Method: Chilling
- Cuisine: American
Nutrition
- Serving Size: 12
- Calories: 297 kcal
- Sugar: 20 g
- Sodium: 75 mg
- Fat: 22 g
- Saturated Fat: 6 g
- Unsaturated Fat: 14 g
- Trans Fat: 0.1 g
- Carbohydrates: 23 g
- Fiber: 2 g
- Protein: 6 g
- Cholesterol: 15 mg
Michael Reyes
Founder & Lead Recipe Developer
Expertise
Education
Santa Fe Community College
Michael’s love for cooking runs deep, rooted in the bold, colorful flavors of his New Mexico upbringing.
After earning his Culinary Arts Certificate from Santa Fe Community College, he spent years sharpening his skills in kitchens that celebrated traditional Southwestern and Latin American dishes.
He believes cooking should feel approachable and fun, never complicated. When he’s not stirring up new recipe ideas, Michael’s out hiking scenic trails, chatting with farmers at local markets, or chasing the perfect sunset shot for inspiration.