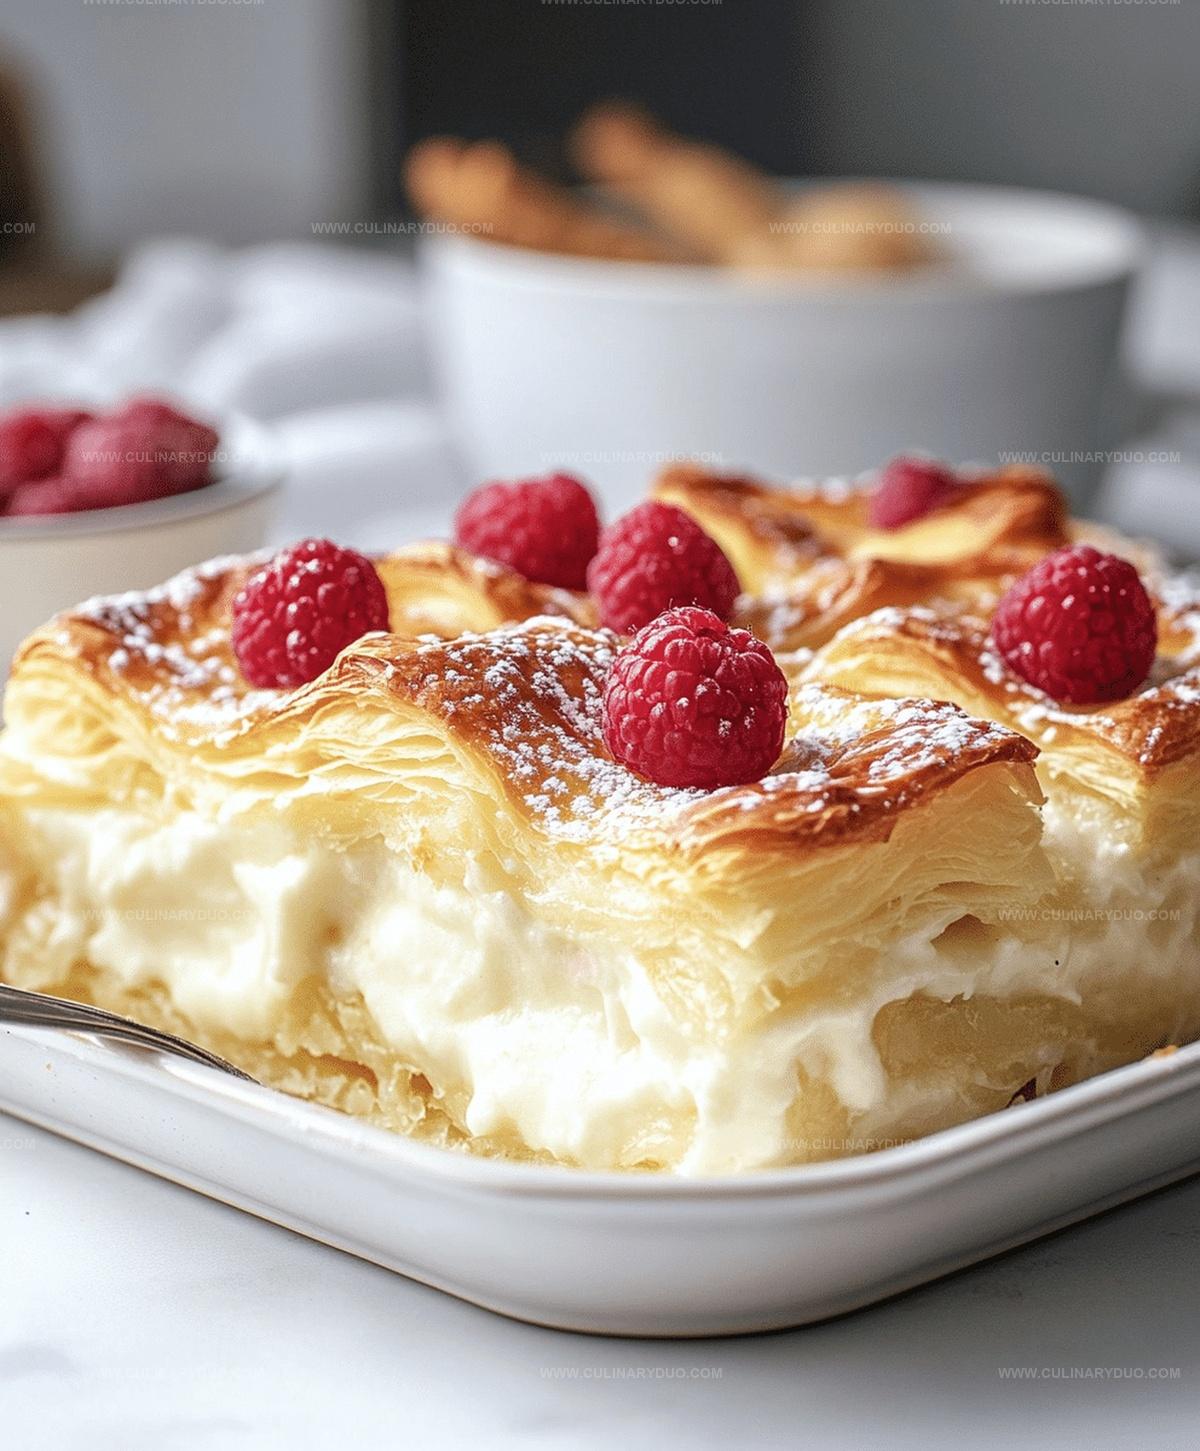
Irresistible Cheesecake Crescent Rolls Casserole Recipe
Delectable desserts often surprise us with their simplicity and rich flavors.
This dreamy cheesecake crescent rolls casserole combines sweet comfort with creamy indulgence.
Soft, buttery crescent rolls wrap around a luscious cream cheese filling that melts in your mouth.
Each bite promises a delightful blend of tender pastry and smooth, tangy cream cheese.
The golden-brown exterior hints at the decadent layers waiting inside.
Warm, fresh-from-the-oven goodness beckons you to slice into this irresistible treat.
What Makes Crescent Roll Cheesecake So Fun
Crescent Roll Cheesecake Ingredients List
Main Ingredients:Sweet Enhancers:Binding and Finishing Ingredients:Simple Crescent Roll Cheesecake Steps
Step 1: Warm Up the Oven
Crank your oven to a toasty 350°F.
Grab a 9×13-inch baking dish and give it a quick spray or butter rub to prevent sticking.
Step 2: Create the Bottom Crust
Pop open the first can of crescent rolls.
Gently unroll and press the dough evenly across the entire bottom of the baking dish, creating a smooth foundation.
Step 3: Whip Up the Creamy Filling
In a mixing bowl, combine:Beat these ingredients until they transform into a silky, smooth mixture that looks irresistibly creamy.
Step 4: Spread the Dreamy Layer
Pour and spread the cream cheese mixture carefully over the crescent roll base, making sure to cover every inch evenly.
Step 5: Add the Top Crust
Unroll the second can of crescent rolls and delicately layer it on top of the cream cheese, creating a beautiful blanket of pastry.
Step 6: Add Golden Touches
Melt some butter and lovingly brush it across the top layer of crescent rolls.
Sprinkle a generous coating of cinnamon sugar for extra pizzazz.
Step 7: Bake to Perfection
Slide the dish into the preheated oven and bake for 25-30 minutes.
Look for a gorgeous golden-brown color that signals it’s ready to devour.
Step 8: Cool and Serve
Let the casserole cool down for a bit, allowing the layers to set.
Slice, serve, and watch everyone’s eyes light up with delight.
Tips for Creamy Crescent Roll Cheesecake
Crescent Roll Cheesecake Flavor Ideas
Serving Up Crescent Roll Cheesecake
Crescent Roll Cheesecake Storage Solutions
FAQs
Yes, you can substitute with reduced-fat cream cheese without significantly changing the recipe’s texture or taste.
Generously grease the baking dish with butter or cooking spray before layering the crescent rolls to ensure easy removal.
You can prepare the casserole up to the point of baking, cover it, and refrigerate for up to 12 hours before baking.
While you can freeze it after baking, the texture might become slightly less crisp when thawed, but the flavor will remain delicious.
Print
Cheesecake Crescent Rolls Casserole Recipe
- Total Time: 45 minutes
- Yield: 8 1x
Description
Sweet crescent rolls merge with creamy cheesecake in this irresistible breakfast casserole. Warm comfort blends with delicate pastry, promising a delightful morning indulgence you’ll savor with each dreamy bite.
Ingredients
Main Ingredients:
- 2 cans refrigerated crescent rolls
- 2 packages (8 ounces/226 grams each) cream cheese, softened
Filling Ingredients:
- 1 cup (200 grams) granulated sugar
- 1 teaspoon vanilla extract
Topping Ingredients:
- 1/4 cup (57 grams) melted butter
- 1/4 cup (50 grams) sugar
- 1 teaspoon ground cinnamon
Instructions
- Prepare the oven by heating to 350°F and coat a 9×13-inch baking dish with cooking spray.
- Carefully unfurl the first crescent roll package, stretching dough evenly across the bottom of the dish, creating a seamless base layer.
- Whip cream cheese with sugar and vanilla in a medium bowl until achieving a silky, uniform consistency.
- Gently spread the cream cheese mixture across the initial crescent roll foundation, ensuring complete and even coverage.
- Delicately unroll the second crescent roll package, positioning the dough directly atop the cream cheese layer to create a top crust.
- Melt butter and generously brush over the exposed top layer of crescent dough, then liberally dust with cinnamon sugar for added flavor and texture.
- Transfer the assembled casserole to the preheated oven and bake for 25-30 minutes, watching for a golden-brown surface that indicates perfect doneness.
- Remove from oven and allow the casserole to cool completely, which helps the layers set and makes cutting and serving easier.
Notes
- Let it soften at room temperature for smooth, lump-free mixing.
- Prevent soggy bottom by pressing crescent roll dough firmly into the baking dish, creating a tight seal.
- Customize sweetness by adjusting sugar levels or using alternative sweeteners like honey or stevia for different dietary needs.
- Enhance flavor with optional mix-ins like lemon zest, almond extract, or a sprinkle of nutmeg to elevate the classic dessert.
- Prep Time: 15 minutes
- Cook Time: 30 minutes
- Category: Breakfast, Desserts
- Method: Baking
- Cuisine: American
Nutrition
- Serving Size: 8
- Calories: 404
- Sugar: 26 g
- Sodium: 329 mg
- Fat: 28 g
- Saturated Fat: 16 g
- Unsaturated Fat: 10 g
- Trans Fat: 0.5 g
- Carbohydrates: 33 g
- Fiber: 0.3 g
- Protein: 5 g
- Cholesterol: 55 mg


Michael Reyes
Founder & Lead Recipe Developer
Expertise
Education
Santa Fe Community College
Michael’s love for cooking runs deep, rooted in the bold, colorful flavors of his New Mexico upbringing.
After earning his Culinary Arts Certificate from Santa Fe Community College, he spent years sharpening his skills in kitchens that celebrated traditional Southwestern and Latin American dishes.
He believes cooking should feel approachable and fun, never complicated. When he’s not stirring up new recipe ideas, Michael’s out hiking scenic trails, chatting with farmers at local markets, or chasing the perfect sunset shot for inspiration.