Foolproof Cheesecake Water Bath Recipe for Heavenly Desserts
Baking the perfect creamy cheesecake water bath requires precision and a gentle touch.
The water bath method ensures your dessert stays silky smooth without cracking.
Professional bakers swear by this technique to create restaurant-quality results.
Gentle heat surrounds the delicate cake, preventing sudden temperature changes that can ruin its texture.
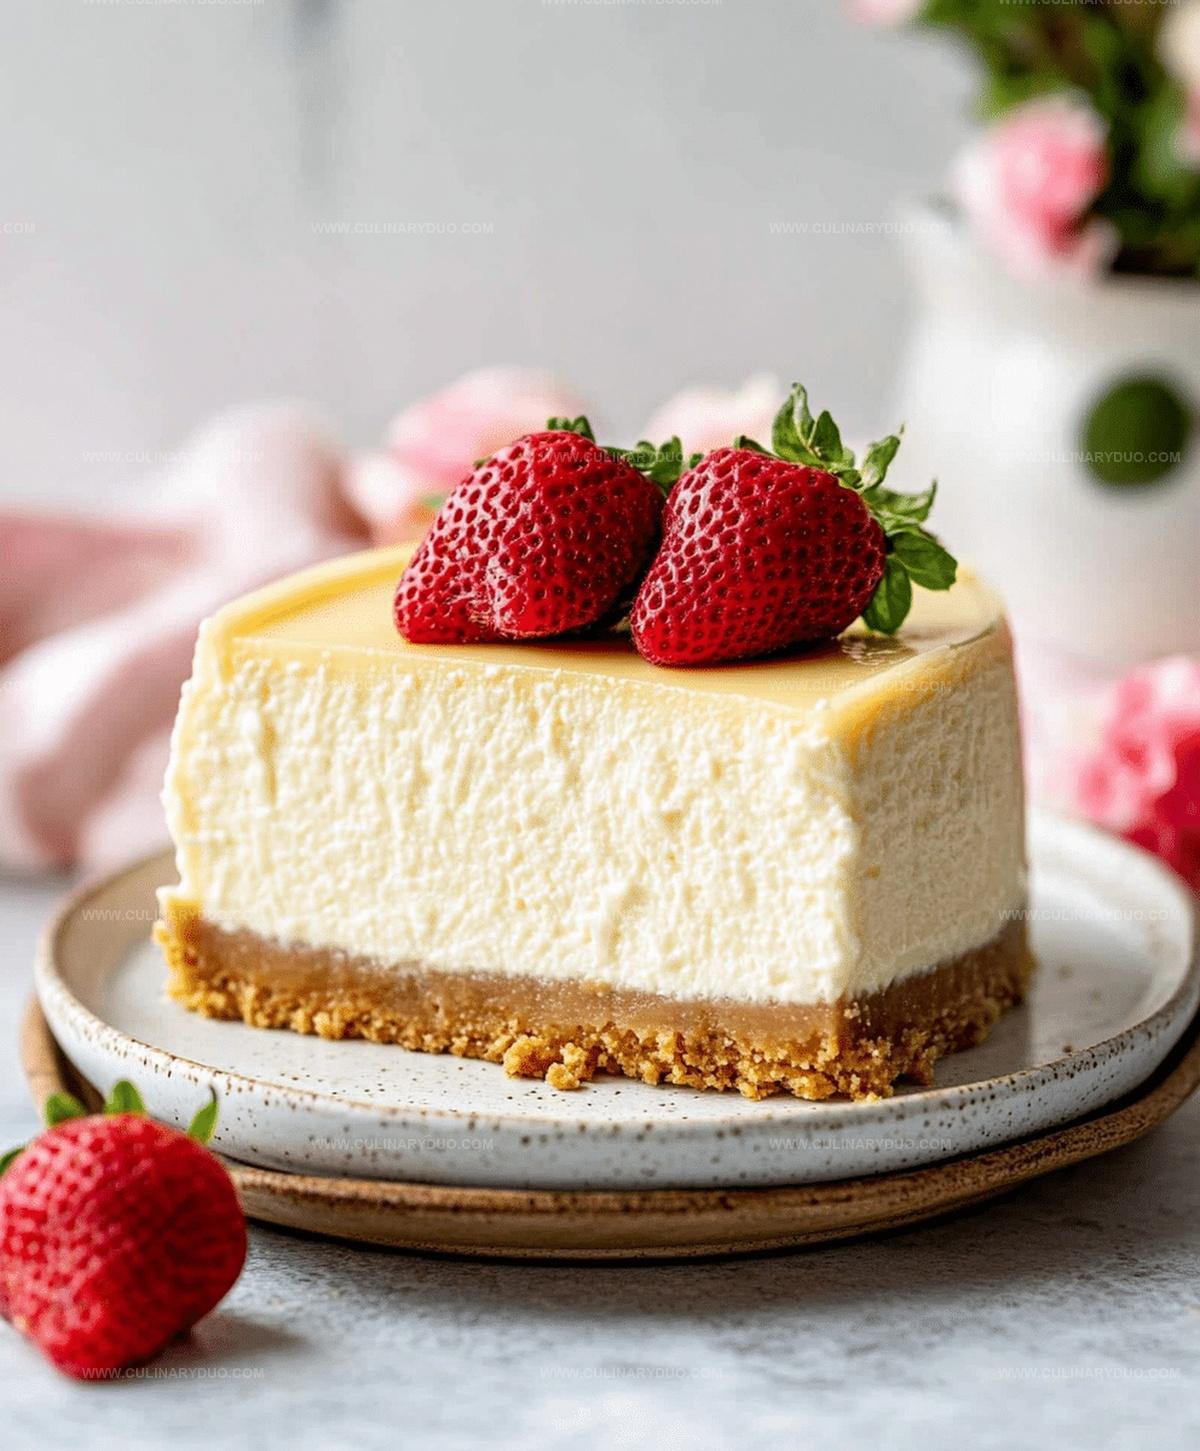
You’ll appreciate how the water bath technique creates a consistent, velvety surface that looks professionally prepared.
Steam from the surrounding water helps the cheesecake cook evenly and maintain its luxurious consistency.
This method transforms an ordinary dessert into an extraordinary culinary experience that will impress even the most discerning dessert enthusiasts.
Dive into this foolproof technique and elevate your baking skills with a perfectly smooth cheesecake.
Mastering the Cheesecake Water Bath
Ingredients for a Perfect Cheesecake Water Bath
Crust Ingredients:Cheesecake Filling Ingredients:Water Bath Ingredients:Steps for Setting Up a Water Bath Cheesecake
Step 1: Create Buttery Crust
Crush graham crackers into fine crumbs.
Mix with melted butter and sugar.
Press mixture firmly into bottom of springform pan.
Bake crust for 10 minutes until lightly golden.
Allow to cool completely while preparing filling.
Step 2: Whip Creamy Filling
Grab cream cheese and beat until silky smooth.
Gradually add sugar while mixing.
Incorporate eggs one at a time, blending thoroughly after each addition.
Gently fold in vanilla extract and sour cream.
Optional: Mix in flour for extra stability.
Step 3: Prepare Water Bath Setup
Wrap exterior of springform pan with aluminum foil to prevent water infiltration.
Place wrapped pan inside larger roasting dish.
Boil water in kettle or pot.
Step 4: Assemble And Bake
Pour creamy filling over cooled crust.
Carefully slide roasting pan into preheated oven.
Slowly pour hot water around springform pan, filling halfway up sides.
Bake until edges set but center remains slightly wobbly.
Step 5: Gentle Cooling Process
Turn off oven.
Crack oven door slightly.
Allow cheesecake to rest inside for one hour.
This prevents sudden temperature changes that could cause cracking.
Step 6: Chill And Serve
Remove cheesecake from water bath.
Refrigerate for minimum 4 hours or overnight.
Slice and serve chilled for maximum enjoyment.
Pro Tips for Water Bath Cheesecakes
Water Bath Cheesecake Twists
Serving Cheesecake with Water Bath Results
Storage for Water Bath Cheesecake
FAQs
A water bath creates a moist, even baking environment that prevents cracks and helps the cheesecake cook gently without direct heat, resulting in a smooth, creamy texture.
Ensure the aluminum foil is tightly wrapped around the springform pan to prevent water leakage, and the water level reaches halfway up the pan’s sides without splashing into the cheesecake.
Small cracks can happen due to temperature changes or overbeating eggs. To minimize this, beat ingredients at low speed, avoid overmixing, and let the cheesecake cool gradually in the oven.
Print
Cheesecake Water Bath Recipe
- Total Time: 1 hour 35 minutes
- Yield: 8 1x
Description
Silky smooth New York-style cheesecake emerges from a perfectly executed water bath technique, ensuring a luxurious, crack-free dessert. Precise temperature control and gentle baking create a creamy masterpiece you’ll savor with each elegant slice.
Ingredients
Main Ingredients:
- 24 ounces (680 grams) cream cheese, softened
- 3 large eggs
- 1 ½ cups graham cracker crumbs
- 1 cup sour cream
- 1 cup granulated sugar
Binding and Stabilizing Ingredients:
- ½ cup unsalted butter, melted
- 1 tablespoon all-purpose flour
Flavor Enhancers:
- 1 teaspoon vanilla extract
- 1 tablespoon fresh lemon juice
- ¼ cup granulated sugar
Instructions
- Prepare the oven by heating to 325°F and positioning a rack in the center. Protect a 9-inch springform pan by coating with non-stick spray and enveloping its exterior completely with heavy-duty aluminum foil to create a waterproof barrier.
- Craft the crust by blending graham cracker crumbs, melted butter, and sugar into a cohesive mixture. Press firmly into the pan’s bottom, creating an even layer. Bake for 10 minutes until lightly golden, then allow to cool completely.
- Create the filling by whipping cream cheese and sugar until velvety smooth. Incorporate eggs individually, ensuring thorough integration after each addition. Gently fold in vanilla extract and sour cream, blending until uniform. If desired, mix in flour for enhanced texture.
- Delicately transfer the creamy filling over the cooled crust, spreading evenly and eliminating any air pockets.
- Establish the water bath by positioning the wrapped springform pan inside a larger roasting pan. Carefully pour scalding hot water around the cake, reaching approximately halfway up the pan’s exterior.
- Slide the elaborate setup into the preheated oven. Bake for 55-65 minutes, watching for a slightly trembling center while edges remain firm and set.
- Once baking completes, switch off the oven. Slightly open the oven door, allowing the cheesecake to gradually cool within its warm environment for one hour, preventing sudden temperature changes.
- Extract the cheesecake from the water bath, removing foil carefully. Refrigerate for a minimum of 4 hours or preferably overnight, enabling complete setting and optimal flavor development before serving.
Notes
- Prevent water leakage by wrapping the springform pan’s exterior with multiple layers of heavy-duty aluminum foil, ensuring a tight and secure seal.
- Create a perfectly smooth cheesecake texture by beating cream cheese at room temperature and avoiding overmixing, which can introduce excess air and cause cracking.
- Control moisture and prevent surface cracks by using the water bath method, which provides gentle, even heating and maintains a humid environment during baking.
- Customize the recipe by experimenting with different crust variations like chocolate cookie crumbs, ground nuts, or adding zest and extracts to the filling for unique flavor profiles.
- Prep Time: 30 minutes
- Cook Time: 1 hour 5 minutes
- Category: Desserts
- Method: Baking
- Cuisine: American
Nutrition
- Serving Size: 8
- Calories: 446
- Sugar: 28 g
- Sodium: 235 mg
- Fat: 36 g
- Saturated Fat: 22 g
- Unsaturated Fat: 13 g
- Trans Fat: 0.5 g
- Carbohydrates: 26 g
- Fiber: 1 g
- Protein: 7 g
- Cholesterol: 105 mg
Michael Reyes
Founder & Lead Recipe Developer
Expertise
Education
Santa Fe Community College
Michael’s love for cooking runs deep, rooted in the bold, colorful flavors of his New Mexico upbringing.
After earning his Culinary Arts Certificate from Santa Fe Community College, he spent years sharpening his skills in kitchens that celebrated traditional Southwestern and Latin American dishes.
He believes cooking should feel approachable and fun, never complicated. When he’s not stirring up new recipe ideas, Michael’s out hiking scenic trails, chatting with farmers at local markets, or chasing the perfect sunset shot for inspiration.