Try Our Irresistible Cheesy Beefy Roll Ups Recipe Today
Crafting delectable cheesy beefy roll ups can turn an ordinary meal into a mouth-watering adventure.
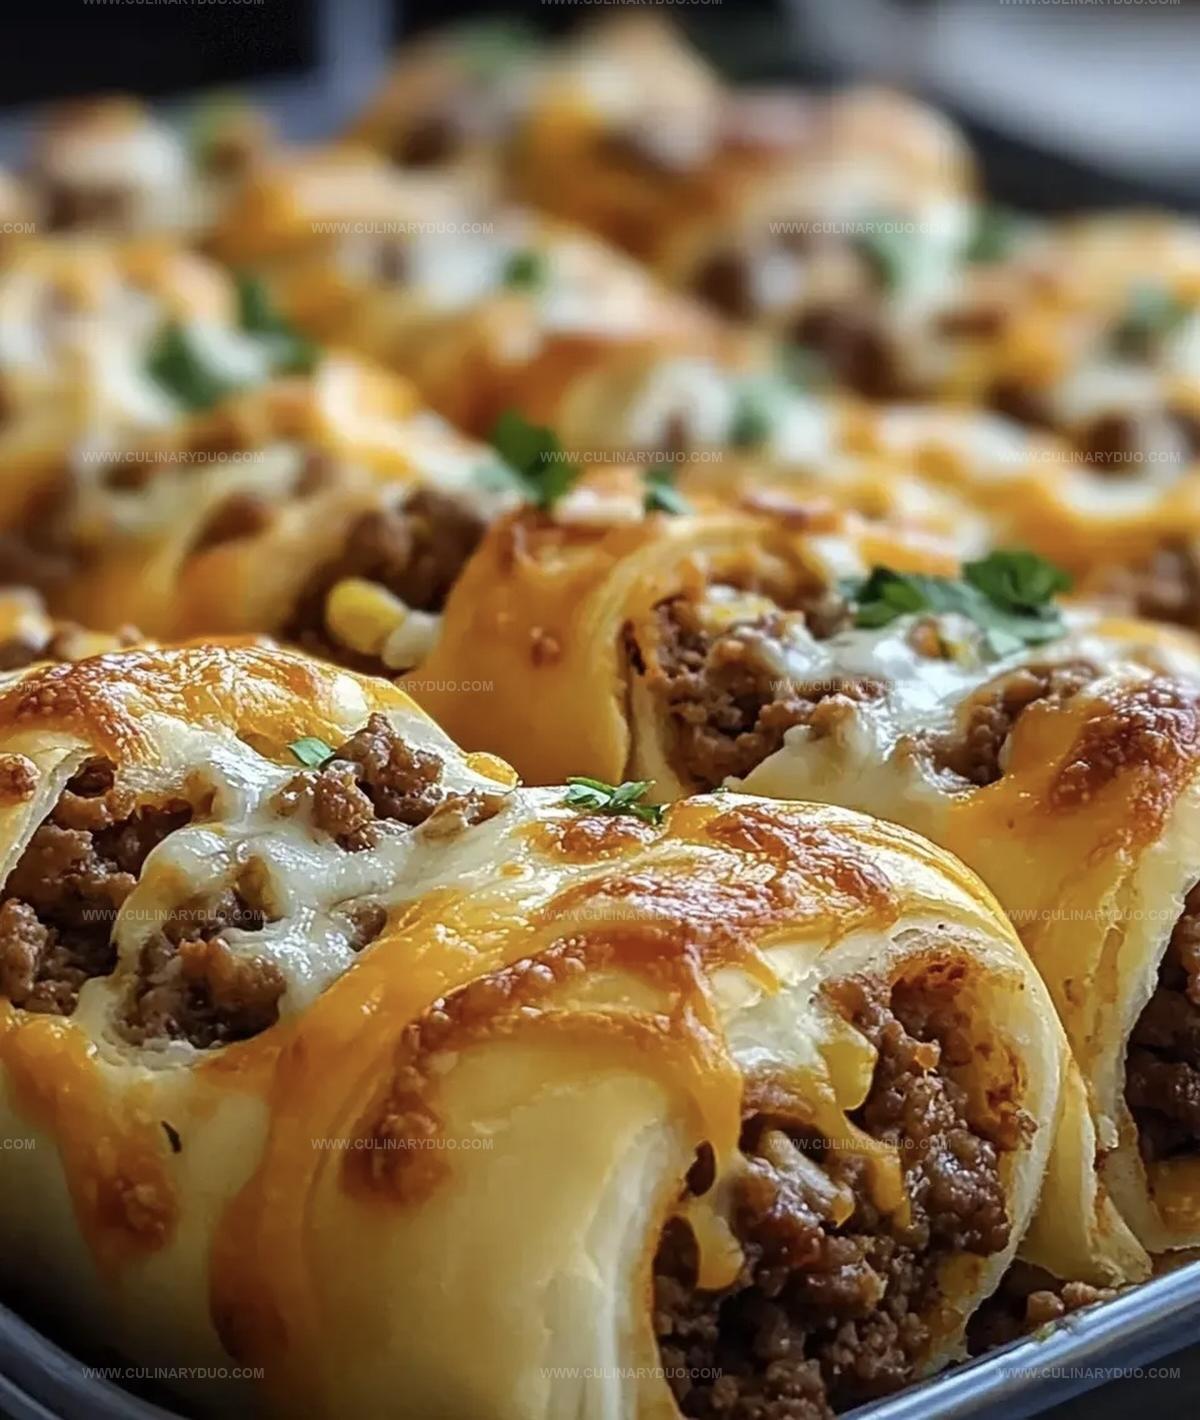
Layers of savory beef and melted cheese create an irresistible combination that sparks excitement at the dinner table.
Comfort food doesn’t get more satisfying than these rolled delights packed with flavor.
Weeknight cooking becomes a breeze when you have such a simple yet impressive recipe in your arsenal.
Quick preparation meets maximum taste in this crowd-pleasing dish that appeals to all ages.
Meat lovers and cheese enthusiasts will find themselves craving these roll ups after just one bite.
Let’s dive into a recipe that promises to become a new family favorite.
Cheesy Beefy Roll-Ups That Make Everyone Smile
Everything Needed For Cheesy Beefy Roll-Ups At Home
Main Protein:Cheese and Dairy:Herbs and Seasonings:Binding and Texture:Sauce:Preparation Elements:How To Make Cheesy Beefy Roll-Ups With Ease
Step 1: Warm Up the Oven
Crank your oven to a toasty 375F (190C).
Grab a baking dish and give it a quick spray with cooking oil to prevent sticking.
Step 2: Create the Flavor Bomb
Grab a big mixing bowl and toss in all your star ingredients:Dive in with your hands and mix everything until it’s perfectly blended and looks like a delicious meaty masterpiece.
Step 3: Shape Your Culinary Wonders
Use your hands to flatten the meat mixture into rectangular shapes.
Aim for each piece to be about the size of a small hand – roughly 4 inches long and 2 inches wide.
Step 4: Roll and Tuck
Carefully roll each meat rectangle into a tight cylinder.
Place each roll seam-side down in your prepared baking dish, ensuring they’re snug but not crowded.
Step 5: Sauce It Up
Drizzle marinara sauce generously over the top of your rolled-up delights.
Make sure every roll gets a nice coating of that tangy sauce.
Step 6: Bake to Perfection
Slide the baking dish into the preheated oven.
Let these beauties cook for 20-25 minutes.
You’ll know they’re done when the meat is fully cooked and the cheese is bubbling with melty goodness.
Step 7: Rest and Serve
Allow the rolls to cool for a few minutes.
This helps them set and makes them easier to handle.
Serve hot and watch everyone’s eyes light up!
Pro Tips For Gooey Cheesy Beefy Roll-Ups
Unique Ways To Flavor Cheesy Beefy Roll-Ups Today
Serving Suggestions For Cheesy Beefy Roll-Ups Bites
Keeping Cheesy Beefy Roll-Ups Warm And Melty
FAQs
Yes, ground turkey is a great lean alternative that works perfectly in this recipe. Just ensure it’s fully cooked to the proper internal temperature.
Not automatically. You can make it gluten-free by using gluten-free breadcrumbs and checking that your marinara sauce is gluten-free certified.
Use a meat thermometer to check that the internal temperature reaches 160°F (71°C), which indicates the ground beef is safely cooked through.
Absolutely! You can assemble the rolls earlier in the day and refrigerate them, then bake when you’re ready to serve. Just add a few extra minutes to the cooking time if they’re cold from the refrigerator.
Print
Cheesy Beefy Roll Ups Recipe
- Total Time: 40 minutes
- Yield: 4 1x
Description
Mouthwatering cheesy beefy roll ups combine savory ground beef and melted cheese in a quick, satisfying meal. Rolled with simple ingredients, these delectable parcels promise a delightful dinner that will have you craving more.
Ingredients
Main Ingredients:
- 1 pound (1 lb) ground beef
- 1 cup shredded cheddar cheese
- 1 large egg
Binding and Flavor Ingredients:
- 1/2 cup breadcrumbs
- 1/4 cup grated Parmesan cheese
- 1/4 cup chopped fresh parsley
- 1/2 teaspoon garlic powder
- 1/2 teaspoon onion powder
- 1/2 teaspoon dried oregano
- Salt and pepper to taste
Sauce:
- 1 cup marinara sauce
Instructions
- Preheat the oven to 375°F (190°C) and lightly grease a baking dish to ensure easy release of the roll-ups.
- In a spacious mixing bowl, thoroughly blend ground beef, cheddar cheese, breadcrumbs, Parmesan, parsley, egg, garlic powder, onion powder, oregano, salt, and pepper until ingredients are evenly distributed.
- Spread the meat mixture into thin, uniform rectangles approximately 4 inches long and 2 inches wide, creating a consistent base for rolling.
- Carefully roll each meat rectangle tightly, ensuring compact and even formation, then position each roll seam-side down in the prepared baking dish.
- Generously drizzle marinara sauce over the beef rolls, covering them completely to enhance moisture and flavor during baking.
- Place the baking dish in the preheated oven and cook for 20-25 minutes, monitoring until the beef is thoroughly cooked and cheese becomes perfectly melted and bubbly.
- Allow the cheesy beef roll-ups to rest for a few minutes after removing from the oven, which helps set the filling and makes serving easier.
Notes
- Customize the beef mixture by swapping ground beef with ground turkey or plant-based meat for healthier alternatives.
- Control the spice level by adjusting garlic powder and adding red pepper flakes for extra kick.
- Ensure even cooking by using uniform rectangular shapes and avoiding overly thick rolls.
- Prevent dryness by not overcooking and checking internal temperature reaches 160°F for ground beef safety.
- Prep Time: 15 minutes
- Cook Time: 25 minutes
- Category: Appetizer, Snacks, Dinner
- Method: Baking
- Cuisine: American
Nutrition
- Serving Size: 4
- Calories: 447 kcal
- Sugar: 3 g
- Sodium: 510 mg
- Fat: 32 g
- Saturated Fat: 14 g
- Unsaturated Fat: 17 g
- Trans Fat: 1 g
- Carbohydrates: 13 g
- Fiber: 2 g
- Protein: 34 g
- Cholesterol: 125 mg
Michael Reyes
Founder & Lead Recipe Developer
Expertise
Education
Santa Fe Community College
Michael’s love for cooking runs deep, rooted in the bold, colorful flavors of his New Mexico upbringing.
After earning his Culinary Arts Certificate from Santa Fe Community College, he spent years sharpening his skills in kitchens that celebrated traditional Southwestern and Latin American dishes.
He believes cooking should feel approachable and fun, never complicated. When he’s not stirring up new recipe ideas, Michael’s out hiking scenic trails, chatting with farmers at local markets, or chasing the perfect sunset shot for inspiration.