
Juicy Cheesy Ground Beef Sliders Recipe: Irresistible Bites
Sliders pack a punch of flavor that keeps everyone coming back for more, especially when these cheesy ground beef sliders hit the table.
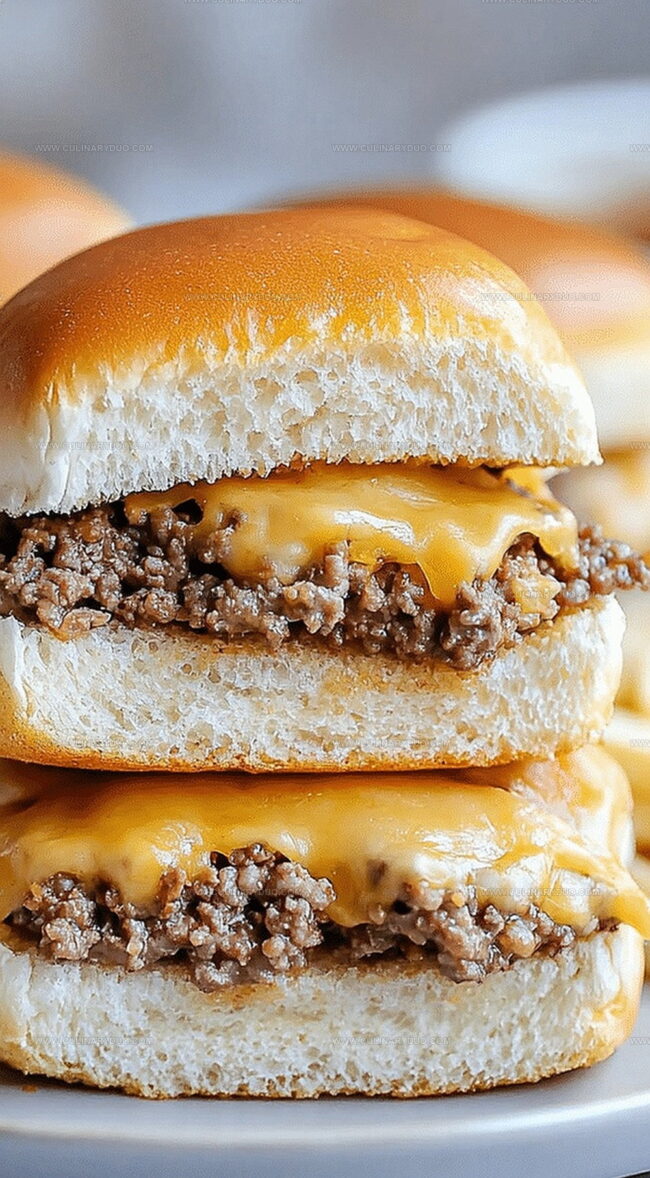
Packed with melty cheese and savory beef, these mini burgers are a crowd-pleasing favorite for game day or casual gatherings.
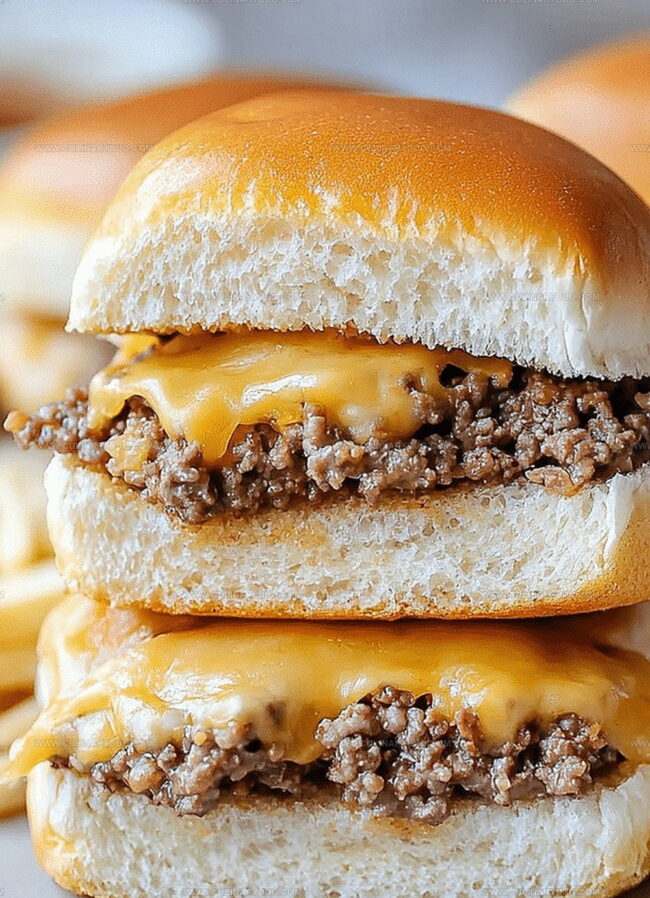
The perfect blend of juicy meat and gooey cheese creates an irresistible bite-sized treat.
Soft buns cradle the seasoned ground beef, making each slider a delightful miniature meal.
Simple ingredients transform into something extraordinary with just a few quick steps.
Quick to prepare and even faster to disappear, these sliders guarantee smiles around the dinner table.
Serve them hot and watch as everyone reaches for seconds.
Cheesy Ground Beef Slider Highlights
Key Ingredients for Beef Sliders
Main Protein:Aromatic Base:Flavor Enhancers:Cheese Component:Bread Base:Finishing Touches:Steps for Cheesy Slider Success
Step 1: Warm Up the Oven
Fire up your oven to a cozy 350°F and get ready for some slider magic.
Step 2: Sizzle the Aromatics
Heat a skillet and dance some chopped onions and minced garlic around until they become soft and fragrant.
Step 3: Brown the Beef
Toss in the ground beef and season with:Cook the meat until it’s completely browned, then drain away any extra fat.
Step 4: Boost the Flavor
Splash in Worcestershire sauce and a dollop of mustard.
Stir in shredded cheese and watch it melt into a gooey paradise.
Step 5: Prepare the Slider Base
Gently split the slider buns and lay the bottom halves in a baking dish.
Step 6: Build the Sliders
Spread the beef mixture evenly across the bun bottoms.
Crown each slider with its top bun.
Step 7: Butter and Bake
Brush melted butter over the buns and slide the dish into the oven.
Bake for 10 minutes until they turn a gorgeous golden brown.
Step 8: Serve and Enjoy
Pull out the hot sliders and serve immediately.
Feel free to add extra toppings like pickles, extra cheese, or fresh herbs.
Slider Tips for Extra Melt
Cheesy Slider Add-Ins and Twists
Cheesy Slider Serving Ideas
Storing Cheesy Sliders for Snacks
FAQs
Yes, ground turkey works great as a lean alternative. Just ensure it’s fully cooked and seasoned well to maintain flavor.
Add diced jalapeños to the beef mixture or sprinkle red pepper flakes for extra heat. Hot sauce works well too.
Absolutely! You can prepare the beef mixture ahead of time and assemble just before baking. They reheat nicely in the oven for quick meals.
Cheddar and American cheese are excellent choices because they melt smoothly and provide rich, creamy flavor. Monterey Jack is another great option.
Print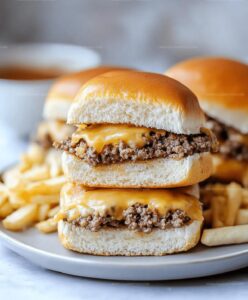
Cheesy Ground Beef Sliders Recipe
- Total Time: 30 minutes
- Yield: 12 1x
Description
Mouthwatering cheesy ground beef sliders emerge as a crowd-pleasing party favorite that brings irresistible flavor to game day or casual gatherings. Melted cheese, juicy beef, and perfectly toasted buns create a compact yet satisfying bite you’ll crave again and again.
Ingredients
Main Protein:
- 1 pound (1 lb) ground beef
Cheese and Dairy:
- 1 cup shredded cheddar cheese
- 2 tablespoons (2 tbsp) butter, melted
Vegetables and Seasonings:
- 1 small onion, finely diced
- 2 cloves garlic, minced
- 1 tablespoon (1 tbsp) mustard
- 1 tablespoon (1 tbsp) Worcestershire sauce
- 1 teaspoon (1 tsp) salt
- 1/2 teaspoon (1/2 tsp) black pepper
Bread:
- 12 slider buns
Optional Toppings:
- pickles
- lettuce
- ketchup
Instructions
- Warm the oven to 350°F for even heating and preparation.
- Sizzle onions and garlic in a skillet until translucent and fragrant, releasing their aromatic essence.
- Introduce ground beef to the pan, seasoning with salt and pepper, and cook thoroughly until no pink remains, carefully draining any accumulated fat.
- Enhance the meat mixture with Worcestershire sauce and mustard, creating a robust flavor profile.
- Fold shredded cheese into the beef, allowing it to melt seamlessly and create a creamy texture.
- Gently separate slider buns into top and bottom halves, arranging the bottom pieces in a prepared baking dish.
- Distribute the savory beef and cheese mixture evenly across the bun bases, ensuring consistent coverage.
- Crown the sliders with their corresponding top bun halves.
- Delicately brush melted butter over the bun surfaces for a golden, glossy finish.
- Slide the baking dish into the preheated oven and bake for 10 minutes until the buns turn a beautiful golden brown.
- Remove from oven and let rest briefly before serving hot, optionally garnishing with additional toppings of choice.
Notes
- Customize the sliders by swapping ground beef with ground turkey or plant-based crumbles for a healthier alternative.
- Try different cheese varieties like pepper jack, sharp cheddar, or Swiss to create unique flavor profiles.
- Prep ingredients ahead of time and assemble sliders quickly for busy weeknight dinners or game day gatherings.
- Add extra texture and freshness by topping sliders with pickled jalapeños, crispy bacon bits, or fresh herbs like chopped parsley.
- Prep Time: 20 minutes
- Cook Time: 10 minutes
- Category: Lunch, Dinner, Snacks, Appetizer
- Method: Baking
- Cuisine: American
Nutrition
- Serving Size: 12
- Calories: 330 kcal
- Sugar: 1 g
- Sodium: 550 mg
- Fat: 23 g
- Saturated Fat: 10 g
- Unsaturated Fat: 11 g
- Trans Fat: 0.5 g
- Carbohydrates: 17 g
- Fiber: 1 g
- Protein: 18 g
- Cholesterol: 60 mg
Michael Reyes
Founder & Lead Recipe Developer
Expertise
Education
Santa Fe Community College
Michael’s love for cooking runs deep, rooted in the bold, colorful flavors of his New Mexico upbringing.
After earning his Culinary Arts Certificate from Santa Fe Community College, he spent years sharpening his skills in kitchens that celebrated traditional Southwestern and Latin American dishes.
He believes cooking should feel approachable and fun, never complicated. When he’s not stirring up new recipe ideas, Michael’s out hiking scenic trails, chatting with farmers at local markets, or chasing the perfect sunset shot for inspiration.