Heavenly Cherry Pie Bars Recipe: A Sweet Summer Treat
Sweet memories of summer afternoons swirl around these delectable cherry pie bars that promise pure comfort.
Grandma’s cherished recipe sparked my love for baking decades ago.
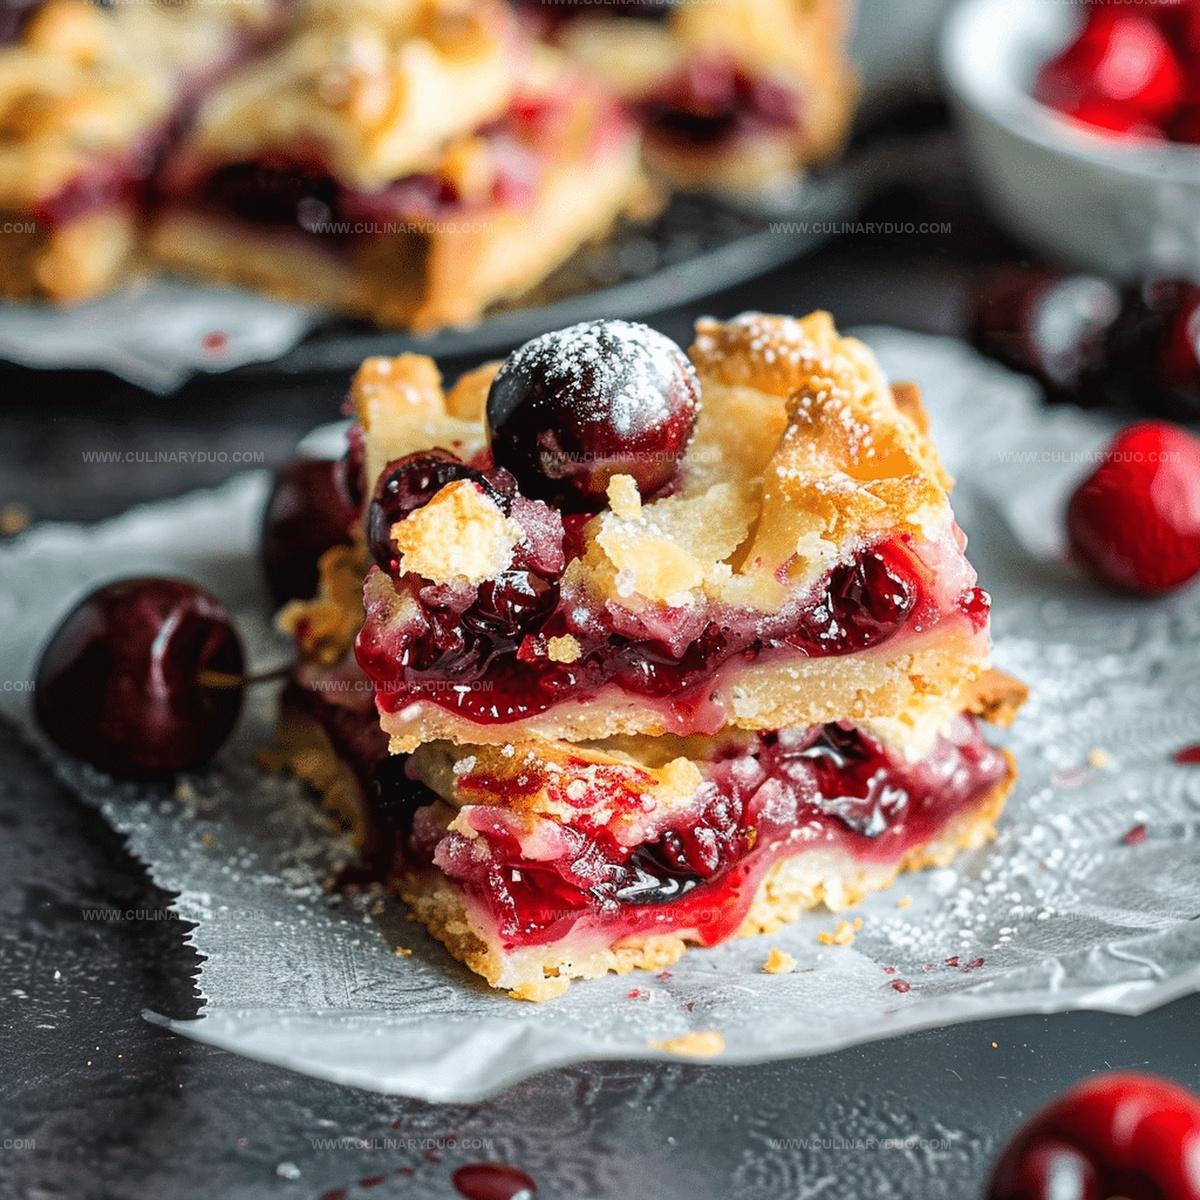
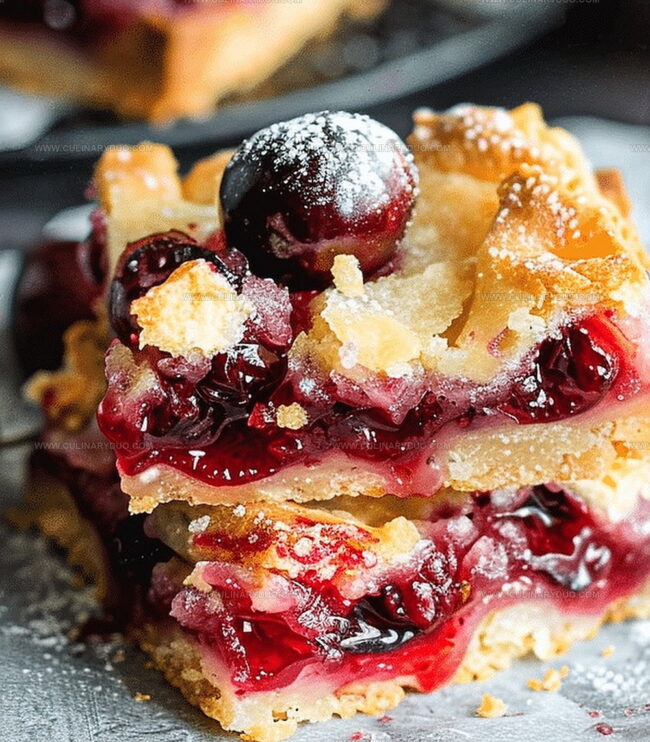
Bursting with juicy fruit and buttery crust, these bars deliver nostalgia in every delightful bite.
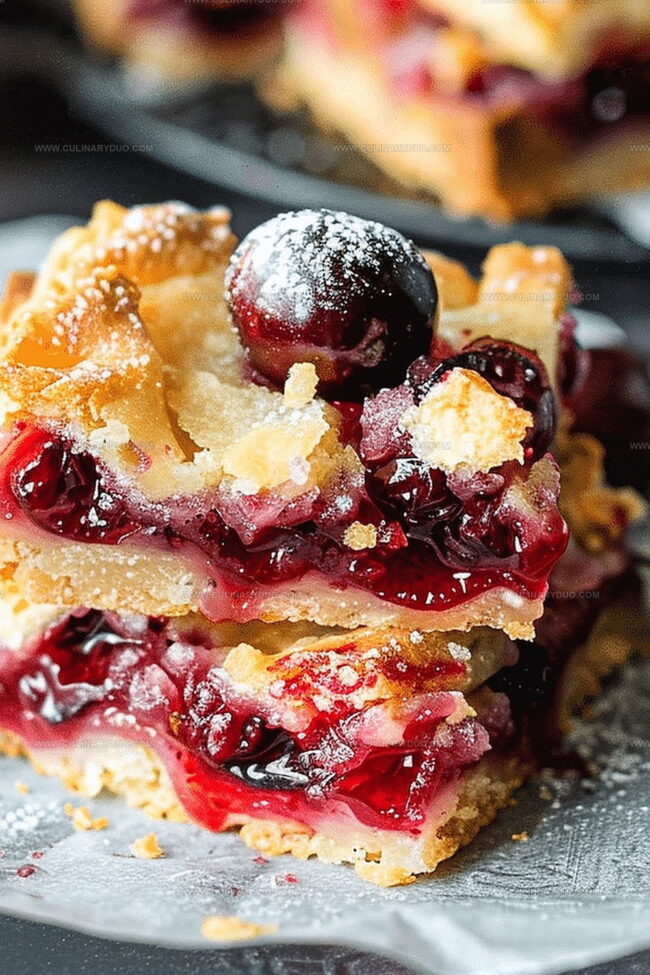
Soft, crumbly pastry embraces bright red cherries with unexpected elegance.
Golden edges hint at the deliciousness waiting inside each square.
Seasonal ingredients dance together, creating a dessert that feels both rustic and sophisticated.
Cherry Pie Bars For Sweet Snack Moments
Cherry Pie Bars Must-Have Ingredient Checklist
Pie Bar Base:Butter and Fat:Filling:Glaze:Baking Cherry Pie Bars With Simple Steps
Step 1: Prepare Baking Station
Warm up the oven to 350°F.
Grab a 9×13 inch baking dish and generously coat it with cooking spray or butter to prevent sticking.
Step 2: Create Crumbly Crust Base
In a spacious mixing bowl, toss together:Drop in cold butter cubes and use a pastry cutter or your fingertips to break down the butter until the mixture looks like rough sandy crumbs.
Step 3: Form Bottom Crust Layer
Press about two-thirds of the crumbly mixture firmly into the prepared baking dish, creating an even, compact foundation.
Step 4: Add Fruity Filling
Gently spread a generous layer of cherry pie filling across the entire crust surface, ensuring complete and uniform coverage.
Step 5: Sprinkle Remaining Crumbs
Scatter the leftover crumb mixture over the cherry filling, creating a rustic, textured topping.
Step 6: Bake to Golden Perfection
Slide the baking dish into the preheated oven and bake for 40-45 minutes.
Watch for a beautiful golden-brown color developing on top.
Step 7: Create Sweet Glaze
Whisk together powdered sugar, milk, and vanilla extract in a small bowl until silky smooth.
Step 8: Finish and Serve
Once baked, remove from oven and immediately drizzle the glaze over the warm bars.
Allow to cool completely before slicing into delectable squares.
Tips For Perfect Cherry Pie Bar Layers
Fun Cherry Pie Bar Swaps And Additions
Cherry Pie Bars Served At Every Party
Cherry Pie Bars Stored For Sweet Leftovers
FAQs
Yes, you can use fresh pitted cherries. Just mix them with a bit of sugar and cornstarch before spreading over the crust to help them set properly.
While you can use margarine, butter provides better flavor and texture. If substituting, use a stick margarine with high fat content for best results.
Look for a golden brown top and slightly firm edges. The crust should look set and not wet or doughy. A light golden color indicates the bars are done.
Yes, replace the all-purpose flour with a gluten-free flour blend. Ensure your oats are also certified gluten-free to make the entire recipe safe for gluten-sensitive individuals.
Print
Cherry Pie Bars Recipe
- Total Time: 1 hour 5 minutes
- Yield: 9 1x
Description
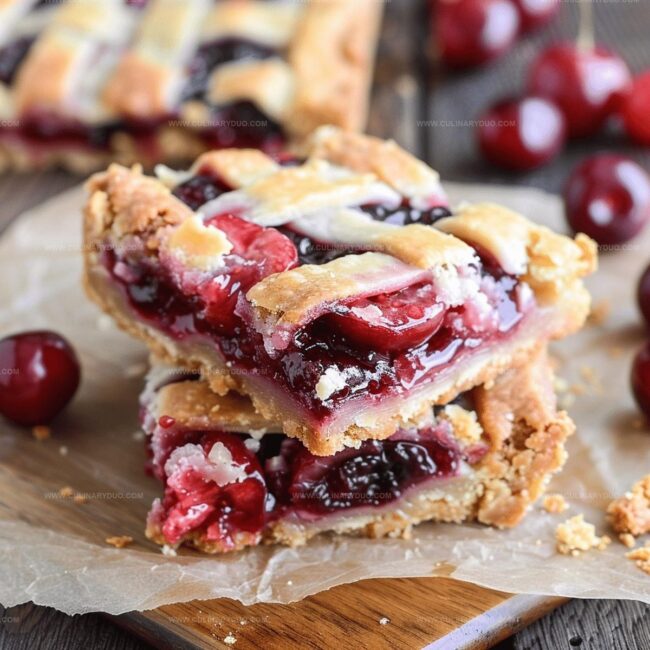
Sweet summer memories shine through these cherry pie bars, blending nostalgic homestyle baking with elegant dessert simplicity. Rich buttery crust and tangy cherry filling create a perfect balance that invites you to savor each delightful bite.
Ingredients
Main Ingredients:
- 42 ounces (1.19 kg) cherry pie filling
- 1 cup (226 grams) unsalted butter
- 1.5 cups (180 grams) all-purpose flour
Dry Ingredients:
- 1 cup rolled oats
- 0.5 cup (100 grams) granulated sugar
- 0.5 teaspoon salt
Glaze Ingredients:
- 1 cup (120 grams) powdered sugar
- 2 tablespoons (30 milliliters) milk
- 0.5 teaspoon vanilla extract
Instructions
- Warm the oven to 350F and prepare a 9×13 inch baking dish with a light coating of grease to prevent sticking.
- Blend dry ingredients including flour, oats, sugar, and salt in a spacious mixing bowl, creating a uniform base mixture.
- Incorporate cold butter chunks into the dry ingredients, using a pastry cutter or fingertips to create a crumbly texture resembling coarse sand.
- Transfer approximately two-thirds of the crumbly mixture into the greased baking dish, firmly pressing to establish an even, compact crust layer.
- Distribute cherry pie filling uniformly across the prepared crust, ensuring complete and consistent coverage.
- Scatter the remaining crumb mixture over the cherry filling, creating a rustic, textured topping.
- Place the baking dish in the preheated oven and bake for 40-45 minutes until the surface transforms into a rich, golden-brown color.
- While the bars cool slightly, whisk powdered sugar, milk, and vanilla extract until achieving a smooth, glossy glaze.
- Delicately drizzle the prepared glaze across the warm bars, allowing it to settle into the crumbly surface.
- Let the bars cool completely at room temperature before slicing into neat, square servings.
Notes
- Swap out cherry pie filling for fresh or frozen cherries to control sugar and add natural fruit flavor.
- Enhance the crust’s texture by toasting oats briefly in a skillet before mixing for a nuttier, richer taste.
- Make gluten-free by substituting regular flour with almond or oat flour, ensuring the same crumbly consistency.
- Reduce sweetness by using less sugar in the crust and choosing a low-sugar cherry pie filling or homemade fruit compote.
- Prep Time: 20 minutes
- Cook Time: 45 minutes
- Category: Desserts, Snacks
- Method: Baking
- Cuisine: American
Nutrition
- Serving Size: 9
- Calories: 270
- Sugar: 20 g
- Sodium: 120 mg
- Fat: 13 g
- Saturated Fat: 8 g
- Unsaturated Fat: 5 g
- Trans Fat: 0.3 g
- Carbohydrates: 34 g
- Fiber: 1 g
- Protein: 2 g
- Cholesterol: 30 mg
Natalie Brooks
Co-Founder & Content Strategist
Expertise
Education
eCornell
Natalie brings the vibrant, plant-powered side to Culinary Duo. After earning her Plant-Based Nutrition Certificate from eCornell, she combined her love for fresh ingredients with a passion for storytelling, aiming to make healthy cooking simple and satisfying.
Her kitchen motto: good food doesn’t need a fancy label, it just needs fresh ideas and a little creativity. Outside of writing and recipe testing, Natalie’s happiest in her garden, exploring farmers’ markets, or mixing global flavors into new kitchen experiments.