Sweet Cherry Pistachio Cheesecake Bars Recipe: A Divine Treat
Crafting a decadent cherry pistachio cheesecake bars recipe promises a delightful twist on classic dessert traditions.
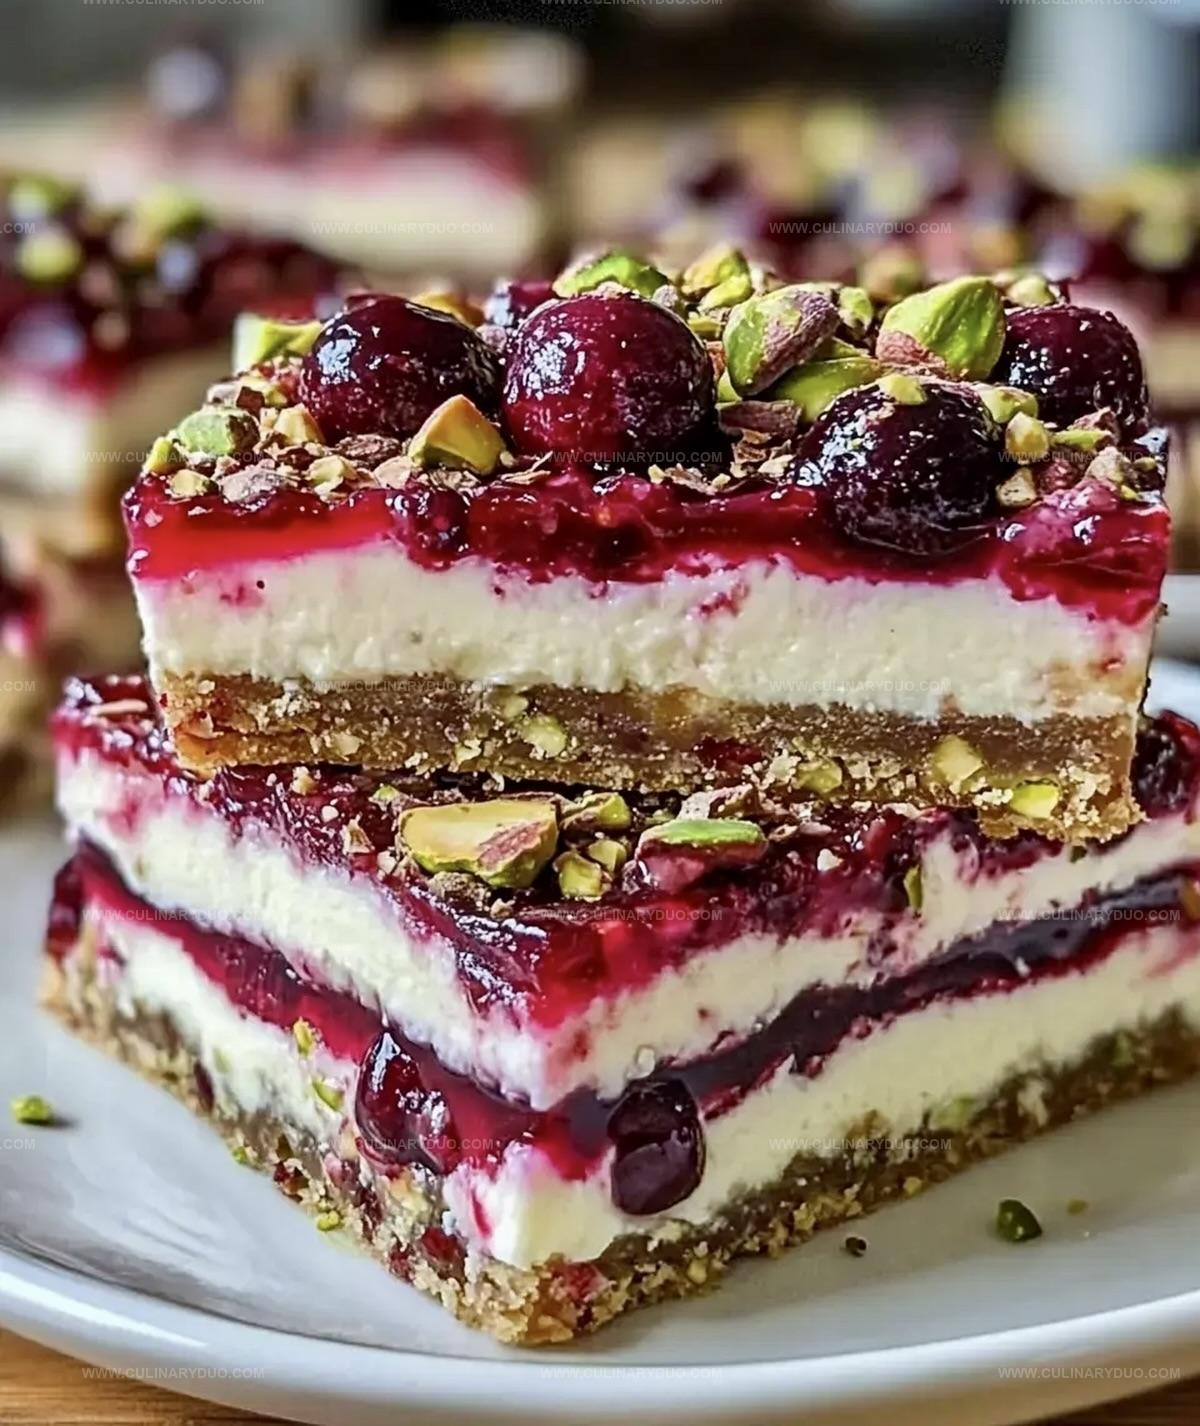
Creamy layers blend unexpected flavor combinations that surprise and delight the palate.
Soft cream cheese mingles with vibrant cherries and crunchy pistachios, creating a sensational treat.
Each bite offers a perfect balance of sweet and nutty notes.
Rich textures contrast beautifully, making these bars a standout dessert for any occasion.
Memories of indulgent moments will dance across your taste buds with every single slice.
Prepare to experience a dessert that turns an ordinary evening into something truly extraordinary.
Cherry Pistachio Bar Highlights
Cherry Cheesecake Bar Ingredients
Crust Base:Cheesecake Filling:Topping and Decoration:Steps For Pistachio Bars
Step 1: Warm Up The Oven
Crank your oven to a cozy 325F (165C).
Grab a 9×13-inch baking pan and give it a parchment paper hug, making sure it covers the bottom and sides.
Step 2: Create The Crumbly Base
Grab a mixing bowl and toss in:Smoosh the mixture into the pan, creating a solid and delicious foundation for your cheesecake bars.
Step 3: Whip Up The Creamy Filling
In a large bowl, beat cream cheese and sugar until they’re silky smooth.
Splash in vanilla extract and mix it up.
Add eggs one at a time, giving each a good beating.
Fold in sour cream until everything is perfectly blended.
Step 4: Layer And Decorate
Pour the dreamy cream cheese mixture over the crust, spreading it evenly.
Dot the top with cherry pie filling, then use a knife to create beautiful swirls.
Sprinkle chopped pistachios across the surface for a delightful crunch.
Step 5: Bake To Perfection
Slide the pan into the oven and bake for 40-45 minutes.
You’re looking for a set cheesecake with golden edges that whisper “I’m delicious!”
Step 6: Chill And Slice
Let the bars cool down to room temperature.
Pop them in the refrigerator for at least 2 hours.
When they’re nice and firm, slice into squares and enjoy your heavenly creation.
Tips For Creamy Cheesecake Bars
Fun Bar Variations
Serving Cherry Pistachio Bars
Storing Cheesecake Bars
FAQs
Yes, thaw and drain frozen cherries, mix with a little sugar, and use as a replacement for pie filling.
Avoid overmixing the batter, bake at a consistent temperature, and let the cheesecake cool gradually in the oven after baking.
You can substitute with digestive biscuits, vanilla wafers, or crushed shortbread cookies for the crust base.
Use gluten-free graham crackers or cookie crumbs for the crust to create a gluten-free version of the cheesecake bars.
Print
Cherry Pistachio Cheesecake Bars Recipe
- Total Time: 1 hour 5 minutes
- Yield: 12 1x
Description
Indulgent cherry pistachio cheesecake bars blend creamy richness with nutty crunch, offering a delightful dessert experience. Sweet-tart cherries and crunchy pistachios create a perfect harmony you’ll savor with each luxurious bite.
Ingredients
Main Ingredients:
- 16 ounces (454 grams) cream cheese (softened)
- 3 large eggs
- 1 cup (200 grams) granulated sugar
- 1 cup (240 milliliters) sour cream
- 1 1/2 cups (360 milliliters) cherry pie filling
- 1/2 cup (60 grams) chopped pistachios
Crust Ingredients:
- 1 1/2 cups (180 grams) graham cracker crumbs
- 1/2 cup (113 grams) unsalted butter (melted)
Flavoring Ingredient:
- 1 teaspoon vanilla extract
Instructions
- Preheat oven to 325F (165C) and prepare a 9×13-inch pan by lining with parchment paper, ensuring complete coverage for easy removal.
- Create the crust by thoroughly mixing graham cracker crumbs with melted butter until the texture resembles wet sand, then firmly press the mixture into the pan’s bottom to form a compact, even layer.
- In a spacious mixing bowl, whip cream cheese and sugar until achieving a silky, lump-free consistency, then incorporate vanilla extract and blend smoothly.
- Gradually introduce eggs into the cream cheese mixture, mixing thoroughly after each addition to maintain a uniform texture and prevent curdling.
- Fold in sour cream, stirring gently until completely integrated and the filling appears creamy and homogeneous.
- Transfer the cream cheese mixture over the prepared crust, spreading evenly with a spatula to create a smooth surface.
- Strategically distribute cherry pie filling across the cheesecake layer, using a knife to create elegant marbled swirls throughout the surface.
- Generously scatter chopped pistachios over the top, ensuring even distribution for consistent flavor and crunch.
- Place in the preheated oven and bake for 40-45 minutes, monitoring until the edges turn golden and the center appears set but slightly jiggly.
- Remove from oven and allow to cool completely at room temperature, which helps prevent cracking and ensures proper texture.
- Refrigerate for a minimum of 2 hours to allow the cheesecake to firm up and develop optimal flavor, then slice into squares for serving.
Notes
- Softening Cream Cheese Ensures a smooth, lump-free filling by letting cream cheese sit at room temperature for 30-45 minutes before mixing.
- Swirling Technique Use a toothpick or thin knife to create delicate marbled patterns with cherry filling, avoiding over-mixing for a beautiful visual effect.
- Nut Alternatives Swap pistachios with almonds or pecans for different flavor profiles or to accommodate nut allergies.
- Gluten-Free Option Replace graham cracker crumbs with gluten-free cookie crumbs or ground almond meal to make the recipe celiac-friendly.
- Prep Time: 20 minutes
- Cook Time: 45 minutes
- Category: Desserts
- Method: Baking
- Cuisine: American
Nutrition
- Serving Size: 12
- Calories: 329 kcal
- Sugar: 22 g
- Sodium: 160 mg
- Fat: 23 g
- Saturated Fat: 9 g
- Unsaturated Fat: 12 g
- Trans Fat: 0.5 g
- Carbohydrates: 26 g
- Fiber: 1.5 g
- Protein: 6 g
- Cholesterol: 85 mg
Michael Reyes
Founder & Lead Recipe Developer
Expertise
Education
Santa Fe Community College
Michael’s love for cooking runs deep, rooted in the bold, colorful flavors of his New Mexico upbringing.
After earning his Culinary Arts Certificate from Santa Fe Community College, he spent years sharpening his skills in kitchens that celebrated traditional Southwestern and Latin American dishes.
He believes cooking should feel approachable and fun, never complicated. When he’s not stirring up new recipe ideas, Michael’s out hiking scenic trails, chatting with farmers at local markets, or chasing the perfect sunset shot for inspiration.