
Tasty Chicken Parmesan Sliders Recipe for Cozy Family Nights
Sliders have become the ultimate party favorite, especially when loaded with crispy chicken parmesan magic that takes your gathering to the next level.
These mini sandwiches pack a serious flavor punch with every single bite.
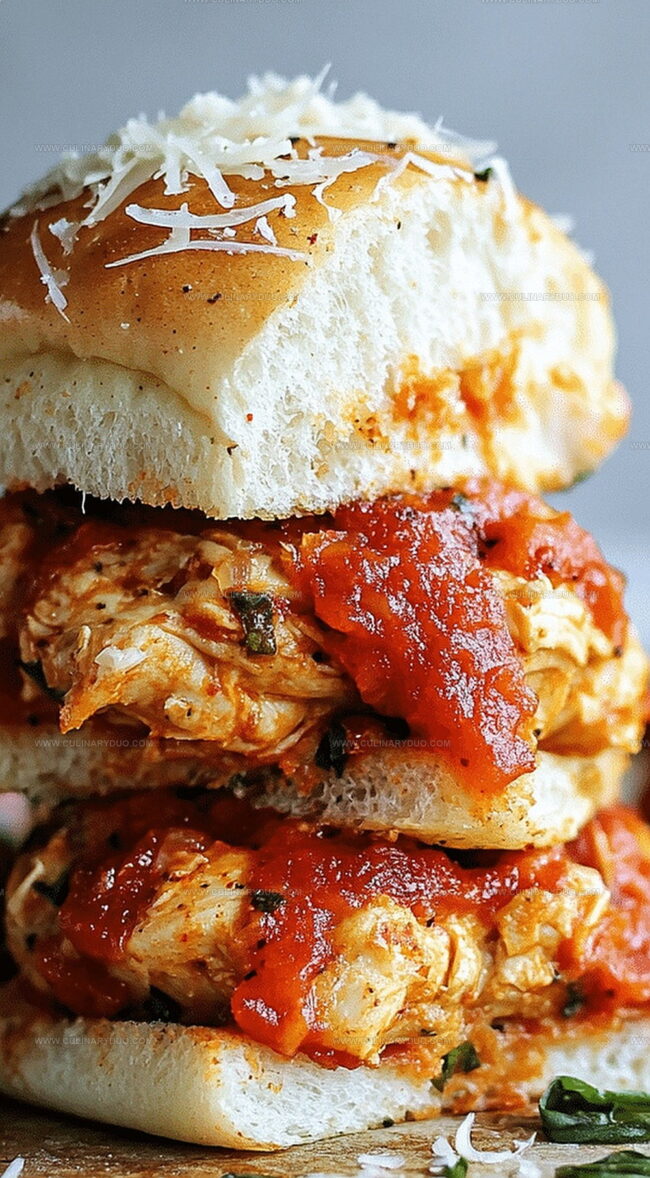
Melted cheese cascades over perfectly seasoned chicken cutlets, nestled between soft slider buns.
Each slider brings together the classic Italian-American flavors we all adore.
Crispy breaded chicken meets tangy marinara sauce in a handheld delight that everyone will devour.
The combination of golden-brown chicken, rich marinara, and melted mozzarella creates an irresistible appetizer that vanishes within minutes.
Why Chicken Parmesan Sliders Stand Out
Chicken Parmesan Slider Ingredient Rundown
Main Ingredients:Cheese Topping:Garnish:Making Chicken Parmesan Sliders at Home
Step 1: Warm Up the Oven
Set your oven to 350°F and let it heat up completely while you prepare the other ingredients.
Step 2: Slice the Slider Rolls
Carefully cut the slider rolls in half horizontally, keeping the bottom and top halves connected.
Gently place the bottom half into a baking dish.
Step 3: Layer the Flavor Base
Spread marinara sauce generously over the bottom half of the rolls.
Create delicious layers with:Step 4: Top and Cover the Sliders
Place the top half of the rolls back onto the layered ingredients.
Step 5: Create a Flavorful Butter Glaze
In a small bowl, blend together:Brush this aromatic mixture evenly over the top of the rolls.
Step 6: Bake to Perfection
Cover the baking dish with foil and bake for 15 minutes.
Remove the foil and continue baking for an additional 5-7 minutes until the cheese melts and the tops turn golden brown.
Step 7: Serve and Enjoy
Sprinkle fresh basil on top, slice the sliders, and serve while warm for maximum deliciousness.
Slider Tips for Crisp Chicken Parmesan
New Chicken Parm Slider Takes
Serving Chicken Parmesan Sliders Up
Sliders Storage for Leftovers
FAQs
Use two forks to pull cooked chicken apart, moving in opposite directions until the meat is in thin, stringy pieces. You can also use a hand mixer on low speed to quickly shred chicken.
Absolutely! Rotisserie chicken is a great shortcut and adds extra flavor. Simply pull the meat apart and use it in the recipe as directed.
Soft potato rolls or Hawaiian rolls are ideal. They provide a slightly sweet flavor and soft texture that complements the chicken and cheese perfectly.
Assemble the sliders completely, cover with foil, and refrigerate for up to 24 hours before baking. When ready to serve, bake as directed, adding a few extra minutes to the cooking time.
Print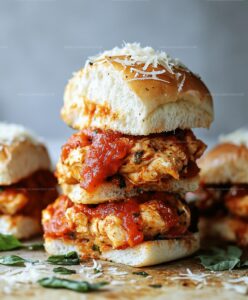
Chicken Parmesan Sliders Recipe
- Total Time: 37 minutes
- Yield: 12 1x
Description
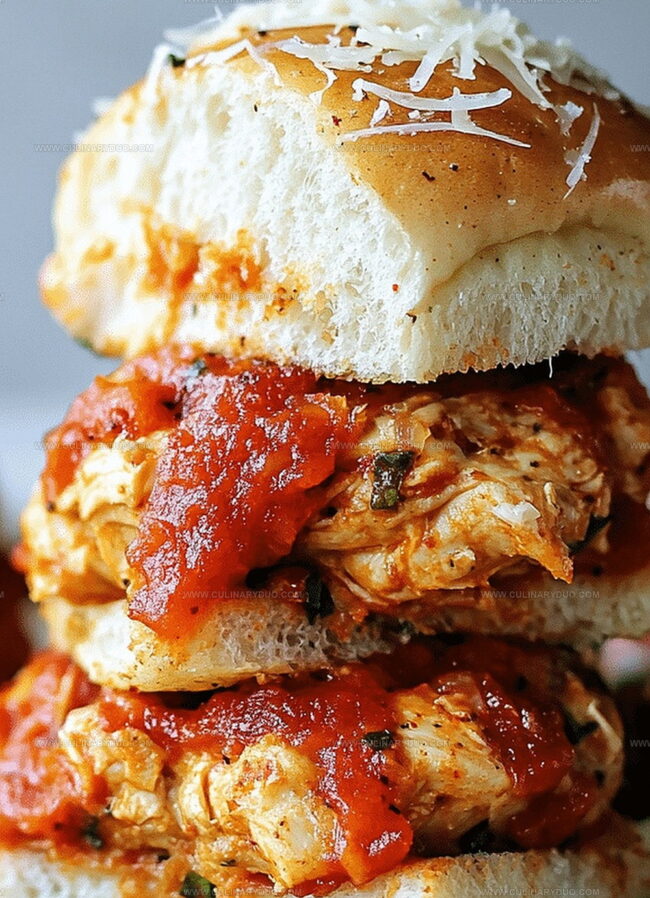
Savory chicken parmesan sliders bring classic Italian comfort to mini sandwich form. Crispy breaded chicken, melted mozzarella, and zesty marinara sauce create irresistible bites you’ll crave at every gathering.
Ingredients
Chicken
- 2 cups shredded chicken
- 12 slider rolls
Cheese
- 1 1/2 cups shredded mozzarella cheese
- 1/2 cup grated Parmesan cheese
Seasonings and Extras
- 1 cup marinara sauce
- 3 tablespoons melted butter
- 1 teaspoon garlic powder
- 1 teaspoon Italian seasoning
- Fresh basil (optional)
Instructions
- Prepare the oven to 350°F and arrange a baking dish for the sliders.
- Carefully slice the rolls horizontally, maintaining the structural integrity of the bottom and top halves.
- Generously distribute marinara sauce across the bottom roll layer, creating a rich foundational flavor.
- Arrange a substantial layer of shredded chicken over the sauce, ensuring even coverage.
- Sprinkle mozzarella and Parmesan cheese liberally, creating a melty, savory blanket over the chicken.
- Position the top half of the rolls carefully over the cheese layer, completing the slider assembly.
- Combine melted butter with garlic powder and Italian seasoning in a small mixing bowl.
- Brush the aromatic butter mixture thoroughly across the roll tops, ensuring complete and even coverage.
- Shield the sliders with aluminum foil and bake for 15 minutes to allow flavors to meld and cheese to soften.
- Remove the foil and continue baking for an additional 5-7 minutes until the tops turn golden and cheese becomes irresistibly bubbly.
- Garnish with freshly chopped basil for a vibrant, aromatic finish.
- Slice into individual portions and serve while warm for maximum enjoyment.
Notes
- Make sliders ahead of time by assembling and refrigerating until ready to bake, which saves preparation time and allows flavors to meld together.
- Use rotisserie chicken for a quicker, more convenient protein option that guarantees tender, flavorful meat without additional cooking.
- Try gluten-free slider rolls or low-carb alternatives like lettuce wraps to accommodate different dietary needs while maintaining the delicious flavor profile.
- Toast the bottom slider rolls briefly before adding sauce to prevent sogginess and create a crisp base that holds up better during baking.
- Prep Time: 15 minutes
- Cook Time: 22 minutes
- Category: Lunch, Dinner, Appetizer, Snacks
- Method: Baking
- Cuisine: Italian-American
Nutrition
- Serving Size: 12
- Calories: 233 kcal
- Sugar: 2 g
- Sodium: 430 mg
- Fat: 10 g
- Saturated Fat: 5 g
- Unsaturated Fat: 4 g
- Trans Fat: 0.2 g
- Carbohydrates: 22 g
- Fiber: 1 g
- Protein: 18 g
- Cholesterol: 45 mg
Michael Reyes
Founder & Lead Recipe Developer
Expertise
Education
Santa Fe Community College
Michael’s love for cooking runs deep, rooted in the bold, colorful flavors of his New Mexico upbringing.
After earning his Culinary Arts Certificate from Santa Fe Community College, he spent years sharpening his skills in kitchens that celebrated traditional Southwestern and Latin American dishes.
He believes cooking should feel approachable and fun, never complicated. When he’s not stirring up new recipe ideas, Michael’s out hiking scenic trails, chatting with farmers at local markets, or chasing the perfect sunset shot for inspiration.