The Perfect Classic Peanut Butter Blossoms Recipe for Cozy Baking
Soft, chewy cookies studded with creamy peanut butter blossoms invite pure comfort and nostalgia.
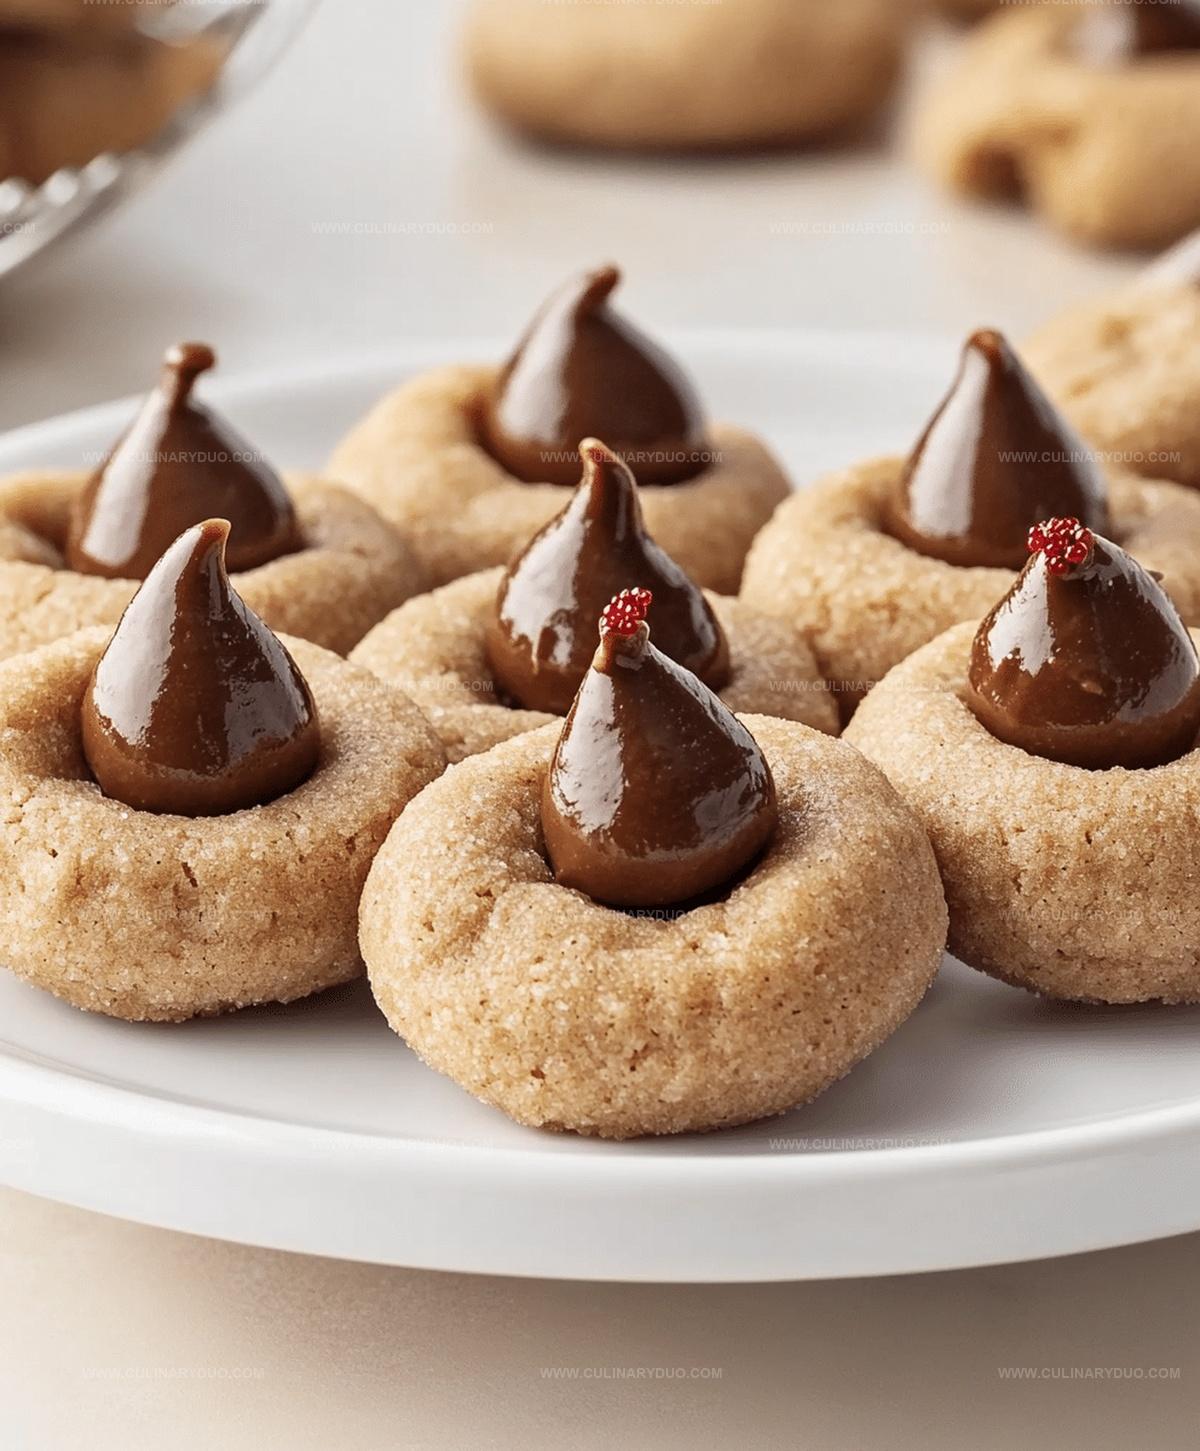
These beloved treats blend smooth peanut butter dough with classic chocolate kisses for an irresistible combination.
Baking these cookies fills your kitchen with warm, inviting aromas that spark childhood memories.
The delicate balance of sweet chocolate and nutty peanut butter creates a perfect harmony in every bite.
Simple ingredients come together effortlessly, making these cookies a go-to favorite for bakers of all skill levels.
Each golden-brown cookie promises a delightful crunch and melt-in-your-mouth texture that will have everyone reaching for seconds.
Peanut Butter Blossoms, Always a Classic
Ingredients for Peanut Butter Blossoms
Base Ingredients:Binding Ingredients:Dry Ingredients:Topping Ingredient:How to Bake Peanut Butter Blossom Cookies
Step 1: Warm Up the Oven
Crank your oven to a toasty 375°F.
Get your baking sheet ready by lining it with parchment paper or a silicone mat.
Step 2: Create Creamy Cookie Base
In a spacious mixing bowl, blend together:Whip these ingredients until they transform into a smooth, fluffy mixture.
Step 3: Add Moisture and Flavor
Mix in:Stir until the mixture becomes completely smooth and well combined.
Step 4: Prepare Dry Ingredients
In a separate bowl, whisk together:Ensure all dry ingredients are evenly distributed.
Step 5: Combine Wet and Dry Mixtures
Slowly incorporate the dry ingredients into the wet mixture.
Stir gently until a consistent dough forms.
Don’t overmix.
Step 6: Shape Cookie Balls
Roll the dough into small spheres about the size of a walnut.
Roll each ball in granulated sugar for a sparkling exterior.
Step 7: Bake to Golden Perfection
Place cookie balls on the prepared baking sheet.
Bake for 8-10 minutes until edges turn a light golden brown.
Step 8: Add Chocolate Kisses
Immediately after removing from the oven, gently press a Hershey’s kiss into the center of each warm cookie.
Step 9: Cool and Enjoy
Let cookies rest on the baking sheet for 2 minutes.
Transfer to a wire cooling rack.
Allow cookies to cool completely before serving.
Tips for Hershey Kiss Centered Cookies
Blossom Cookie Flavor Swaps
Peanut Butter Blossom Serving Ideas
Storing Peanut Butter Blossoms
FAQs
Yes, you can substitute crunchy peanut butter for a more textured cookie. The taste and texture will be slightly different, but still delicious.
After baking, let the cookies cool for about 1-2 minutes before adding the kiss. This helps maintain the kiss’s shape while still slightly melting into the cookie.
You can use chocolate chips, chocolate chunks, or other chocolate candies as a substitute. The classic kiss is traditional, but feel free to get creative with your topping.
Print
Classic Peanut Butter Blossoms Recipe
- Total Time: 25 minutes
- Yield: 24 1x
Description
Sweet chocolate-kissed peanut butter blossoms deliver nostalgic comfort with each tender cookie bite. Homemade cookie magic brings delightful memories closer as you savor these irresistible, crackly-edged treats that promise pure happiness.
Ingredients
Peanut Butter Cookies
Main Ingredients:
- 1/2 cup (113 grams) creamy peanut butter
- 1/2 cup (113 grams) butter (softened)
- 1 large egg
- 1 3/4 cups (220 grams) all-purpose flour
Sugars:
- 1/2 cup (100 grams) granulated sugar
- 1/2 cup (110 grams) brown sugar (packed)
- 1/4 cup (50 grams) granulated sugar (for rolling)
Baking and Seasoning:
- 1 teaspoon vanilla extract
- 1 teaspoon baking soda
- 1/2 teaspoon salt
- 24 Hershey’s Kisses (unwrapped)
Instructions
- Prepare the oven to 375°F, ensuring an even heating environment for consistent baking.
- Combine peanut butter, softened butter, and both sugars in a mixing bowl, whipping until the mixture becomes light and fluffy.
- Incorporate egg and vanilla extract, blending thoroughly until the mixture achieves a smooth, uniform consistency.
- Separately, sift together flour, baking soda, and salt to eliminate potential lumps and ensure even distribution.
- Gradually fold the dry ingredients into the wet mixture, stirring gently until a cohesive dough forms without overmixing.
- Shape the dough into uniform 1-inch spheres, then delicately coat each ball with a fine layer of granulated sugar.
- Arrange the sugar-rolled dough balls on a prepared baking sheet, maintaining sufficient spacing between each cookie.
- Bake for 8-10 minutes, watching for a subtle golden edge that indicates perfect doneness.
- Immediately after removing from the oven, gently press a Hershey’s kiss into the center of each warm cookie, creating a delightful indentation.
- Allow cookies to rest on the baking sheet for 2 minutes to stabilize, then carefully transfer to a cooling rack to complete the setting process.
Notes
- Swap traditional peanut butter for almond or sunflower seed butter to create nut-free versions perfect for school or allergy-sensitive environments.
- Chill the dough for 30 minutes before rolling to prevent excessive spreading and maintain a more compact cookie shape during baking.
- Use room temperature ingredients, especially egg and butter, to ensure smoother dough consistency and more even cookie texture.
- For gluten-free options, replace all-purpose flour with a 1:1 gluten-free baking blend to accommodate different dietary needs without sacrificing taste.
- Prep Time: 15 minutes
- Cook Time: 10 minutes
- Category: Snacks, Desserts
- Method: Baking
- Cuisine: American
Nutrition
- Serving Size: 24
- Calories: 120 kcal
- Sugar: 8 g
- Sodium: 75 mg
- Fat: 7 g
- Saturated Fat: 2 g
- Unsaturated Fat: 4 g
- Trans Fat: 0 g
- Carbohydrates: 13 g
- Fiber: 1 g
- Protein: 3 g
- Cholesterol: 15 mg
Michael Reyes
Founder & Lead Recipe Developer
Expertise
Education
Santa Fe Community College
Michael’s love for cooking runs deep, rooted in the bold, colorful flavors of his New Mexico upbringing.
After earning his Culinary Arts Certificate from Santa Fe Community College, he spent years sharpening his skills in kitchens that celebrated traditional Southwestern and Latin American dishes.
He believes cooking should feel approachable and fun, never complicated. When he’s not stirring up new recipe ideas, Michael’s out hiking scenic trails, chatting with farmers at local markets, or chasing the perfect sunset shot for inspiration.