The Best Juicy Crack Chicken Sliders Recipe Ever Made
Weeknight dinners demand quick, delicious solutions that satisfy hungry crowds.
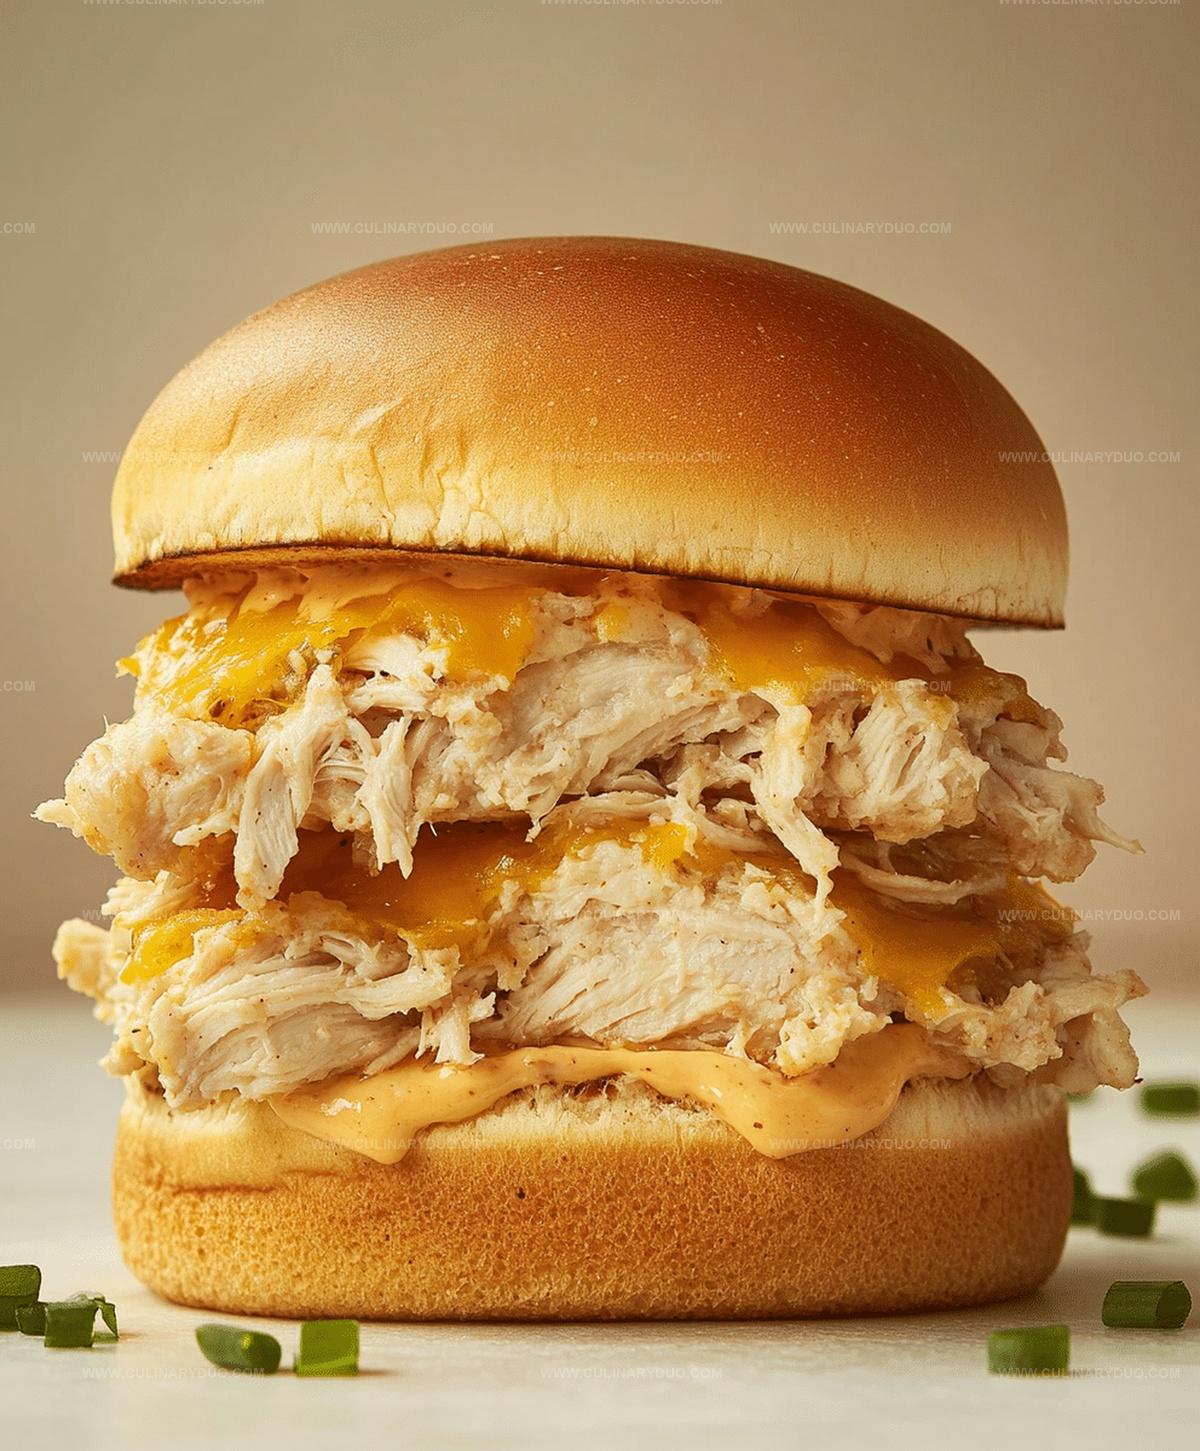
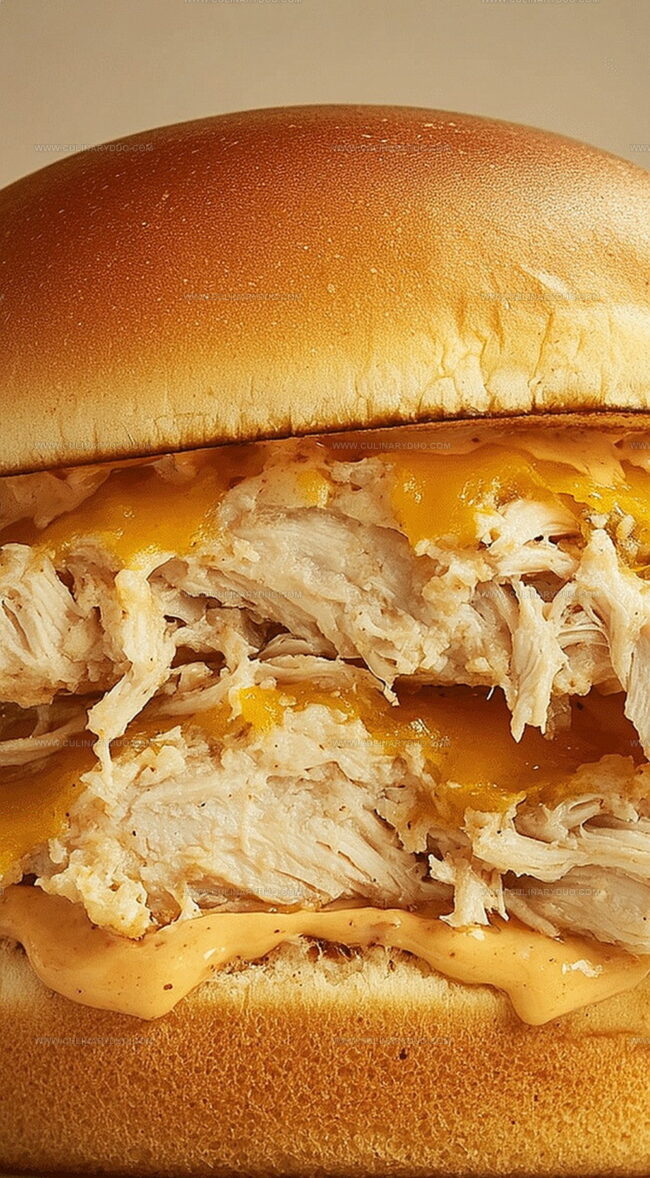
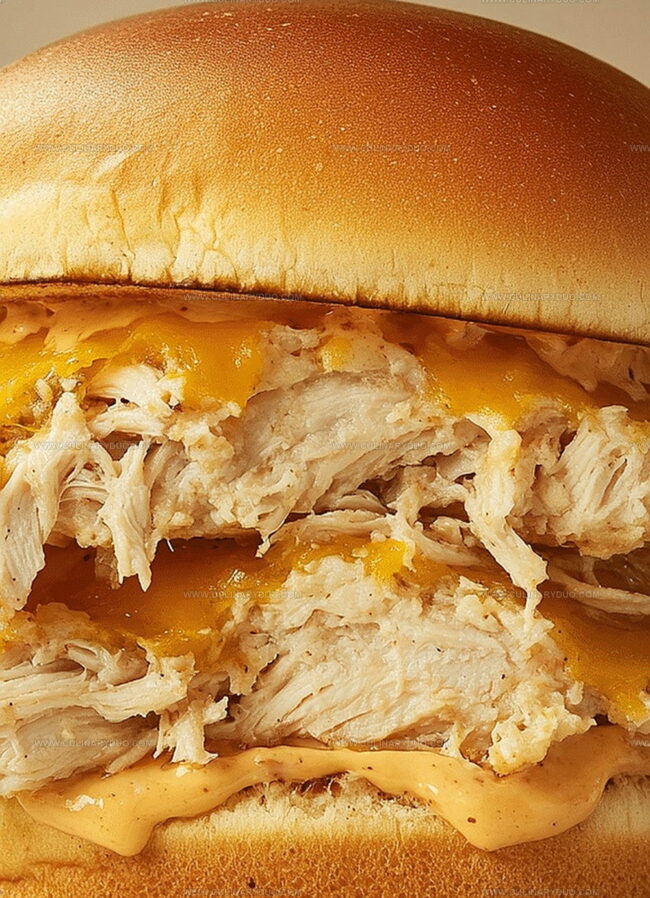
These irresistible crack chicken sliders pack a punch of flavor and excitement into every single bite.
Creamy, zesty, and impossibly addictive, this recipe combines tender shredded chicken with a magical blend of seasonings.
Melted cheese and soft slider buns create the perfect vehicle for this crowd-pleasing dish.
What’s Great About Crack Chicken Sliders
Must-Have Ingredients for Crack Sliders
Main Protein:Cheese and Dairy:Seasoning and Flavor Enhancers:Bread Components:Finishing Ingredients:Simple Steps for Crack Chicken Sliders
Step 1: Warm Up the Oven
Crank your oven to a cozy 350°F (175°C) and get ready for some slider magic.
Step 2: Create the Flavor Explosion
In a mixing bowl, dive into combining these delicious ingredients:Mix everything until it’s perfectly blended and looks irresistibly creamy.
Step 3: Prepare the Slider Base
Gently slice your slider buns right down the middle.
Lay the bottom halves in a baking dish, creating a soft foundation for your flavor-packed creation.
Step 4: Layer on the Goodness
Spread that incredible chicken mixture evenly across the bottom bun halves.
Make sure every inch gets some love from the filling.
Step 5: Top and Dress Up
Place the top bun halves over the chicken mixture.
Brush the surface with melted butter for that golden, glossy finish.
Step 6: Add Some Extra Pizzazz
Sprinkle garlic powder and dried parsley over the tops for an extra burst of flavor (totally optional but totally delicious).
Step 7: Bake to Perfection
Cover the baking dish with foil and slide into the preheated oven.
Bake for 15 minutes, then remove the foil and bake for another 5 minutes until the tops turn a beautiful golden brown.
Step 8: Serve and Devour
Pull those sliders out of the oven and serve them warm.
Get ready for a taste explosion that’ll have everyone asking for seconds!
Crack Slider Tips to Remember
Easy Variations for Chicken Sliders
Serving Crack Chicken Sliders
Keeping Chicken Sliders Fresh
FAQs
Yes, rotisserie chicken works perfectly and saves time. Shred it and follow the recipe as directed.
Ranch seasoning adds tons of flavor, but you can substitute with garlic powder, dried dill, and onion powder if needed.
Absolutely! Prepare the sliders, cover, and refrigerate for up to 24 hours before baking. Just add 5-10 extra minutes to baking time.
Cheddar or a blend of cheddar and monterey jack are great options. Choose a cheese that melts well and complements the chicken.
Print
Crack Chicken Sliders Recipe
- Total Time: 35 minutes
- Yield: 12 1x
Description
Creamy, zesty crack chicken sliders deliver irresistible flavor in every bite. Packed with ranch seasoning and shredded chicken, these sliders promise a crowd-pleasing meal you’ll crave again and again.
Ingredients
Main Ingredients:
- 3 cups cooked, shredded chicken
- 1 cup cooked, crumbled bacon
- 1 1/2 cups shredded cheddar cheese
- 12 slider buns
Dairy and Cream:
- 8 ounces (226 grams) cream cheese, softened
Seasonings and Garnish:
- 1 packet ranch seasoning mix
- 3 tablespoons melted butter
- 1 teaspoon garlic powder
- 1 teaspoon dried parsley
Instructions
- Prepare a baking dish and preheat the oven to 350°F.
- Combine shredded chicken, cream cheese, ranch seasoning, crumbled bacon, and shredded cheese in a mixing bowl, ensuring all ingredients are thoroughly blended.
- Carefully split the slider buns horizontally, positioning the bottom halves in the prepared baking dish.
- Evenly distribute the chicken mixture across the bun bases, creating a uniform layer of filling.
- Gently place the top halves of the buns over the chicken mixture, creating complete sliders.
- Drizzle melted butter over the bun tops, then sprinkle with garlic powder and chopped parsley for enhanced flavor and visual appeal.
- Cover the baking dish with aluminum foil, creating a protective seal to prevent excessive browning.
- Bake in the preheated oven for 15 minutes, then remove the foil and continue baking for an additional 5 minutes until the tops turn golden and crispy.
- Remove from the oven and allow to rest for a few minutes before serving to ensure optimal temperature and texture.
- Serve warm, allowing guests to enjoy the delightful combination of flavors and textures.
Notes
- Customize the heat level by adding hot sauce or red pepper flakes to the chicken mixture for spice lovers.
- Swap regular bacon for turkey bacon to create a lighter, leaner version of the sliders.
- Use gluten-free slider buns to make this recipe suitable for those with gluten sensitivities.
- Prep the chicken mixture ahead of time and refrigerate for up to 24 hours to save time on busy days.
- Prep Time: 15 minutes
- Cook Time: 20 minutes
- Category: Lunch, Dinner, Snacks, Appetizer
- Method: Baking
- Cuisine: American
Nutrition
- Serving Size: 12
- Calories: 335 kcal
- Sugar: 1 g
- Sodium: 720 mg
- Fat: 26 g
- Saturated Fat: 12 g
- Unsaturated Fat: 13 g
- Trans Fat: 0.5 g
- Carbohydrates: 10 g
- Fiber: 0.5 g
- Protein: 20 g
- Cholesterol: 80 mg
Michael Reyes
Founder & Lead Recipe Developer
Expertise
Education
Santa Fe Community College
Michael’s love for cooking runs deep, rooted in the bold, colorful flavors of his New Mexico upbringing.
After earning his Culinary Arts Certificate from Santa Fe Community College, he spent years sharpening his skills in kitchens that celebrated traditional Southwestern and Latin American dishes.
He believes cooking should feel approachable and fun, never complicated. When he’s not stirring up new recipe ideas, Michael’s out hiking scenic trails, chatting with farmers at local markets, or chasing the perfect sunset shot for inspiration.