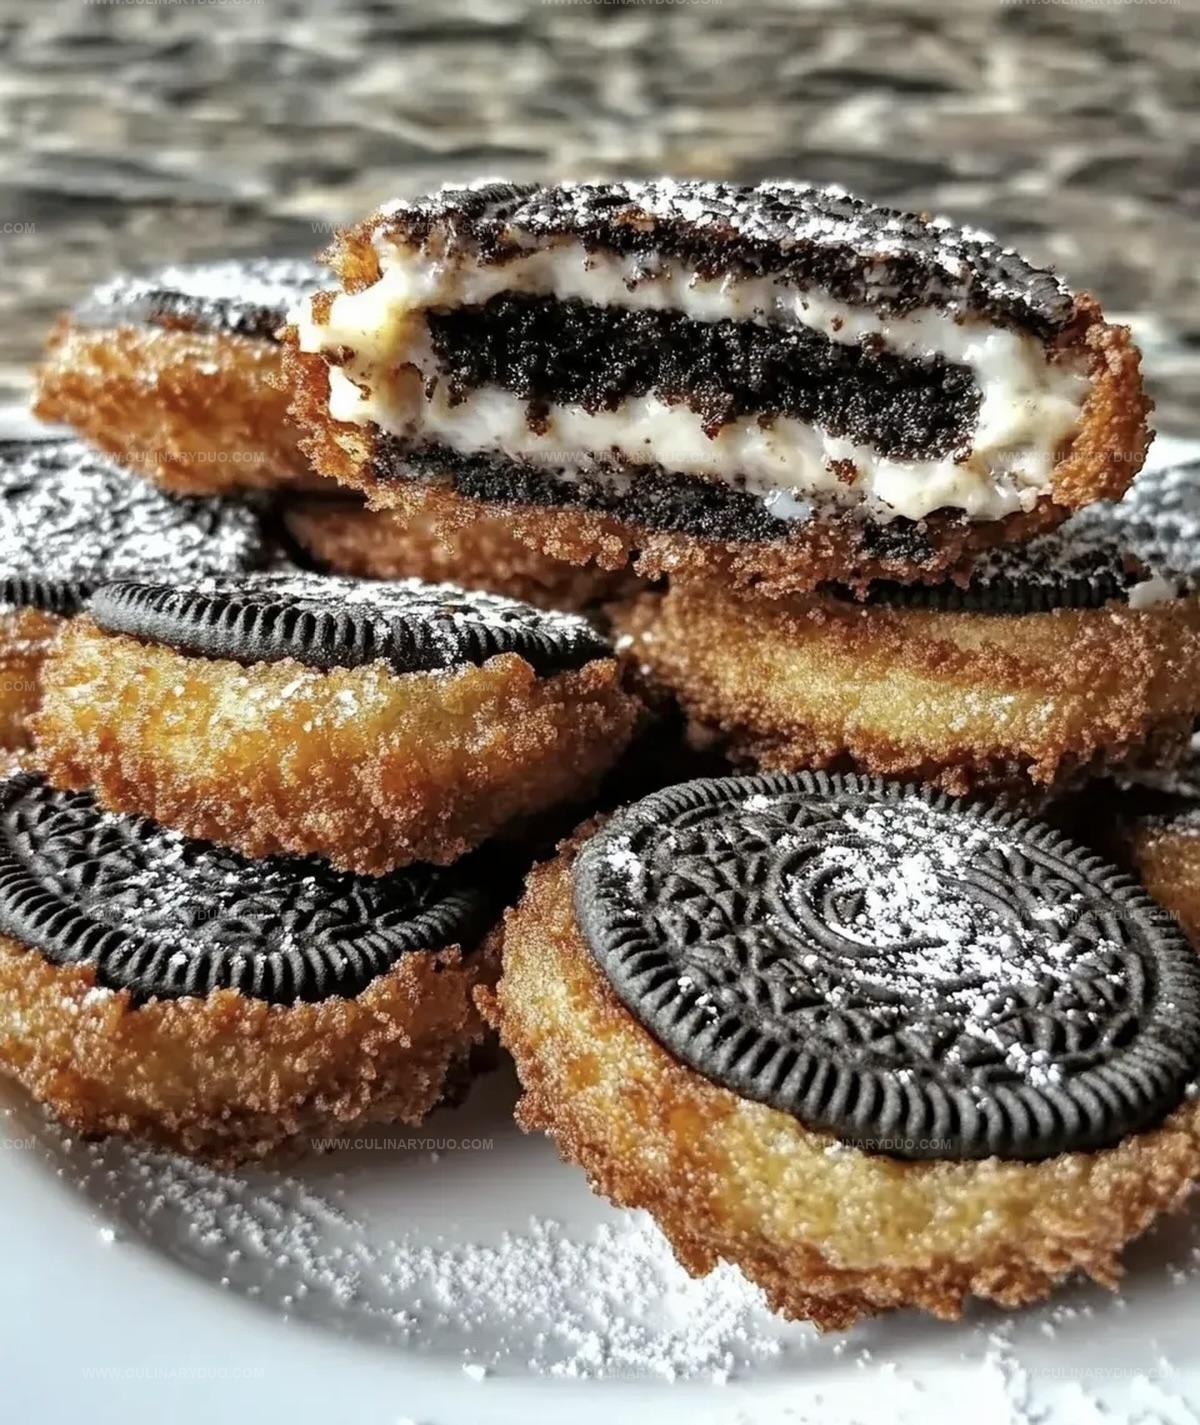
Irresistibly Sweet Deep Fried Oreos Recipe for Dessert Lovers
Crispy, golden deep fried Oreos create a decadent carnival-inspired treat that melts in your mouth.
Sweet cookies wrapped in a light, puffy batter become something magical when dunked in hot oil.
Carnival memories flood back with each crunchy, sugar-coated bite.
Such simple ingredients combine to make an indulgent dessert that feels like pure happiness.
Powdered sugar sprinkled on top adds a delightful finishing touch to this playful snack.
Comfort and nostalgia blend perfectly in this irresistible dessert that you won’t be able to resist trying.
Whip up these treats and watch everyone’s eyes light up with excitement.
Why Deep Fried Oreos Always Win Dessert Tables
What You’ll Need For Deep Fried Oreos Success
Core Ingredients:Wet Ingredients:Frying and Finishing Ingredients:Making Deep Fried Oreos In A Flash
Step 1: Whip Up The Batter
Grab a medium bowl and blend together flour, sugar, baking powder, and salt.
In a separate bowl, crack and beat an egg, then mix in milk and vanilla extract.
Combine wet and dry ingredients until you create a silky smooth mixture that’ll make your Oreos irresistible.
Step 2: Warm The Oil
Pour vegetable oil into a deep fryer or large heavy pot, filling it about 2 inches deep.
Heat the oil until it reaches a sizzling 350°F, creating the perfect frying environment.
Step 3: Coat The Cookies
Dive each Oreo into the batter, ensuring every nook and cranny gets a luxurious coating.
Let the excess batter drip off gently.
Step 4: Fry To Golden Perfection
Using a slotted spoon, carefully lower the batter-covered Oreos into the hot oil.
Let them sizzle and dance for 2-3 minutes until they transform into a gorgeous golden brown with a crispy exterior.
Step 5: Drain And Dust
Transfer the fried cookies onto paper towels to remove excess oil.
While still warm, sprinkle a delicate layer of powdered sugar over the top, creating a sweet, snowy finish.
Step 6: Serve And Enjoy
Plate these decadent treats immediately.
The contrast between the crispy exterior and the soft, melted Oreo center will make taste buds do a happy dance.
Handy Tips For Crispy Deep Fried Oreos
Fun Variations For Your Next Oreo Fry
How To Serve Deep Fried Oreos At Home
Best Way To Store Deep Fried Oreos Overnight
FAQs
You’ll need a deep fryer or large heavy pot, a slotted spoon, paper towels, and basic mixing bowls.
Yes, you can substitute the milk with almond milk, oat milk, or any milk alternative that works for your dietary needs.
Use a cooking thermometer to check that the oil is exactly 350F (175C), or drop a small bit of batter into the oil – it should sizzle and rise immediately.
Make sure the Oreos are completely coated in batter, and don’t overcrowd the pot when frying. Fry in small batches to maintain oil temperature.
Print
Deep Fried Oreos Recipe
- Total Time: 13 minutes
- Yield: 14 1x
Description
Carnival-style Deep Fried Oreos bring sweet nostalgia to your dessert table with crispy golden batter and rich chocolate cookie center. Indulgent treats promise crisp exterior and melted cream filling that delights guests of all ages.
Ingredients
Main Ingredients:
- 1 package Oreo cookies (about 14 cookies)
- 1 cup all-purpose flour
- 3/4 cup milk
- 1 large egg
- Vegetable oil, for frying
Dry Ingredients:
- 1/4 cup granulated sugar
- 1 tablespoon baking powder
- 1/4 teaspoon salt
Flavoring and Finishing:
- 1 teaspoon vanilla extract
- Powdered sugar, for dusting
Instructions
- Create a smooth, lump-free batter by whisking dry ingredients separately from wet ingredients, then blending them together until achieving a silky consistency.
- Preheat vegetable oil in a deep fryer or heavy pot to precisely 350°F, ensuring consistent temperature for optimal frying.
- Submerge each Oreo completely in the prepared batter, allowing excess to drip off, guaranteeing an even, thin coating.
- Gently slide batter-covered Oreos into the hot oil using a slotted spoon, maintaining a safe distance to prevent oil splatter.
- Fry cookies for 2-3 minutes, rotating occasionally to achieve an evenly golden-brown exterior with a crispy texture.
- Transfer fried Oreos onto paper towels, allowing excess oil to drain and prevent sogginess.
- While cookies are still warm, generously dust with powdered sugar, creating a delicate, sweet finish that complements the crispy exterior.
- Serve immediately to enjoy the optimal temperature and textural contrast between the crunchy shell and soft, melted cookie interior.
Notes
- Choose high-quality vegetable oil with a high smoke point to prevent burning and ensure crispy results.
- Maintain consistent oil temperature around 350F for even frying and perfect golden-brown coating.
- Pat Oreos dry before dipping to help batter adhere better and prevent excess oil absorption.
- Keep batches small to maintain oil temperature and prevent cookies from sticking together during frying.
- Prep Time: 10 minutes
- Cook Time: 3 minutes
- Category: Snacks, Desserts
- Method: Frying
- Cuisine: American
Nutrition
- Serving Size: 14
- Calories: 295 kcal
- Sugar: 18 g
- Sodium: 180 mg
- Fat: 15 g
- Saturated Fat: 3 g
- Unsaturated Fat: 10 g
- Trans Fat: 0.2 g
- Carbohydrates: 36 g
- Fiber: 1 g
- Protein: 4 g
- Cholesterol: 35 mg


Michael Reyes
Founder & Lead Recipe Developer
Expertise
Education
Santa Fe Community College
Michael’s love for cooking runs deep, rooted in the bold, colorful flavors of his New Mexico upbringing.
After earning his Culinary Arts Certificate from Santa Fe Community College, he spent years sharpening his skills in kitchens that celebrated traditional Southwestern and Latin American dishes.
He believes cooking should feel approachable and fun, never complicated. When he’s not stirring up new recipe ideas, Michael’s out hiking scenic trails, chatting with farmers at local markets, or chasing the perfect sunset shot for inspiration.