Quick & Playful Dirt Cake Recipe That Kids Adore
Sweet memories of childhood summers come flooding back with this classic dirt cake recipe that brings nostalgia and pure delight to the dessert table.
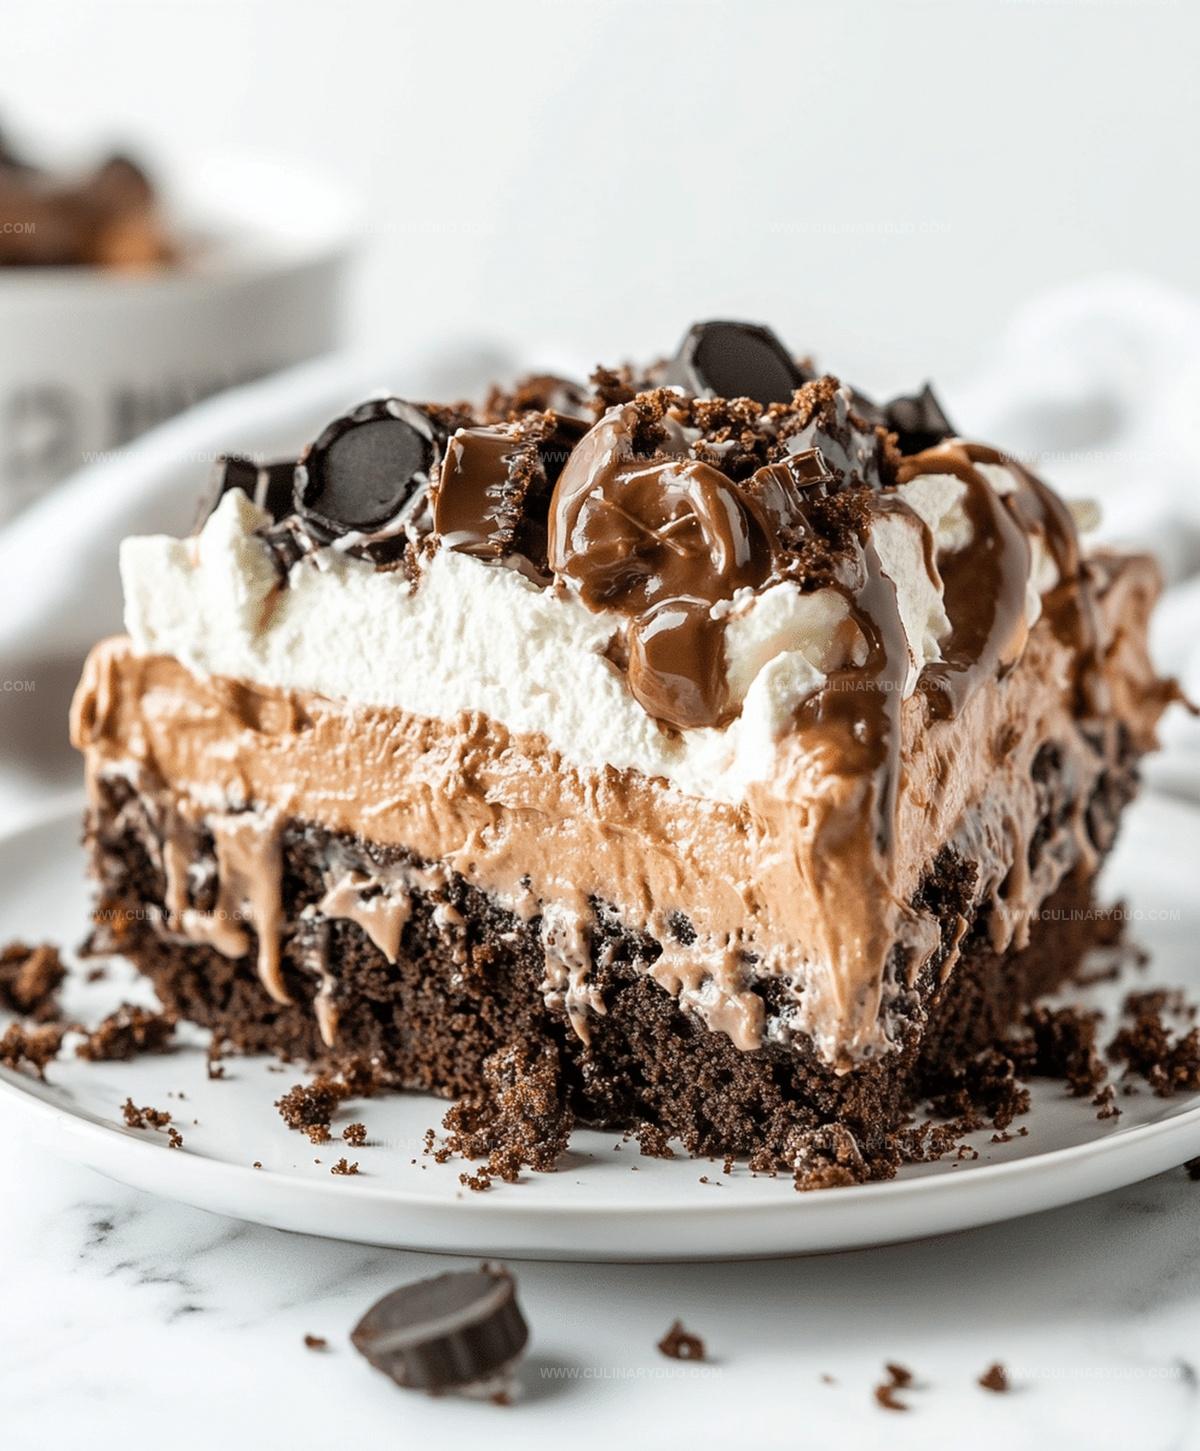
Layers of creamy pudding, crushed cookies, and playful presentation make this treat an instant crowd-pleaser.
Chocolate crumbs mimic rich soil, creating a whimsical dessert that delights both kids and adults alike.
The simple ingredients and easy preparation mean you can whip up this fun dessert in no time.
Chocolate cookie crumbles and smooth pudding create a texture that’s both crunchy and silky.
Serve this crowd-pleasing dessert at parties, potlucks, or as a special weekend treat that sparks joy and conversation.
Dig into this delightful dessert that promises to become a new family favorite.
Dirt Cake You’ll Want Again and Again
Key Ingredients for Classic Dirt Cake
Cookies:Dairy and Cream Components:Decorative Topping:How to Make Dirt Cake Quickly
Step 1: Pulverize Cookie Base
Grab your favorite chocolate sandwich cookies and place them in a food processor.
Pulse until the cookies transform into fine, dusty crumbs that look like rich, dark soil.
Step 2: Whip Up Creamy Pudding
In a spacious mixing bowl, combine milk and instant pudding mix.
Whisk vigorously until the mixture thickens and becomes smooth and velvety, creating a luscious foundation for your dessert.
Step 3: Create Dreamy Cream Cheese Blend
Using an electric mixer, beat cream cheese and powdered sugar together.
Continue mixing until the combination becomes silky, fluffy, and free of any lumps.
Step 4: Fold in Airy Whipped Topping
Gently incorporate whipped topping into the cream cheese mixture.
Fold carefully to maintain the light, airy texture that will make your dessert wonderfully creamy.
Step 5: Build Delicious Layers
Select a clear serving dish to showcase the beautiful layers.
Start by sprinkling a layer of cookie crumbs, followed by the pudding mixture, then the cream cheese blend.
Repeat these layers to create a visually stunning dessert.
Step 6: Add Playful Finishing Touches
Sprinkle the remaining cookie crumbs on top to resemble freshly disturbed earth.
For extra whimsy, nestle gummy worms across the surface, peeking out from the “soil”.
Step 7: Chill and Set
Place the dessert in the refrigerator for at least one hour.
This allows the layers to set and the flavors to meld together, creating a delightful and refreshing treat.
Tips for the Best Dirt Cake Texture
Dirt Cake Variations for Fun
Best Ways to Serve Dirt Cake
Storage Solutions for Dirt Cake
FAQs
Dirt cake is a no-bake dessert that looks like a garden soil layer, made with crushed cookies, pudding, cream cheese, and whipped topping, designed to mimic the appearance of dirt.
Absolutely! Kids can help crush cookies, mix ingredients, and decorate with gummy worms, making it a fun and engaging dessert activity.
Check ingredients carefully. Common allergens include dairy (milk, cream cheese), wheat (cookie crumbs), and potential nut or soy in whipped topping.
Dirt cake can be made up to 24 hours ahead and stored in the refrigerator, which actually helps flavors meld and improves the dessert’s texture.
Print
Dirt Cake Recipe
- Total Time: 1 hour 20 minutes
- Yield: 8 1x
Description
Chocolate dirt cake brings childhood nostalgia with layers of creamy pudding and crushed cookies mimicking delightful garden-themed dessert. Playful crumbled chocolate cookies and rich cream create a whimsical treat you’ll love sharing with family and friends.
Ingredients
Main Ingredients:
- 1 package (14.3 ounces / 405 grams) chocolate sandwich cookies (like Oreos), crushed
- 1 package (3.9 ounces / 110 grams) instant chocolate pudding mix
- 8 ounces (226 grams) cream cheese, softened
- 8 ounces (226 grams) whipped topping (like Cool Whip)
Liquid Ingredients:
- 2 cups (480 milliliters) cold milk
Sweeteners and Toppings:
- 1 cup (120 grams) powdered sugar
- Gummy worms, for decoration (optional)
Instructions
- Pulverize cookies into fine, uniform crumbs using a food processor or rolling pin.
- Whisk milk and pudding mix together in a large mixing bowl until the mixture reaches a thick, creamy consistency.
- In a separate bowl, blend cream cheese and powdered sugar until completely smooth and free of lumps.
- Gently incorporate whipped topping into the cream cheese mixture, creating a light and airy texture.
- Create alternating layers in a clear serving dish, starting with a base of cookie crumbs, followed by pudding mixture, then cream cheese mixture.
- Continue layering until all mixtures are used, ensuring even distribution of each component.
- Generously sprinkle remaining cookie crumbs across the top surface for a textured finish.
- Optional: Strategically place gummy worms on top for a playful, whimsical presentation.
- Chill in the refrigerator for a minimum of 1 hour to allow flavors to meld and dessert to set completely.
- Serve cold and enjoy the creamy, cookie-filled dessert.
Notes
- Crush cookies using a food processor or place in a sealed bag and crush with a rolling pin for consistent, fine crumbs.
- Ensure pudding mix is completely dissolved and thickened to prevent lumpy texture in the dessert.
- Use room temperature cream cheese for smoother blending and easier mixing with powdered sugar.
- For a gluten-free version, substitute regular cookies with gluten-free chocolate sandwich cookies or graham crackers.
- Prep Time: 20 minutes
- Cook Time: 1 hour
- Category: Desserts, Snacks
- Method: No-bake
- Cuisine: American
Nutrition
- Serving Size: 8
- Calories: 327
- Sugar: 31 g
- Sodium: 230 mg
- Fat: 18 g
- Saturated Fat: 9 g
- Unsaturated Fat: 6 g
- Trans Fat: 0.2 g
- Carbohydrates: 38 g
- Fiber: 1 g
- Protein: 4 g
- Cholesterol: 25 mg
Michael Reyes
Founder & Lead Recipe Developer
Expertise
Education
Santa Fe Community College
Michael’s love for cooking runs deep, rooted in the bold, colorful flavors of his New Mexico upbringing.
After earning his Culinary Arts Certificate from Santa Fe Community College, he spent years sharpening his skills in kitchens that celebrated traditional Southwestern and Latin American dishes.
He believes cooking should feel approachable and fun, never complicated. When he’s not stirring up new recipe ideas, Michael’s out hiking scenic trails, chatting with farmers at local markets, or chasing the perfect sunset shot for inspiration.