The Best Easy Brownie Truffles Recipe: Bite-Sized Chocolate Joy
Chocolate lovers rejoice as these decadent brownie truffles promise pure bliss.
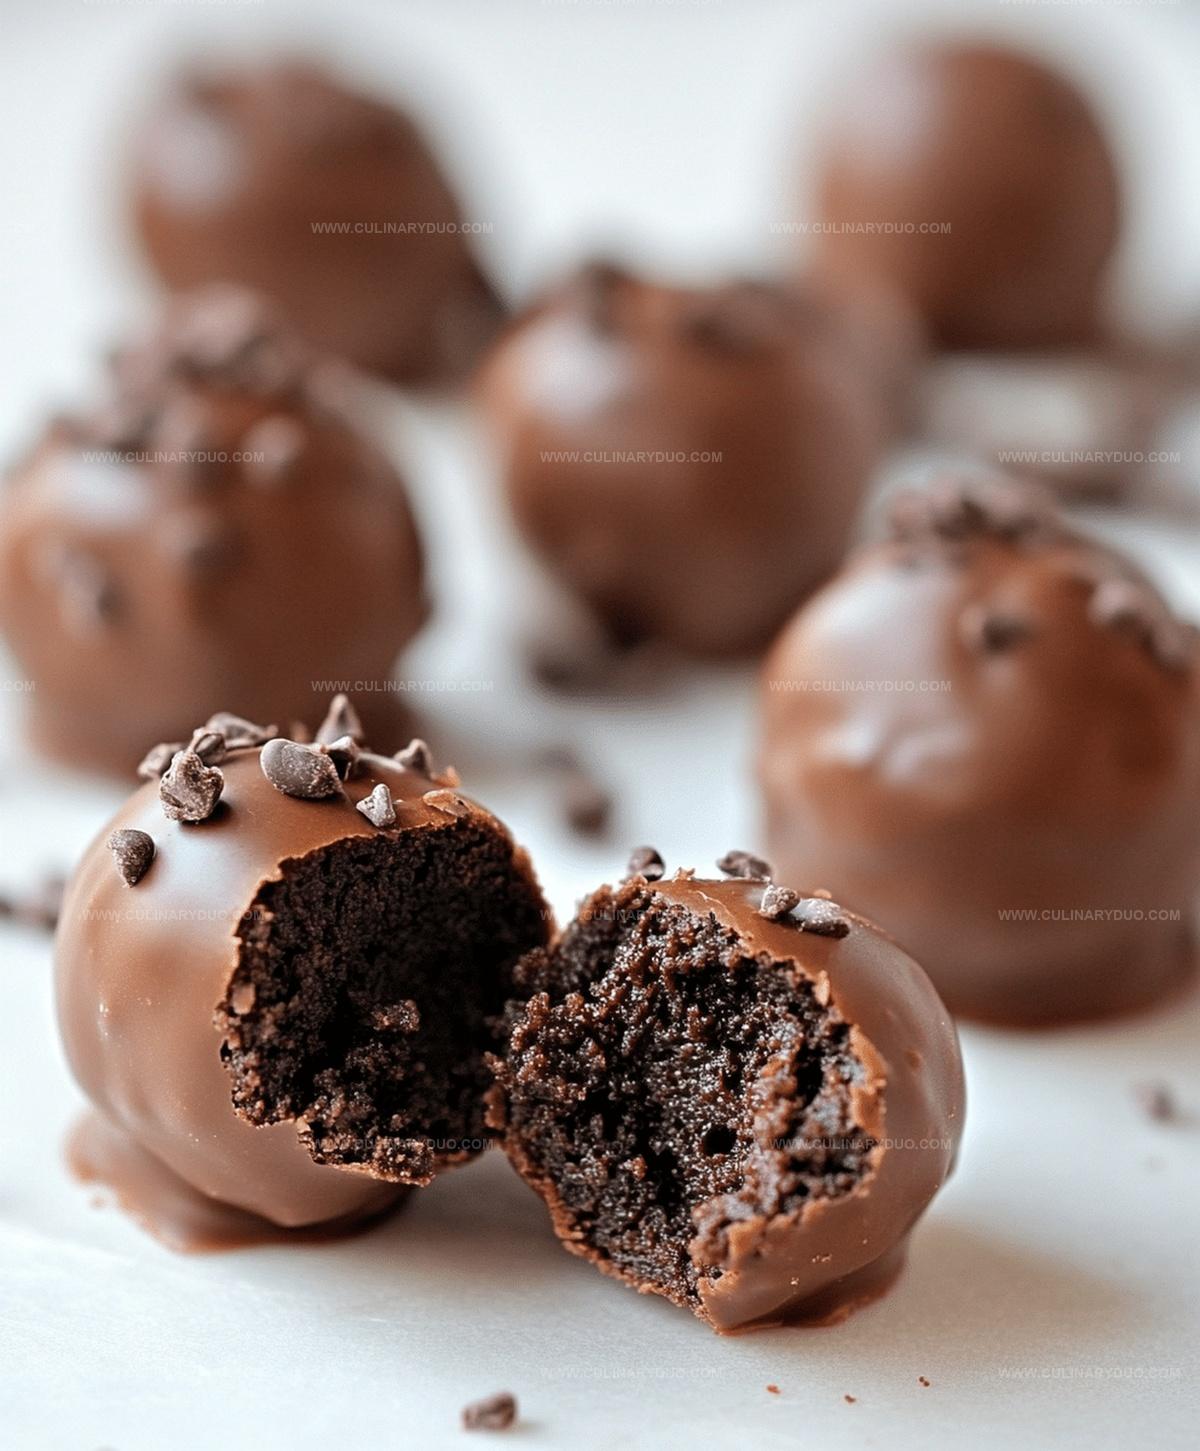
Packed with rich, fudgy flavors, this easy brownie truffles recipe delivers a mouthwatering treat in minutes.
Each bite combines the intense chocolate depth of homemade brownies with a smooth, velvety coating.
The recipe requires minimal ingredients and zero baking skills.
Rolled by hand and dipped in melted chocolate, these truffles look professionally crafted but come together effortlessly.
Sweet tooths will fall in love with their irresistible texture and intense chocolate punch.
Brownie Truffles: The Sweet Perks
What You Need for Brownie Truffles
Base Ingredients:Coating and Topping Ingredients:Optional Topping Ingredients:Directions for Easy Brownie Truffles
Step 1: Crush Decadent Brownie Base
Break brownies into a spacious mixing bowl, transforming them into delicate, fine crumbs using your hands or a fork.
Ensure the crumbs are uniform and crumbly for perfect truffle texture.
Step 2: Shape Delightful Chocolate Spheres
Scoop portions of the crumbled brownies and gently roll them between your palms, creating small, uniform balls.
Press firmly to help the crumbs stick together and maintain a round shape.
Step 3: Melt Smooth Chocolate Coating
Place chocolate in a microwave-safe bowl.
Heat in short intervals, stirring between each 20-30 second burst, until the chocolate becomes silky and completely melted.
Stir carefully to prevent burning.
Step 4: Dunk and Coat Truffle Balls
Carefully dip each brownie ball into the molten chocolate, using a fork or dipping tool.
Ensure complete and even coverage, allowing excess chocolate to drip off.
Gently place each coated truffle on parchment paper.
Step 5: Customize with Tempting Toppings
Before the chocolate solidifies, sprinkle or roll truffles in optional toppings such as:Step 6: Chill and Set Chocolate Treats
Allow truffles to set at room temperature or refrigerate for faster firming.
Once chocolate hardens completely, transfer to a serving plate and savor these luxurious bite-sized delights.
Pro Tips for Rich Brownie Truffles
Brownie Truffle Variations Worth Trying
Brownie Truffles on the Dessert Table
Save Brownie Truffles for Later
FAQs
Yes, homemade brownies work perfectly. Just ensure they are cooled completely before crumbling and forming truffles.
Break brownies into very fine crumbs, almost like sand-like texture. This helps truffles hold together better and create a smooth consistency.
Semi-sweet or dark chocolate works best. Choose high-quality chocolate that melts smoothly and provides rich flavor for coating.
Stored in an airtight container in the refrigerator, these truffles will stay fresh for 5-7 days. Let them sit at room temperature for 10-15 minutes before serving for best taste.
Print
Easy Brownie Truffles Recipe
- Total Time: 35 minutes
- Yield: 24 1x
Description
Chocolate brownie truffles deliver pure indulgence in bite-sized perfection. Rich chocolate and creamy centers make these treats irresistible for dessert lovers who crave intense flavor and smooth texture.
Ingredients
Main Ingredients:
- 1 batch brownies (homemade or store-bought)
Coating Ingredients:
- 1 cup (240 milliliters) chocolate chips or chocolate melts
Optional Toppings:
- Sprinkles
- Crushed nuts
- Cocoa powder
Instructions
- Thoroughly pulverize brownies into delicate, uniform crumbs within a spacious mixing vessel.
- Compress the brownie fragments and meticulously craft compact, symmetrical spheres using gentle, consistent pressure.
- Utilize microwave-safe container to liquify chocolate, pausing every 20-30 seconds and stirring until achieving silky, glossy consistency.
- Carefully immerse each brownie sphere into molten chocolate, ensuring comprehensive and uniform exterior coating using dipping utensil.
- While chocolate remains liquid, swiftly embellish with preferred decorative elements like crushed nuts, sprinkles, or cocoa powder.
- Position chocolate-enrobed truffles on parchment-lined surface, allowing natural room temperature or refrigeration to solidify chocolate coating within 15-20 minutes.
- Once chocolate has completely set and hardened, transfer truffles to serving platter or storage container for immediate consumption or future enjoyment.
Notes
- Customize your brownie mix by choosing different flavor profiles like chocolate chunk or salted caramel for unique truffle variations.
- Ensure brownie crumbs are finely processed to create smooth, uniform truffles with a consistent texture.
- Use room temperature brownies for easier crumbling and better binding when forming truffle balls.
- Opt for high-quality chocolate with at least 60% cocoa content to enhance the overall richness and depth of flavor.
- Prep Time: 15 minutes
- Cook Time: 20 minutes
- Category: Desserts, Snacks
- Method: Rolling
- Cuisine: American
Nutrition
- Serving Size: 24
- Calories: 120 kcal
- Sugar: 10 g
- Sodium: 40 mg
- Fat: 6 g
- Saturated Fat: 3.5 g
- Unsaturated Fat: 2.0 g
- Trans Fat: 0.1 g
- Carbohydrates: 16 g
- Fiber: 1.5 g
- Protein: 1.5 g
- Cholesterol: 15 mg
Michael Reyes
Founder & Lead Recipe Developer
Expertise
Education
Santa Fe Community College
Michael’s love for cooking runs deep, rooted in the bold, colorful flavors of his New Mexico upbringing.
After earning his Culinary Arts Certificate from Santa Fe Community College, he spent years sharpening his skills in kitchens that celebrated traditional Southwestern and Latin American dishes.
He believes cooking should feel approachable and fun, never complicated. When he’s not stirring up new recipe ideas, Michael’s out hiking scenic trails, chatting with farmers at local markets, or chasing the perfect sunset shot for inspiration.