The Best Easy Cheeseburger Sliders Recipe: Juicy Party Pleasers
Burger enthusiasts rejoice as these mouthwatering cheeseburger sliders promise to tantalize your taste buds.
Small in size but massive in flavor, these mini burgers pack a serious punch of deliciousness.
Each bite delivers a perfect blend of juicy beef, melted cheese, and soft buns that will make your palate dance with joy.
The simple cheeseburger sliders recipe comes together quickly, making them ideal for game days, parties, or casual weeknight dinners.
Minimal ingredients and straightforward preparation mean you can whip up these crowd-pleasers in no time.
Crispy, savory, and utterly irresistible, these sliders are sure to become your new go-to party favorite.
Cheeseburger Sliders: Family Favorite
What Goes In Cheeseburger Sliders
Main Protein:Bread Base:Cheese and Dairy:Seasonings and Flavor Enhancers:Topping:Quick Steps for Cheeseburger Sliders
Step 1: Preheat the Oven
Set your oven to 350°F (175°C) to prepare for baking the sliders.
Step 2: Season and Shape the Beef
In a mixing bowl, combine ground beef with:Mix thoroughly and form the meat into a rectangular patty that will fit perfectly on slider buns.
Step 3: Cook the Beef Patty
Heat a skillet over medium-high heat and cook the beef patty.
Brown both sides completely and ensure the meat is fully cooked through, which typically takes about 4-5 minutes per side.
Step 4: Arrange Slider Base
Place the bottom halves of slider buns in a baking dish, creating a neat foundation for the mini burgers.
Step 5: Build the Sliders
Carefully transfer the cooked beef patty onto the bottom bun halves.
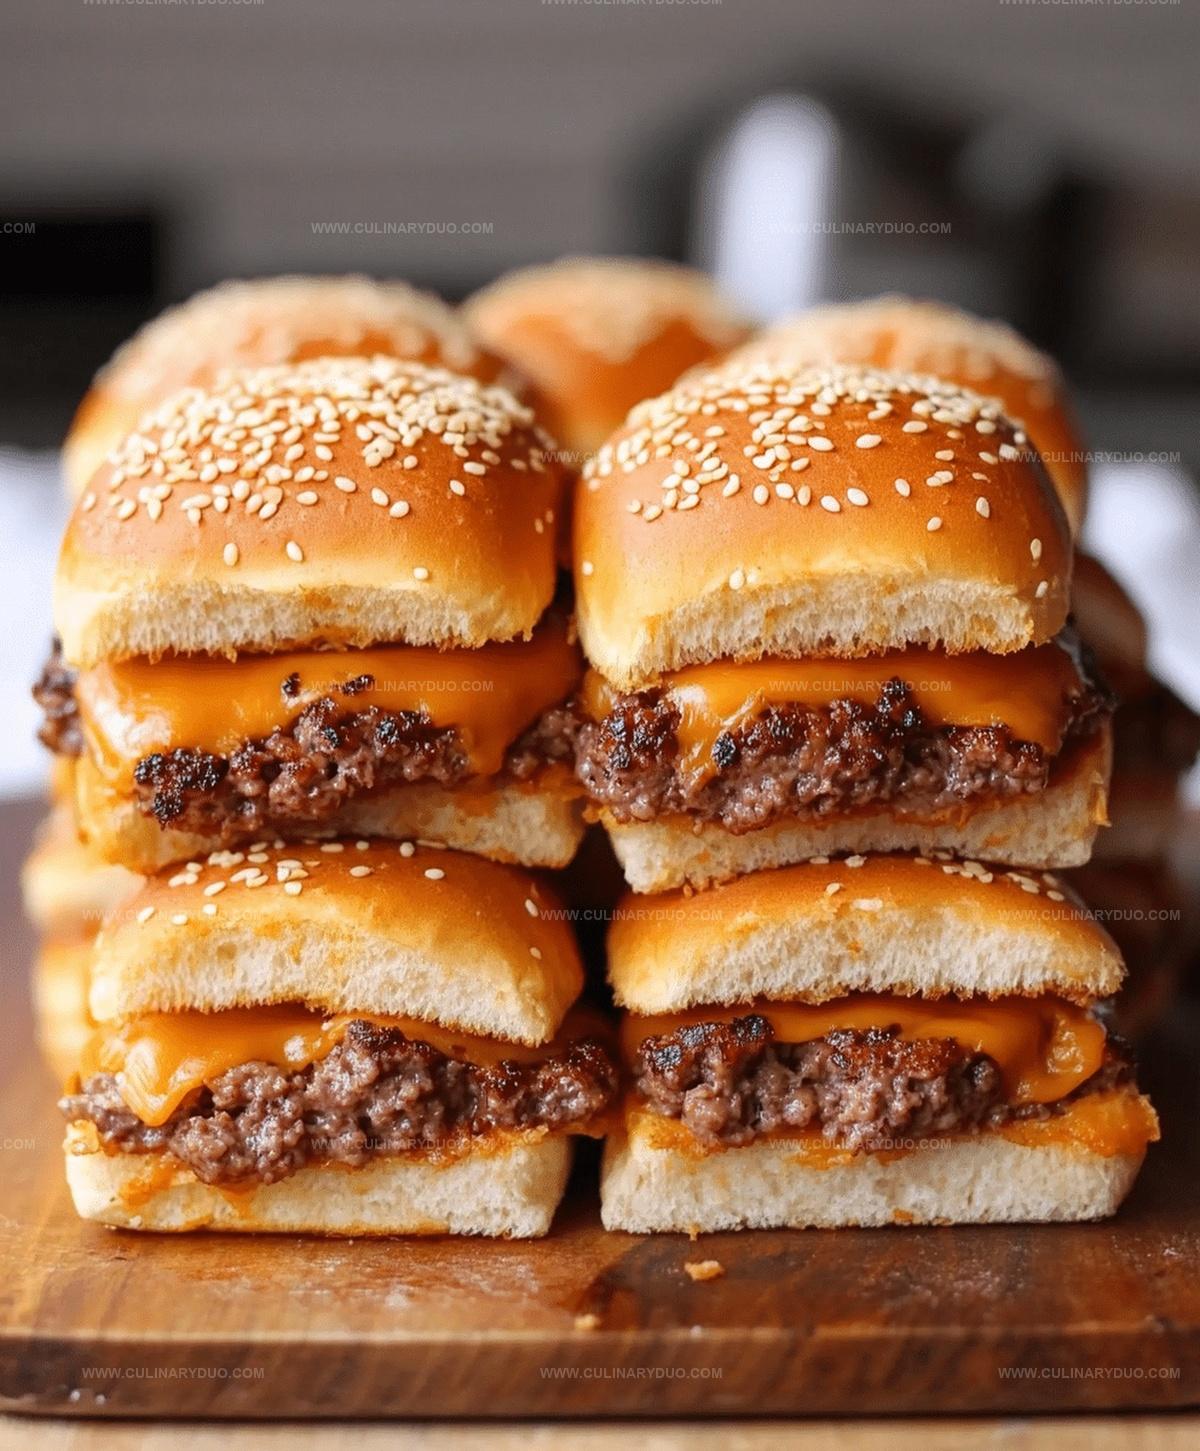
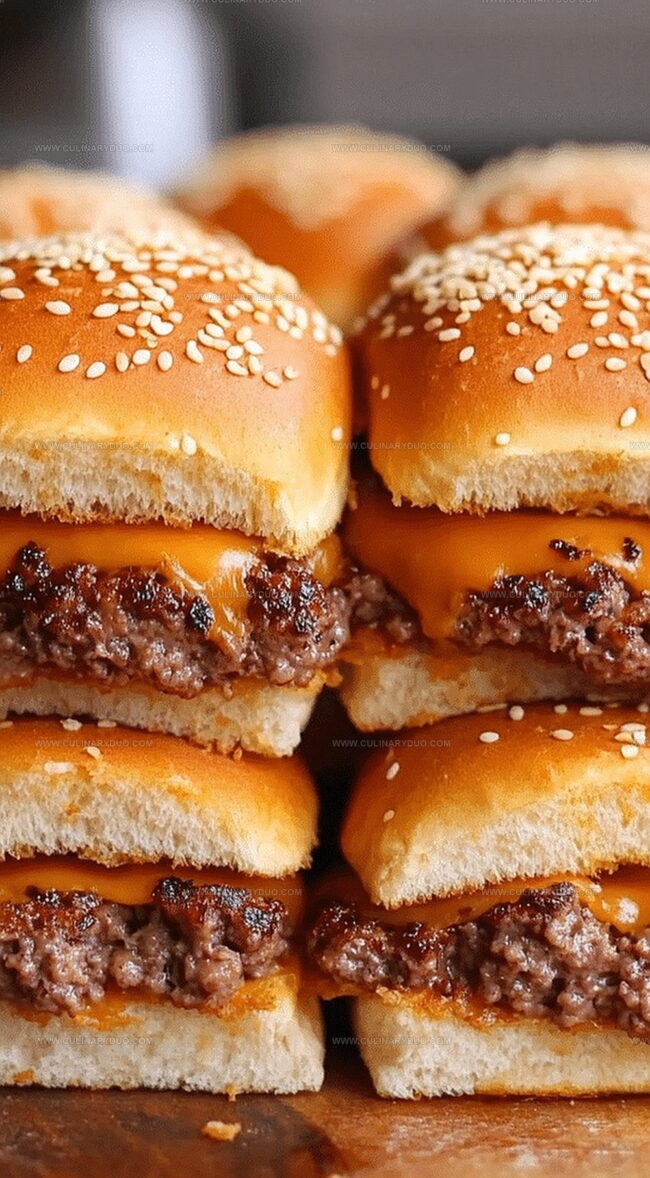
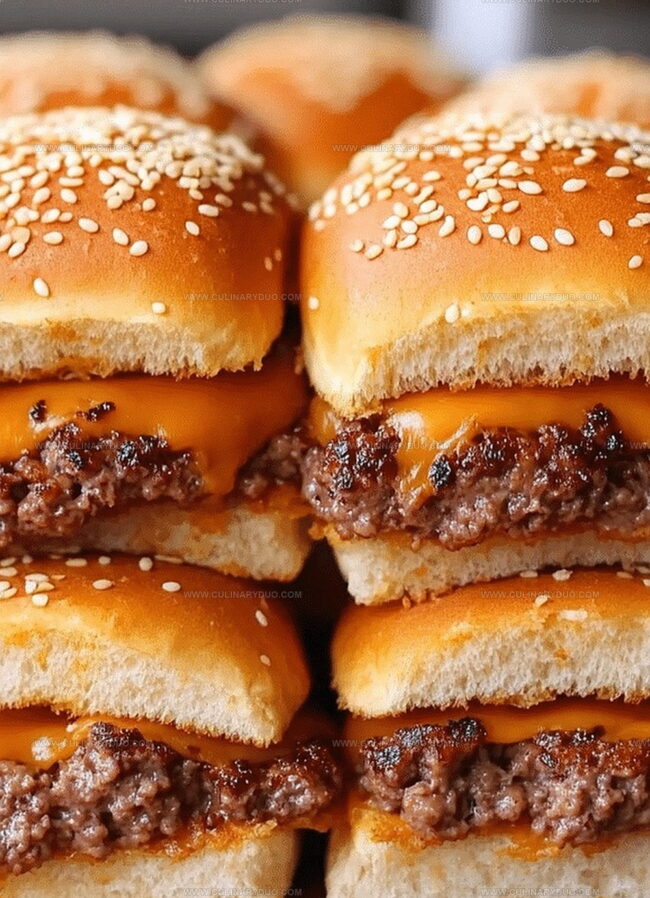
Layer cheddar cheese slices on top of the hot patty.
Cover with the top bun halves.
Step 6: Add Buttery Topping
Gently brush the top of each bun with melted butter.
Sprinkle sesame seeds over the buttered buns for extra flavor and crunch.
Step 7: Bake to Perfection
Place the prepared sliders in the preheated oven.
Bake for 10-12 minutes until the cheese melts completely and the buns turn a beautiful golden brown.
Step 8: Serve and Enjoy
Remove from the oven, slice if desired, and serve the sliders while they’re warm and deliciously melty.
Tips for Tasty Cheeseburger Sliders
Fun Cheeseburger Slider Combos
Serve Cheeseburger Sliders with a Smile
Sliders Storage for Snacking Later
FAQs
Yes, you can substitute ground beef with ground turkey, chicken, or even plant-based meat alternatives for a different flavor profile.
Use a meat thermometer to check that the internal temperature reaches 160°F (71°C), which ensures the meat is safe to eat.
Cheddar is classic, but you can also use American, Swiss, or provolone cheese depending on your preference.
You can assemble the sliders and refrigerate them before baking, just add a few extra minutes to the cooking time when you’re ready to bake.
Print
Easy Cheeseburger Sliders Recipe
- Total Time: 30 minutes
- Yield: 12 1x
Description
Mouthwatering cheeseburger sliders deliver classic American comfort in miniature form. Juicy beef patties nestled between mini buns create perfect bite-sized indulgence you’ll crave at every gathering.
Ingredients
Meat:
- 1 pound (1 lb) ground beef
Seasonings:
- 1 teaspoon garlic powder
- 1 teaspoon onion powder
- 1/2 teaspoon salt
- 1/2 teaspoon black pepper
- 1 teaspoon sesame seeds (optional)
Finishing Ingredients:
- 6 slices cheddar cheese
- 12 slider buns
- 2 tablespoons melted butter
Instructions
- Prepare the oven to 350°F and position a rack in the center for even heating.
- In a mixing bowl, thoroughly combine ground beef with garlic powder, onion powder, salt, and pepper, ensuring even seasoning throughout the meat.
- Shape the seasoned beef into a uniform rectangular patty that fits perfectly across the slider buns.
- Heat a skillet over medium-high heat and cook the beef patty for 3-4 minutes per side until completely browned and internal temperature reaches 160°F.
- Arrange slider bun bottoms in a single layer within a baking dish, creating a stable base for assembling the mini burgers.
- Transfer the cooked beef patty onto the bun bottoms, ensuring complete coverage of the base.
- Layer cheddar cheese slices directly on top of the hot beef patty, allowing the residual heat to slightly melt the cheese.
- Carefully place the top bun halves over the cheese to complete the slider construction.
- Melt butter and gently brush the exterior of each bun top, creating a golden, glossy finish.
- Sprinkle sesame seeds evenly across the buttered bun surfaces for added texture and visual appeal.
- Slide the baking dish into the preheated oven and bake for 10-12 minutes until cheese is fully melted and buns turn a light golden brown.
- Remove from oven, let rest for 2 minutes, then slice sliders and serve immediately while warm.
Notes
- Use lean ground beef (85/15 or 90/10) to prevent excess grease while maintaining flavor and juiciness.
- Flatten the beef patty evenly to ensure consistent cooking and prevent thick or thin spots.
- For a gluten-free version, swap regular slider buns with gluten-free alternatives or lettuce wraps.
- Try different cheese varieties like pepper jack, Swiss, or blue cheese for unique flavor profiles.
- Prep Time: 10 minutes
- Cook Time: 20 minutes
- Category: Lunch, Dinner, Snacks, Appetizer
- Method: Baking
- Cuisine: American
Nutrition
- Serving Size: 12
- Calories: 310 kcal
- Sugar: 2 g
- Sodium: 700 mg
- Fat: 20 g
- Saturated Fat: 8 g
- Unsaturated Fat: 10 g
- Trans Fat: 0.5 g
- Carbohydrates: 22 g
- Fiber: 1 g
- Protein: 18 g
- Cholesterol: 55 mg
Michael Reyes
Founder & Lead Recipe Developer
Expertise
Education
Santa Fe Community College
Michael’s love for cooking runs deep, rooted in the bold, colorful flavors of his New Mexico upbringing.
After earning his Culinary Arts Certificate from Santa Fe Community College, he spent years sharpening his skills in kitchens that celebrated traditional Southwestern and Latin American dishes.
He believes cooking should feel approachable and fun, never complicated. When he’s not stirring up new recipe ideas, Michael’s out hiking scenic trails, chatting with farmers at local markets, or chasing the perfect sunset shot for inspiration.