Heavenly Easy Coconut Pie Recipe That Melts in Your Mouth
Creamy, dreamy coconut pie brings tropical sunshine right to your dessert table with this simple coconut pie recipe that promises pure deliciousness.
Tropical flavors dance across your palate with every single bite of this heavenly treat.
Sweet shredded coconut weaves magic through a silky smooth filling that melts in your mouth.
Rich and indulgent, this pie requires minimal effort but delivers maximum flavor.
Bakers of all skill levels can confidently create this crowd-pleasing dessert in no time.
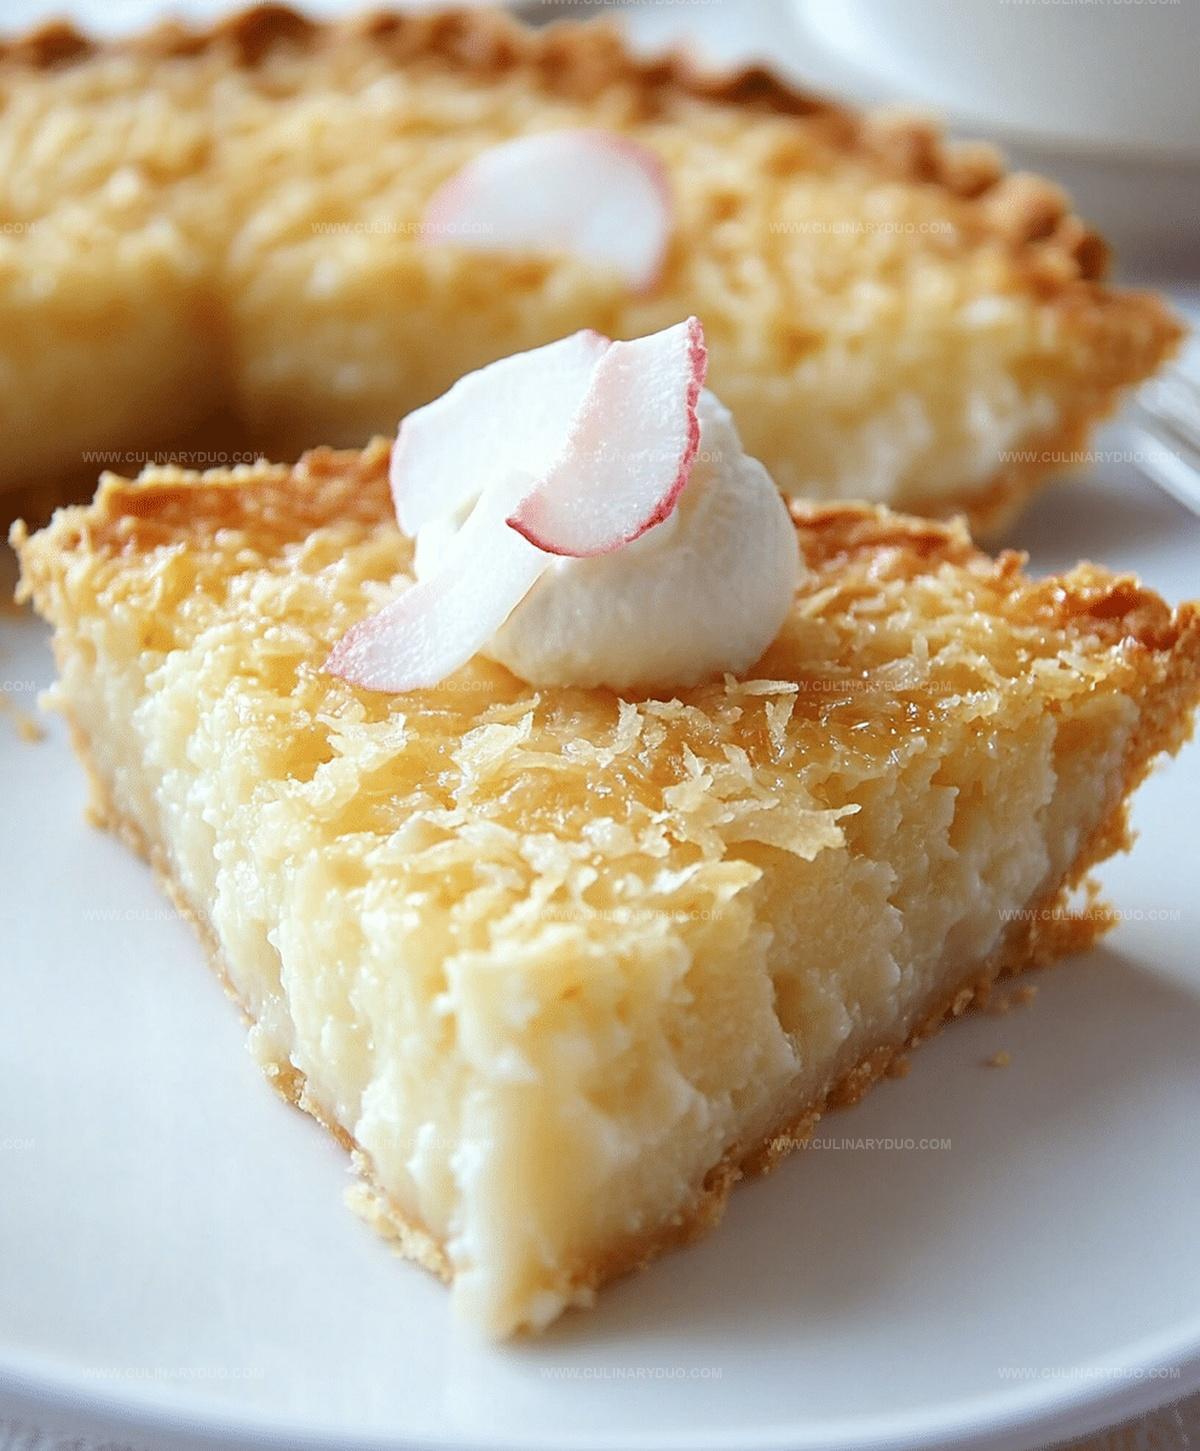
The golden-brown crust and luscious coconut filling combine to create a dessert that feels like a warm, sweet embrace.
You’ll fall in love with how effortlessly this coconut pie comes together, making it the perfect ending to any meal.
Coconut Pie That Brings the Tropics Home
Gather Everything for Coconut Pie
Pie Base:Wet Ingredients:Dry Ingredients:Directions for a Creamy Coconut Dessert
Step 1: Prepare The Oven And Baking Dish
Crank up your oven to a toasty 350°F.
Grab a 9-inch pie pan and give it a generous coating of grease to prevent any sticky situations.
Step 2: Create The Flavor Base
In a spacious mixing bowl, blend together:Combine these dry ingredients until they’re perfectly mixed and lump-free.
Step 3: Introduce Creamy Wet Ingredients
Pour in the following and whisk with enthusiasm:Blend everything until the mixture transforms into a silky smooth consistency.
Step 4: Sprinkle Coconut Magic
Gently fold shredded coconut into the batter, ensuring every spoonful will have a tropical crunch.
Make sure the coconut is evenly distributed throughout the mixture.
Step 5: Fill The Pie Pan
Transfer the entire coconut-studded batter into your prepared pie pan.
Spread it evenly, creating a tempting canvas of potential deliciousness.
Step 6: Bake To Golden Perfection
Slide the pie into the preheated oven and let it bake for 45-50 minutes.
You’ll know it’s ready when the top turns a gorgeous golden brown and the center looks set and firm.
Step 7: Cool And Serve
Allow the pie to cool completely before slicing.
This resting period helps the pie set and makes cutting easier.
Serve and watch everyone’s eyes light up with delight!
Tips for a Flaky Pie Crust
New Coconut Pie Flavor Ideas
Fun Ways to Serve Coconut Pie
Storing Coconut Pie Without Fuss
FAQs
Both work great! Sweetened coconut will make the pie slightly sweeter, while unsweetened coconut provides a more natural coconut flavor. Choose based on your preference.
Yes, the recipe creates a custard-like texture with eggs, milk, and butter creating a smooth, creamy filling that sets during baking.
The pie is done when the center is set (doesn’t jiggle) and the top is golden brown. A knife inserted near the center should come out clean.
Absolutely! You can bake the pie a day in advance and store it covered at room temperature or in the refrigerator. The flavors actually develop nicely when made ahead.
Print
Easy Coconut Pie Recipe
- Total Time: 1 hour 5 minutes
- Yield: 8 1x
Description
Coconut pie brings tropical dreams right to your kitchen with its creamy, luscious filling and golden-brown crust. Each slice promises a delectable journey through rich, sweet layers that will transport you to island paradise.
Ingredients
Main Ingredients:
- 3 large eggs
- 2 cups milk
- 1 cup shredded coconut
Supporting Ingredients:
- 1 cup sugar
- 1/4 cup butter, melted
- 1/2 cup flour
Finishing Ingredients:
- 1 teaspoon vanilla extract
- 1/4 teaspoon salt
Instructions
- Prepare the oven by heating to 350°F and lightly coat a 9-inch pie dish with cooking spray or butter.
- Create a smooth base by whisking together dry ingredients in a spacious mixing bowl, ensuring no lumps remain.
- Incorporate liquid ingredients into the dry mixture, blending thoroughly with a whisk until the consistency becomes uniform and silky.
- Gently integrate shredded coconut throughout the liquid mixture, ensuring even distribution for consistent flavor in every bite.
- Transfer the coconut-infused batter carefully into the prepared pie dish, spreading it evenly across the surface.
- Place the pie in the preheated oven and bake for 45-50 minutes, watching for a golden-brown top and a center that sets firmly when jiggled.
- Remove from the oven and allow the pie to cool completely at room temperature, which helps the filling stabilize and makes slicing easier.
- Once cooled, slice into wedges and serve as a delightful dessert that showcases the tropical essence of coconut.
Notes
- Swap regular flour with gluten-free flour blend for a celiac-friendly version that maintains the pie’s delicate texture.
- Toast coconut flakes before adding to the mixture to enhance the nutty, caramelized flavor profile and add depth to the dessert.
- Reduce sugar by 25% and use coconut sugar for a lower-glycemic alternative that keeps the rich, sweet essence of the original recipe.
- Garnish with fresh whipped cream or a sprinkle of toasted coconut flakes to elevate the presentation and add extra textural contrast.
- Prep Time: 15 minutes
- Cook Time: 50 minutes
- Category: Desserts
- Method: Baking
- Cuisine: American
Nutrition
- Serving Size: 8
- Calories: 287 kcal
- Sugar: 23 g
- Sodium: 59 mg
- Fat: 15 g
- Saturated Fat: 12 g
- Unsaturated Fat: 3 g
- Trans Fat: 0.2 g
- Carbohydrates: 33 g
- Fiber: 2 g
- Protein: 4 g
- Cholesterol: 50 mg
Michael Reyes
Founder & Lead Recipe Developer
Expertise
Education
Santa Fe Community College
Michael’s love for cooking runs deep, rooted in the bold, colorful flavors of his New Mexico upbringing.
After earning his Culinary Arts Certificate from Santa Fe Community College, he spent years sharpening his skills in kitchens that celebrated traditional Southwestern and Latin American dishes.
He believes cooking should feel approachable and fun, never complicated. When he’s not stirring up new recipe ideas, Michael’s out hiking scenic trails, chatting with farmers at local markets, or chasing the perfect sunset shot for inspiration.