Spooky & Sweet: Easy Halloween Fudge Recipe for Fall Fun
Chocolate lovers rejoice as this easy halloween fudge recipe brings spooky sweet magic to your dessert table.
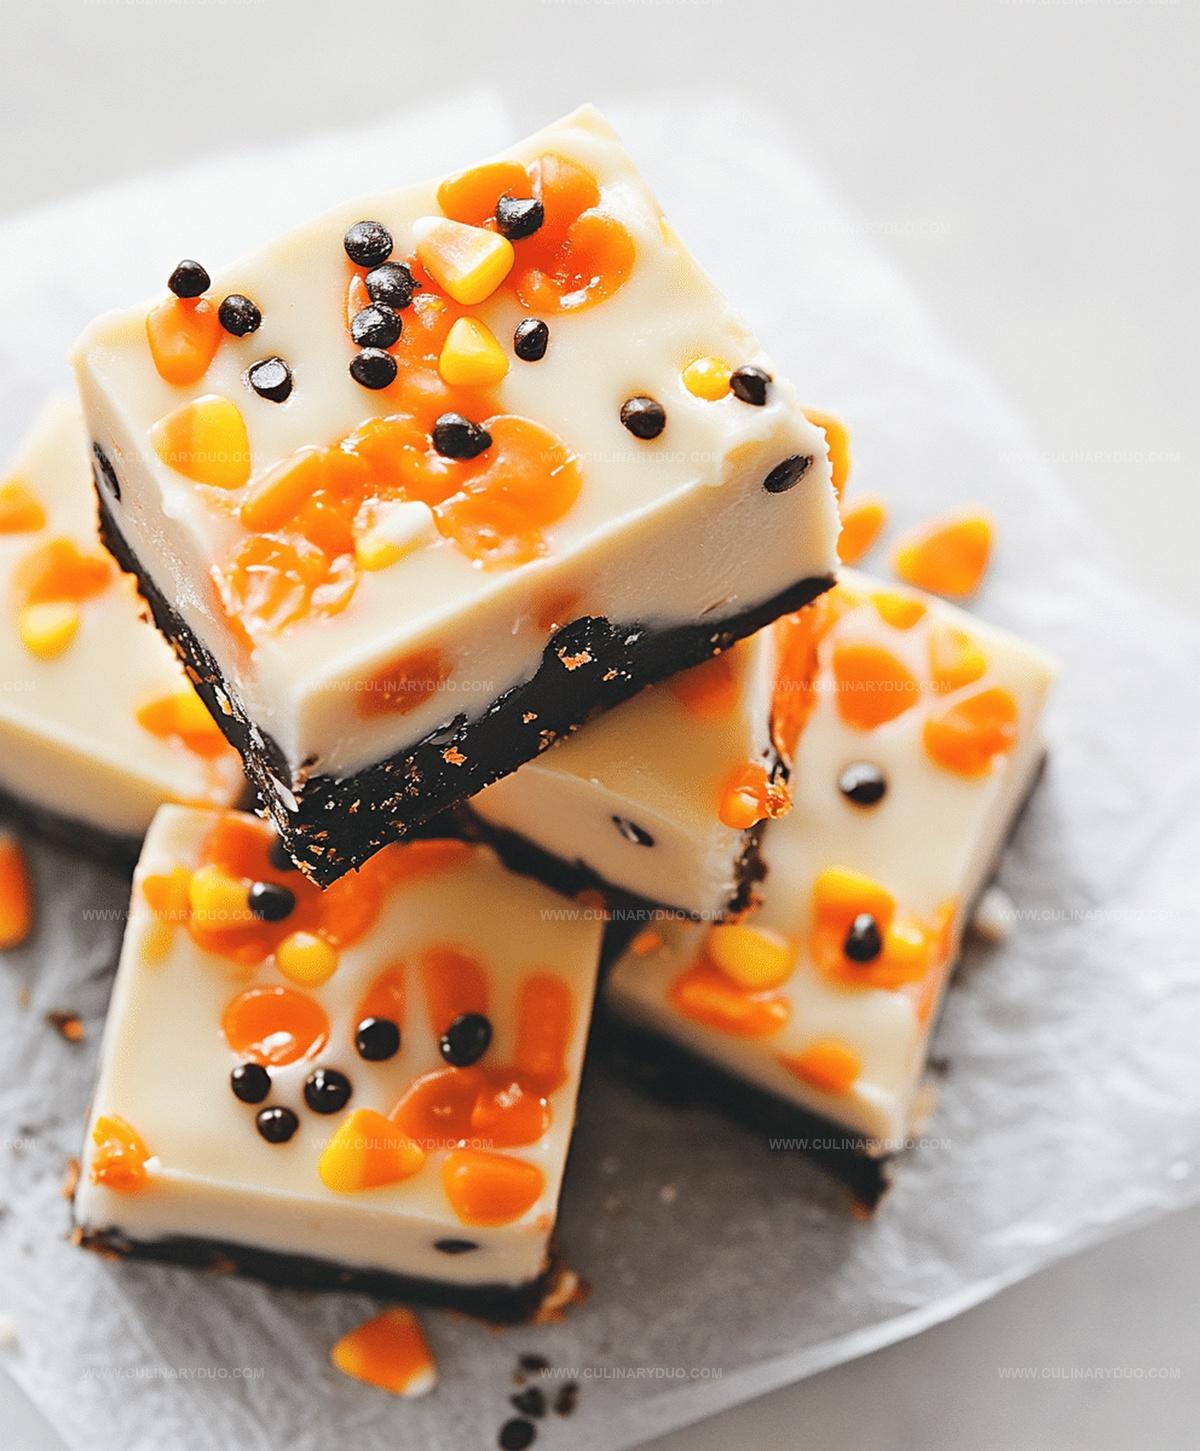
Dark and decadent swirls of creamy chocolate dance with festive halloween colors and sprinkles.
Crafting this delightful treat takes just minutes of preparation and minimal effort.
The recipe promises a deliciously simple dessert that will wow guests at any halloween party.
Colorful decorations turn basic fudge into a seasonal sensation that sparks joy and excitement.
Soft, rich chocolate layers create a hauntingly good confection everyone will adore.
Halloween Fudge for Sweet, Spooky Celebrations
Easy Halloween Fudge Ingredients
Main Ingredients:Flavoring Ingredients:Decorative Ingredients:Preparation Ingredient:Making Fudge for the Halloween Season
Step 1: Prepare the Baking Canvas
Line an 8×8-inch baking pan with parchment paper, allowing extra paper to hang over the edges.
This trick makes lifting the fudge out super easy later.
Step 2: Create Chocolate Magic
Grab a medium saucepan and combine chocolate chips and sweetened condensed milk.
Melt these goodies over medium-low heat, stirring constantly until the mixture becomes silky smooth and glossy.
Step 3: Enhance the Flavor
Take the pan off the heat and stir in vanilla extract.
This gives your fudge a delightful depth of flavor that will make taste buds dance.
Step 4: Pour and Spread
Transfer the luscious chocolate mixture into your prepared pan.
Use a spatula to spread it evenly, creating a perfect canvas for Halloween decorations.
Step 5: Spooky Decorations
While the fudge is still warm, go wild with Halloween-themed decorations!
Add these fun elements:Step 6: Chill and Set
Pop the pan into the refrigerator and let it rest for at least 2 hours.
This allows the fudge to become firm and deliciously perfect.
Step 7: Slice and Serve
Once the fudge is completely set, lift it out using the parchment paper.
Slice into squares and get ready to impress everyone with your spooky sweet treat!
Tips for Colorful, Festive Fudge
Fudge Variations for Halloween Treats
Serving Halloween Fudge Squares
Storage Advice for Halloween Fudge
FAQs
Use a candy thermometer to ensure the chocolate and sweetened condensed milk reach the right temperature. Avoid overcooking, which can make the fudge hard, and don’t undercook, which can result in a soft, runny texture.
Yes, you can substitute milk chocolate, dark chocolate, or white chocolate chips depending on your preference. Just ensure you use good-quality chocolate for the best flavor and smooth consistency.
Try using orange and black sprinkles, candy corn, chocolate spider web designs, edible googly eyes, or Halloween-themed candy shapes to make the fudge festive and fun.
Print
Easy Halloween Fudge Recipe
- Total Time: 2 hours 15 minutes
- Yield: 16 1x
Description
Spooky Halloween Fudge brings ghoulish charm to seasonal celebrations with its marbled black and orange swirls. Creamy chocolate base and festive colors make this quick dessert perfect for Halloween parties and sweet treat lovers seeking a wickedly delightful snack.
Ingredients
Main Ingredients:
- 3 cups semi-sweet chocolate chips
- 1 (14 ounces / 396 grams) can sweetened condensed milk
Flavoring and Seasoning:
- 1 teaspoon vanilla extract
- 1 pinch salt
Decorative Ingredients:
- Orange food coloring
- Halloween sprinkles
- Candy eyeballs
- Crushed Oreos
- Crushed candy corn
Instructions
- Create a sturdy base by lining an 8×8-inch baking pan with parchment paper, ensuring extra edges for effortless extraction.
- Combine chocolate chips and sweetened condensed milk in a medium saucepan, applying gentle heat at medium-low temperature.
- Continuously stir the mixture until chocolate completely dissolves, achieving a silky-smooth consistency.
- Eliminate heat source and incorporate vanilla extract, blending thoroughly.
- Transfer the molten fudge into the prepared pan, using a spatula to distribute evenly and create a uniform surface.
- While the fudge remains warm, artfully scatter Halloween-themed sprinkles, playful candy eyes, and festive decorative elements across the surface.
- Position the pan in the refrigerator, allowing the fudge to solidify for a minimum of 2 hours until completely set.
- Once fully chilled and firm, carefully lift the fudge from the pan using parchment paper edges.
- Slice the fudge into precise square portions, ready for serving and enjoying the spooky treat.
Notes
- Elevate presentation by using festive Halloween-themed sprinkles or edible decorations for a spooky twist.
- Try different chocolate types like dark, milk, or white chocolate to customize flavor profiles.
- Ensure smooth texture by stirring chocolate mixture continuously and avoiding overheating.
- Store fudge in an airtight container in the refrigerator for up to one week to maintain freshness.
- Prep Time: 15 minutes
- Cook Time: 2 hours
- Category: Desserts, Snacks
- Method: Simmering
- Cuisine: American
Nutrition
- Serving Size: 16
- Calories: 150
- Sugar: 18 g
- Sodium: 30 mg
- Fat: 7 g
- Saturated Fat: 4 g
- Unsaturated Fat: 3 g
- Trans Fat: 0 g
- Carbohydrates: 22 g
- Fiber: 1 g
- Protein: 2 g
- Cholesterol: 10 mg
Michael Reyes
Founder & Lead Recipe Developer
Expertise
Education
Santa Fe Community College
Michael’s love for cooking runs deep, rooted in the bold, colorful flavors of his New Mexico upbringing.
After earning his Culinary Arts Certificate from Santa Fe Community College, he spent years sharpening his skills in kitchens that celebrated traditional Southwestern and Latin American dishes.
He believes cooking should feel approachable and fun, never complicated. When he’s not stirring up new recipe ideas, Michael’s out hiking scenic trails, chatting with farmers at local markets, or chasing the perfect sunset shot for inspiration.