The Ultimate Cheesy Tuna Melt Recipe Everyone Will Love
Melted cheese and golden-brown bread create the ultimate comfort meal with this easy tuna melt recipe that satisfies every craving.
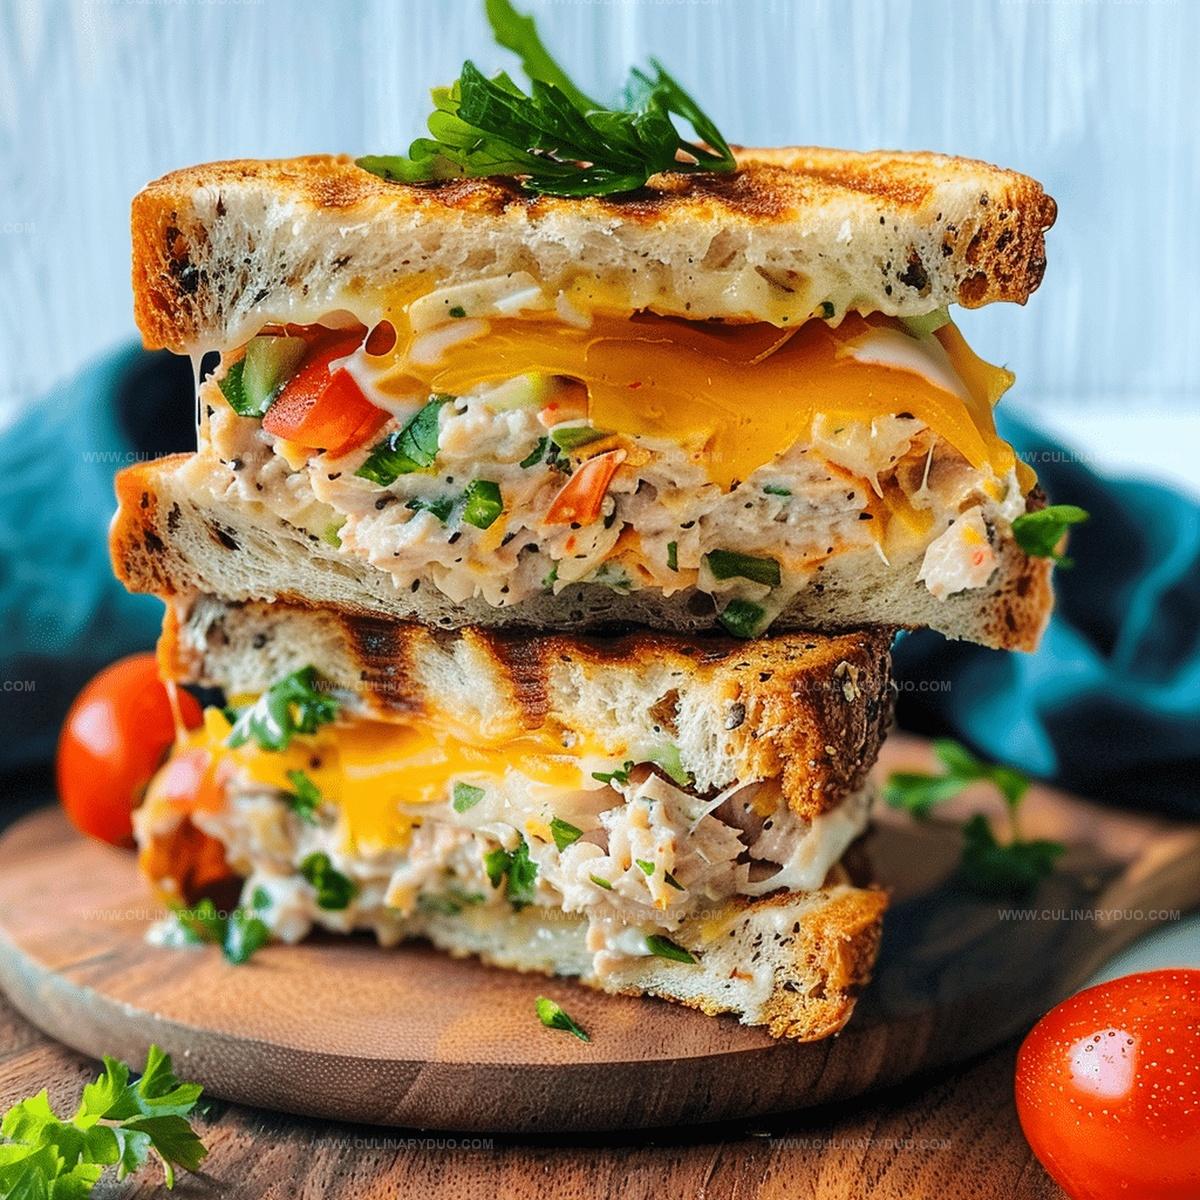
Crispy edges and a creamy filling make this sandwich a lunchtime favorite.
The simple combination of flaky tuna, sharp cheddar, and tangy mayo brings incredible flavor to your plate.
You’ll love how quickly this classic sandwich comes together with just a few pantry staples.
Each bite offers a perfect balance of textures and rich, savory notes.
Toasting the bread ensures a delightful crunch that complements the soft, melted cheese.
Grab a plate and prepare to experience a nostalgic lunch that never disappoints.
Tuna Melt Sandwiches That Satisfy Every Craving
Ingredients for a Classic Tuna Melt Experience
Core Ingredients:Flavor Enhancers:Cooking Ingredients:Tuna Melt Instructions for Crisp, Gooey Perfection
Step 1: Whip Up Tasty Tuna Filling
In a mixing bowl, combine:Stir everything together until the mixture is perfectly blended and looks irresistibly delicious.
Step 2: Prepare Sandwich Base
Spread soft butter on one side of each bread slice.
Position four slices butter-side down on your work surface.
Step 3: Layer Flavor Foundations
Generously spread the prepared tuna mixture evenly across each bread slice.
Step 4: Add Cheesy Goodness
Top the tuna with white cheddar cheese slices.
If you love extra flavor, add fresh tomato slices on top of the cheese.
Step 5: Complete Sandwich Construction
Cover each loaded slice with another bread slice, butter-side facing upward.
Step 6: Transform Into Golden Melts
Heat a skillet or griddle over medium temperature.
Carefully place sandwiches into the pan.
Cook for 3-4 minutes on each side until bread turns golden and cheese melts beautifully.
Step 7: Serve and Savor
Remove sandwiches from heat.
Let cool briefly, then slice diagonally.
Serve warm and enjoy your mouthwatering creation!
Handy Tuna Melt Tips for Better Results
Creative Ways to Tweak Your Tuna Melt Recipe
Serving Tuna Melts with Fresh Sides and Soup
Tuna Melt Storage for Enjoying Later On
FAQs
Soft white bread or sourdough are perfect choices. They provide a crispy exterior and hold the tuna salad well without falling apart during cooking.
Yes, you can prepare the tuna salad mixture up to 24 hours in advance. Store it in an airtight container in the refrigerator until you’re ready to assemble the sandwiches.
Use a dry paper towel to drain the tuna thoroughly and avoid excess moisture. Also, butter the bread’s exterior to create a protective barrier that helps maintain crispiness.
Absolutely! While white cheddar is recommended, you can substitute with Swiss, provolone, or American cheese based on your preference.
Print
Easy Tuna Melt Recipe
- Total Time: 25 minutes
- Yield: 4 1x
Description
Cheesy tuna melt sandwiches bring comfort and nostalgia to classic lunch fare. Rich melted cheddar and zesty tuna create a quick, satisfying meal you’ll crave again and again.
Ingredients
Main Protein:
- 2 (6-ounce) cans white tuna
Tuna Mixture Ingredients:
- 1/3 cup mayonnaise
- 1 tablespoon lemon juice
- 1 stalk celery (finely chopped)
- 1 green onion (finely chopped)
- 3 tablespoons fresh parsley (chopped)
- 1/4 teaspoon salt
- 1/4 teaspoon black pepper
Sandwich Assembly Ingredients:
- 8 slices bread (sourdough or whole wheat)
- 1/4 cup butter (softened)
- 8 slices white cheddar cheese
- 1 large tomato (sliced, optional)
Instructions
- Craft a zesty tuna filling by blending drained tuna with mayonnaise, lemon juice, minced celery, green onion, parsley, salt, and pepper in a mixing bowl until thoroughly combined.
- Prepare bread slices by generously spreading softened butter on one side of each piece.
- Arrange four bread slices butter-side down on a clean work surface.
- Distribute the tuna mixture evenly across the bread slices, creating a consistent layer.
- Layer white cheddar cheese on top of the tuna mixture, ensuring complete coverage.
- Optional: Add fresh tomato slices atop the cheese for extra flavor and moisture.
- Crown each sandwich with remaining bread slices, positioning the buttered side facing upward.
- Preheat a skillet or griddle to medium heat, allowing surface to warm evenly.
- Carefully transfer sandwiches to the heated surface, cooking approximately 3-4 minutes per side until bread turns golden and cheese melts completely.
- Once perfectly crisp and golden, remove sandwiches from heat and rest for one minute.
- Slice diagonally and serve immediately while warm and gooey.
Notes
- Swap mayonnaise with Greek yogurt for a lighter, protein-packed version that cuts calories without sacrificing creaminess.
- Mix in diced pickles or capers to add a tangy crunch that elevates the tuna salad’s flavor profile.
- Use gluten-free bread or lettuce wraps to make this recipe suitable for people with dietary restrictions or low-carb preferences.
- Try different cheese varieties like Swiss, provolone, or pepper jack to create unique taste combinations that keep the dish exciting.
- Prep Time: 15 minutes
- Cook Time: 10 minutes
- Category: Lunch, Dinner, Snacks
- Method: Sautéing
- Cuisine: American
Nutrition
- Serving Size: 4
- Calories: 533 kcal
- Sugar: 3 g
- Sodium: 810 mg
- Fat: 33 g
- Saturated Fat: 14 g
- Unsaturated Fat: 18 g
- Trans Fat: 0.5 g
- Carbohydrates: 34 g
- Fiber: 2 g
- Protein: 32 g
- Cholesterol: 70 mg
Michael Reyes
Founder & Lead Recipe Developer
Expertise
Education
Santa Fe Community College
Michael’s love for cooking runs deep, rooted in the bold, colorful flavors of his New Mexico upbringing.
After earning his Culinary Arts Certificate from Santa Fe Community College, he spent years sharpening his skills in kitchens that celebrated traditional Southwestern and Latin American dishes.
He believes cooking should feel approachable and fun, never complicated. When he’s not stirring up new recipe ideas, Michael’s out hiking scenic trails, chatting with farmers at local markets, or chasing the perfect sunset shot for inspiration.