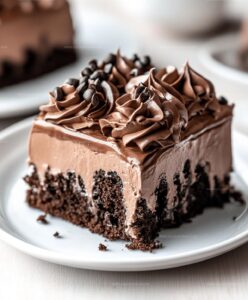
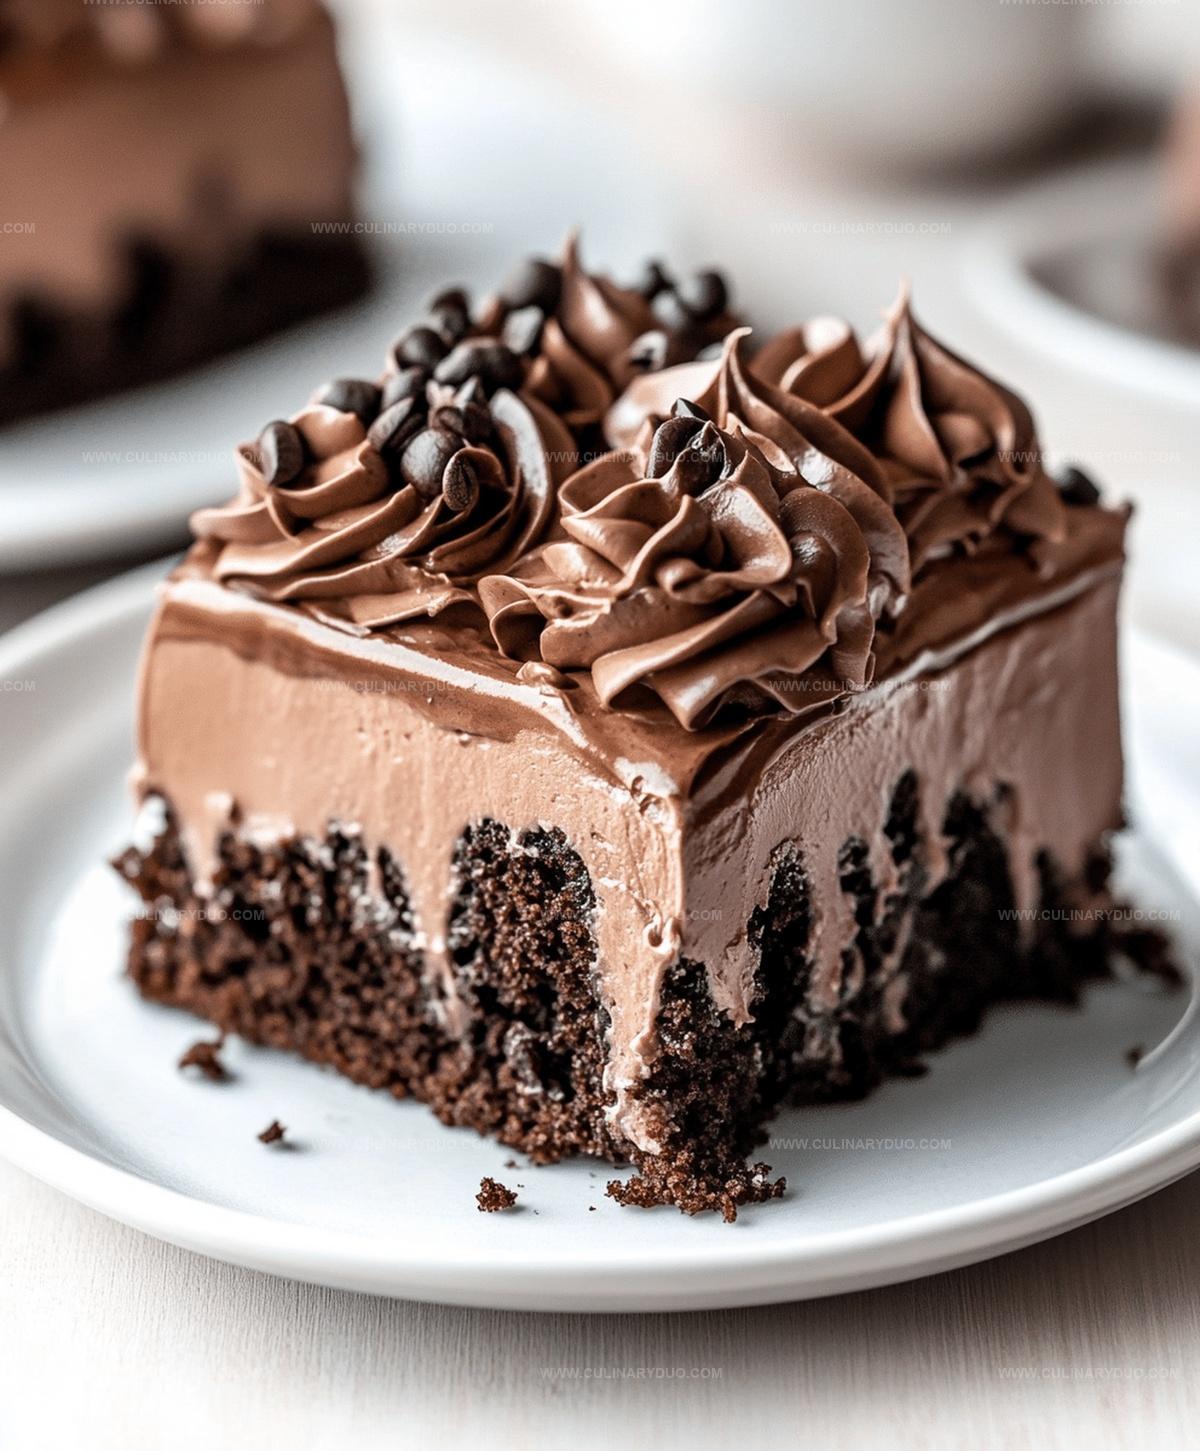
Indulge in our Dreamy Espresso Infused Mocha Poke Cake Recipe
Chocolate lovers dream of decadent desserts that tantalize their taste buds with rich, velvety espresso infused mocha poke cake hiding layers of delightful surprise.
The deep, robust coffee notes dance perfectly with smooth chocolate undertones.
Each slice promises a heavenly journey through moist cake textures and intense flavors.
Creamy filling seeps into carefully poked holes, creating magical moisture in every bite.
Soft, indulgent layers promise a dessert experience that transcends ordinary sweet treats.
The combination of espresso and chocolate transforms an average cake into an extraordinary culinary masterpiece.
Espresso Mocha Poke Cake: What Makes It Stand Out
Gather These Essentials for Coffee and Chocolate Bliss
Cake Base:Wet Ingredients:Topping and Filling:Quick Directions for an Impressive Dessert
Step 1: Whip Up the Cake Batter
Preheat your oven to a toasty 350°F.
Grab a 9×13-inch pan and give it a quick spray of cooking oil.
In a large mixing bowl, blend together:Crack in the eggs, pour in milk, oil, and vanilla extract.
Whisk everything until smooth.
Slowly drizzle in hot espresso, stirring gently to create a rich, velvety batter.
Step 2: Bake to Perfection
Pour the batter into the prepared pan.
Slide it into the oven and bake for 30-35 minutes.
Check doneness by inserting a toothpick – it should come out clean.
Let the cake cool for 10 minutes.
Step 3: Create Espresso Magic
Combine brewed espresso with sweetened condensed milk in a small bowl.
Grab a wooden spoon handle and poke holes all over the cooled cake.
Slowly drench the cake with the espresso mixture, allowing it to seep into every delicious crevice.
Chill in the refrigerator for at least an hour.
Step 4: Craft Mocha Whipped Cream
In a large bowl, whip heavy cream until soft peaks form.
Gently fold in:Continue whipping until the cream forms stiff, dreamy peaks.
Step 5: Frost with Flair
Spread the mocha whipped cream evenly across the chilled cake.
For an extra touch of elegance, dust with cocoa powder or sprinkle chocolate shavings.
Step 6: Serve and Savor
Slice and serve the cake straight from the refrigerator.
Each bite promises a burst of espresso-infused chocolatey bliss.
Tips for Rich Flavor and Moist Texture
Ideas for Flavor Swaps and Additions
Serving Up Espresso Mocha Poke Cake with Style
How to Store This Caffeinated Treat
FAQs
The espresso syrup combines brewed espresso and sweetened condensed milk, creating a rich, sweet liquid that adds intense coffee flavor and moisture to the cake when poked into the holes.
Yes, you can substitute espresso with strong brewed instant coffee or dissolved coffee granules. Just ensure the coffee is concentrated and flavorful to maintain the recipe’s robust coffee profile.
Insert a toothpick into the center of the cake. If it comes out clean without any wet batter, the cake is fully baked. The cake should also have a slight spring when gently pressed in the center.
Print
Espresso Infused Mocha Poke Cake Recipe
- Total Time: 1 hour 5 minutes
- Yield: 12 1x
Description
Rich chocolate espresso mocha poke cake delights dessert enthusiasts with its intense coffee-chocolate fusion. Creamy layers meld perfectly, offering a luxurious experience that satisfies deep chocolate cravings and provides a smooth, indulgent escape you’ll savor.
Ingredients
Cake Base Ingredients:
- 2 cups granulated sugar
- 1 ¾ cups all-purpose flour
- ¾ cup unsweetened cocoa powder
- 2 large eggs (room temperature)
- 1 cup whole milk (room temperature)
- ½ cup vegetable oil
- 1 ½ teaspoons baking powder
- 1 ½ teaspoons baking soda
- 2 teaspoons vanilla extract
- 1 teaspoon salt
- 1 cup hot coffee
Espresso and Liquid Ingredients:
- 1 ½ cups brewed espresso
- 2 tablespoons instant espresso powder
- 2 tablespoons granulated sugar
Cream and Pudding Ingredients:
- 1 package (3.9 ounces/110 grams) instant chocolate pudding mix
- 2 cups cold whole milk
- 2 cups heavy cream
- ½ cup powdered sugar
- 2 tablespoons unsweetened cocoa powder
- 1 tablespoon instant espresso powder
- 1 teaspoon vanilla extract
Optional Garnish:
- Chocolate shavings
- Cocoa powder
- Chocolate-covered espresso beans
Instructions
- Preheat the oven to 350°F and prepare a 9×13-inch baking pan with grease and flour. Combine dry ingredients in a large mixing bowl, creating a uniform powder mixture.
- Incorporate wet ingredients into the dry mixture, blending until smooth. Gradually introduce hot espresso, stirring carefully to maintain a consistent batter texture.
- Transfer the batter into the prepared pan, spreading evenly. Bake for 30-35 minutes until a toothpick emerges clean from the center. Allow the cake to cool for 10 minutes at room temperature.
- Create an espresso syrup by mixing brewed espresso with sweetened condensed milk. Puncture the cooled cake thoroughly with a wooden spoon handle, creating multiple absorption points.
- Slowly drizzle the espresso syrup across the cake, ensuring it penetrates the created holes. Refrigerate the cake for a minimum of 1 hour to allow complete syrup absorption.
- Prepare the mocha whipped cream by whipping heavy cream until soft peaks form. Gradually add powdered sugar, cocoa powder, dissolved coffee granules, and vanilla extract.
- Continue whipping the cream mixture until stiff peaks develop, creating a rich and stable frosting.
- Spread the mocha whipped cream evenly across the chilled cake, covering the surface completely. Optional: Dust with cocoa powder or sprinkle chocolate shavings for additional decoration.
- Refrigerate the cake until serving time. Slice and serve chilled to maximize flavor intensity.
Notes
- Swap regular flour with gluten-free alternatives like almond or coconut flour for those with gluten sensitivities.
- Reduce sugar content by using natural sweeteners like stevia or monk fruit for a lower-calorie version.
- Create dairy-free option by substituting milk with almond or oat milk, and using coconut cream for whipped topping.
- Enhance coffee flavor by using dark roast espresso or adding espresso powder directly into cake batter for more intense taste.
- Prep Time: 30 minutes
- Cook Time: 35 minutes
- Category: Desserts
- Method: Baking
- Cuisine: American
Nutrition
- Serving Size: 12
- Calories: 398 kcal
- Sugar: 45 g
- Sodium: 237 mg
- Fat: 19 g
- Saturated Fat: 8 g
- Unsaturated Fat: 11 g
- Trans Fat: 0.2 g
- Carbohydrates: 55 g
- Fiber: 4 g
- Protein: 6 g
- Cholesterol: 57 mg


Michael Reyes
Founder & Lead Recipe Developer
Expertise
Education
Santa Fe Community College
Michael’s love for cooking runs deep, rooted in the bold, colorful flavors of his New Mexico upbringing.
After earning his Culinary Arts Certificate from Santa Fe Community College, he spent years sharpening his skills in kitchens that celebrated traditional Southwestern and Latin American dishes.
He believes cooking should feel approachable and fun, never complicated. When he’s not stirring up new recipe ideas, Michael’s out hiking scenic trails, chatting with farmers at local markets, or chasing the perfect sunset shot for inspiration.