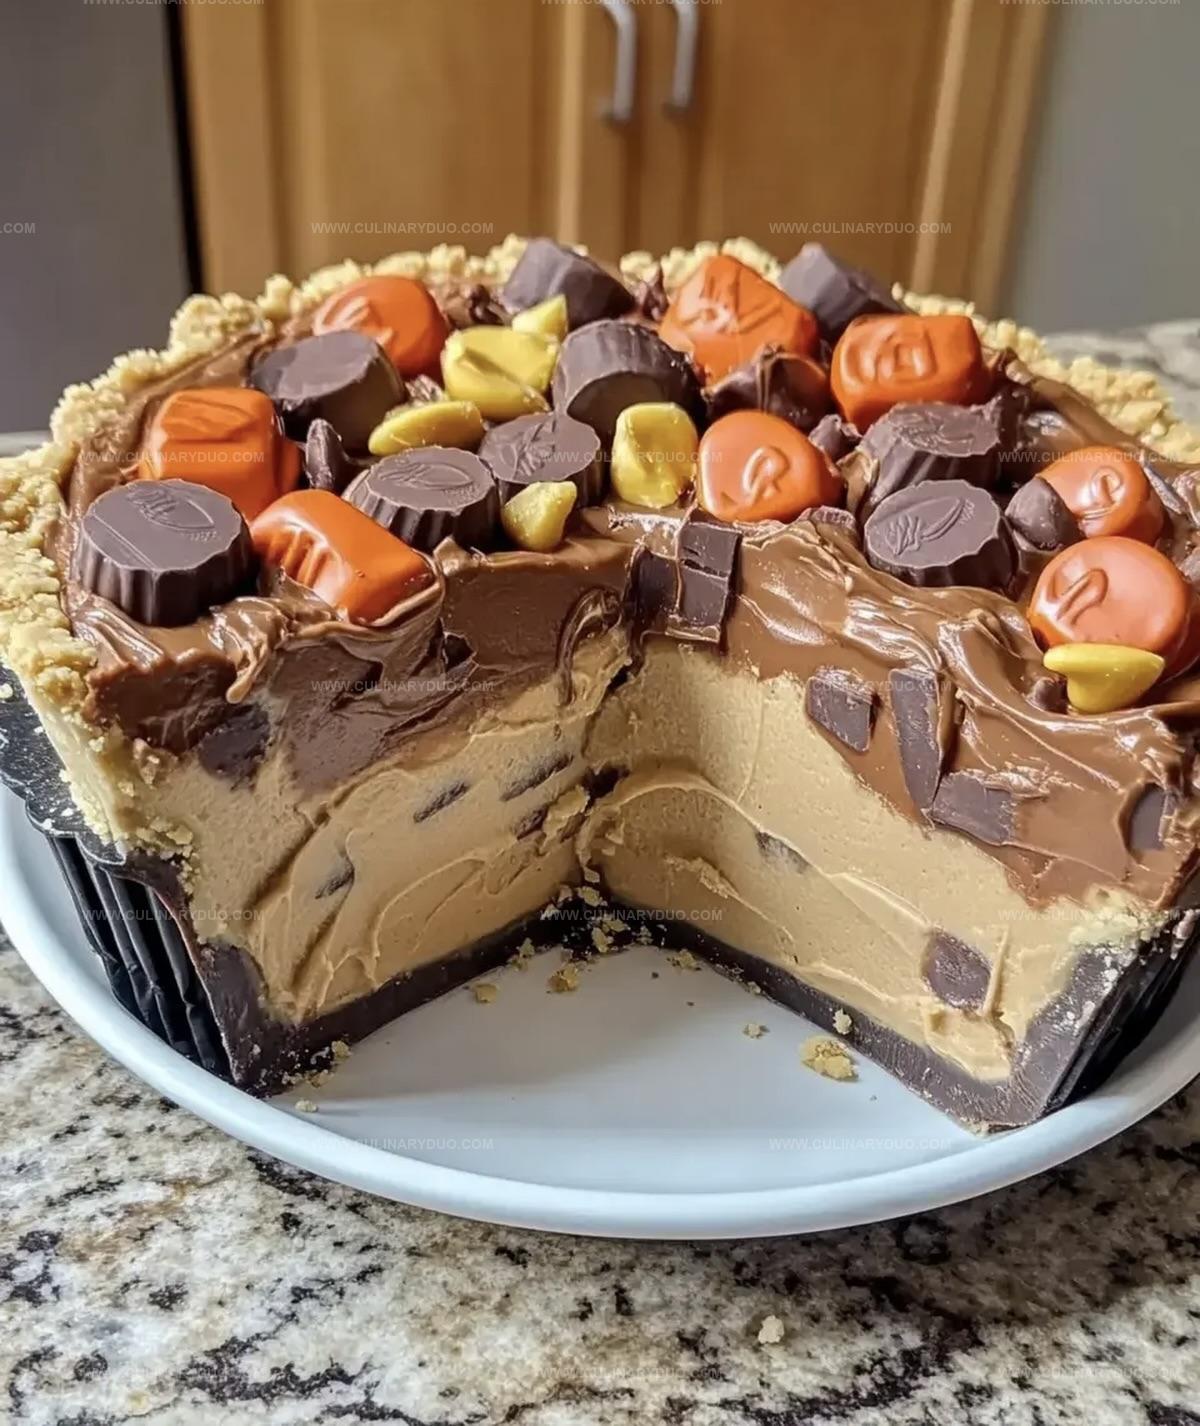
The Best Giant Reeses Peanut Butter Cup Pie Recipe Ever
Crafting a giant Reese’s peanut butter cup pie brings pure chocolate-peanut butter magic right to your dessert table.
Sweet memories of childhood treats dance through this decadent creation.
Layers of rich chocolate and creamy peanut butter promise an indulgent experience that satisfies deep cravings.
Chocolate lovers and peanut butter fanatics will absolutely adore this impressive dessert centerpiece.
Every bite combines classic flavors in an oversized, irresistible format that screams celebration.
Smooth ganache and silky peanut butter filling create a luxurious texture that melts perfectly on your tongue.
You’ll want to share this showstopping pie with everyone who appreciates seriously delicious comfort food.
Grab a fork and prepare for a seriously delightful dessert adventure.
Giant Reeses Peanut Butter Pie Is A Dream
Ingredients For The Giant Peanut Butter Pie Event
Crust Ingredients:Filling Ingredients:Garnish Ingredients:Steps For Making Giant Reeses Pie At Home
Step 1: Create Crunchy Cookie Base
Grab a mixing bowl and combine graham cracker crumbs, sugar, and melted butter.
Mix everything until the texture becomes like wet sand.
Press the mixture firmly into a 9-inch pie pan, making sure to cover the bottom and sides completely.
Use the back of a spoon or your fingers to pack it down tightly.
Step 2: Whip Creamy Peanut Butter Filling
In a large mixing bowl, blend peanut butter and powdered sugar until the mixture becomes silky smooth.
Work the ingredients together until no lumps remain and the consistency is completely uniform.
Step 3: Fold Fluffy Whipped Cream
In a separate bowl, whip heavy cream and vanilla extract until stiff peaks form.
This means when you lift the whisk, the cream should stand up straight without falling over.
Gently fold the whipped cream into the peanut butter mixture, being careful not to deflate the cream’s airiness.
Step 4: Add Chocolate Peanut Butter Chunks
Chop Reeses Peanut Butter Cups into bite-sized pieces.
Stir these delicious chunks into the creamy filling, distributing them evenly throughout the mixture.
Step 5: Fill and Chill Pie
Pour the filling into the prepared graham cracker crust.
Use a spatula to smooth the top, creating an even surface.
Place the pie in the refrigerator and let it set for at least 4 hours, or preferably overnight.
Step 6: Decorate with Drizzle and Toppings
Before serving, melt a bit of peanut butter in the microwave or using a double boiler.
Drizzle the melted peanut butter over the pie in a decorative pattern.
Sprinkle additional chopped Reeses Peanut Butter Cups on top for extra crunch and visual appeal.
Step 7: Slice and Indulge
Cut the pie into generous slices and serve chilled.
Enjoy this decadent, no-bake dessert that combines the irresistible flavors of chocolate and peanut butter.
Handy Tips For That Big Peanut Butter Pie
Flavor Variations For Giant Peanut Butter Pie Fans
Serving Giant Reeses Pie For Parties And Fun
How To Store Leftover Giant Peanut Butter Pie
FAQs
The graham cracker crust is made with graham cracker crumbs, sugar, and melted butter, creating a sweet and crunchy base that perfectly complements the creamy peanut butter filling.
No, this is a no-bake pie that requires simple mixing and assembling techniques, making it easy for even novice bakers to create a delicious dessert without using an oven.
Processed peanut butter works best for this recipe as it provides a smoother texture and consistent sweetness. Natural peanut butter might separate and make the filling less stable.
Print
Giant Reeses Peanut Butter Cup Pie Recipe
- Total Time: 4 hours 20 minutes
- Yield: 8 1x
Description
Peanut butter lovers rejoice with this giant Reeses peanut butter cup pie that delivers pure chocolate and peanut butter bliss. Rich layers of creamy filling nestled in a chocolate cookie crust promise an irresistible dessert you’ll crave again and again.
Ingredients
Crust:
- 1 1/2 cups graham cracker crumbs
- 1/4 cup granulated sugar
- 1/2 cup (113 grams) unsalted butter, melted
Filling:
- 1 cup creamy peanut butter
- 1 cup powdered sugar
- 1 cup heavy cream
- 1 teaspoon vanilla extract
- 1/2 cup chopped Reeses Peanut Butter Cups
Topping:
- 1/2 cup creamy peanut butter
- 1/2 cup chopped Reeses Peanut Butter Cups
Instructions
- Craft a robust graham cracker foundation by blending crumbs with sugar and melted butter, pressing the mixture thoroughly into a 9-inch pie pan, ensuring complete and even coverage along bottom and sides.
- Create a luxurious peanut butter base by whisking peanut butter and powdered sugar until achieving a silky, uniform consistency with no lumps.
- Develop a light, airy whipped cream by vigorously beating heavy cream and vanilla extract until stiff, glossy peaks emerge, demonstrating perfect texture.
- Integrate chopped Reeses Peanut Butter Cups into the peanut butter mixture, gently folding to distribute pieces evenly without deflating the whipped cream.
- Transfer the creamy filling into the prepared crust, using a spatula to smoothly level the surface, eliminating any air pockets or uneven areas.
- Refrigerate the pie for minimum 4 hours at 40°F, allowing the dessert to set completely and develop rich, cohesive flavors.
- Prior to serving, warm remaining peanut butter and delicately drizzle across the pie’s surface, then garnish with additional fragmented Reeses Peanut Butter Cups for textural contrast and visual appeal.
- Slice and present the chilled, decadent no-bake pie, revealing its creamy, indulgent layers.
Notes
- Customize the crust by substituting graham crackers with gluten-free alternatives like almond flour or crushed gluten-free cookies for those with dietary restrictions.
- Ensure ingredients are at room temperature for smoother mixing and better incorporation of the peanut butter and whipped cream.
- Use a springform pan for easier removal and a cleaner presentation of the pie.
- Chill the mixing bowl and whisk before whipping cream to achieve stiffer, more stable peaks.
- Prep Time: 20 minutes
- Cook Time: 4 hours
- Category: Desserts, Snacks
- Method: Chilling
- Cuisine: American
Nutrition
- Serving Size: 8
- Calories: 415 kcal
- Sugar: 30 g
- Sodium: 130 mg
- Fat: 32 g
- Saturated Fat: 11 g
- Unsaturated Fat: 19 g
- Trans Fat: 0.5 g
- Carbohydrates: 28 g
- Fiber: 3 g
- Protein: 9 g
- Cholesterol: 40 mg
Michael Reyes
Founder & Lead Recipe Developer
Expertise
Education
Santa Fe Community College
Michael’s love for cooking runs deep, rooted in the bold, colorful flavors of his New Mexico upbringing.
After earning his Culinary Arts Certificate from Santa Fe Community College, he spent years sharpening his skills in kitchens that celebrated traditional Southwestern and Latin American dishes.
He believes cooking should feel approachable and fun, never complicated. When he’s not stirring up new recipe ideas, Michael’s out hiking scenic trails, chatting with farmers at local markets, or chasing the perfect sunset shot for inspiration.