Spooky Halloween Bloodshot Eyeballs Candy Recipe for Kids
Spooky treats take center stage with these bloodshot eyeballs candy that will send shivers down everyone’s spine.
Creepy confections bring Halloween parties to life with shocking visual appeal.
Delightfully gruesome yet delicious, these edible eyeballs combine sweet and spine-chilling elements perfectly.
Sugar artists and Halloween enthusiasts will adore crafting these ghoulish delights.
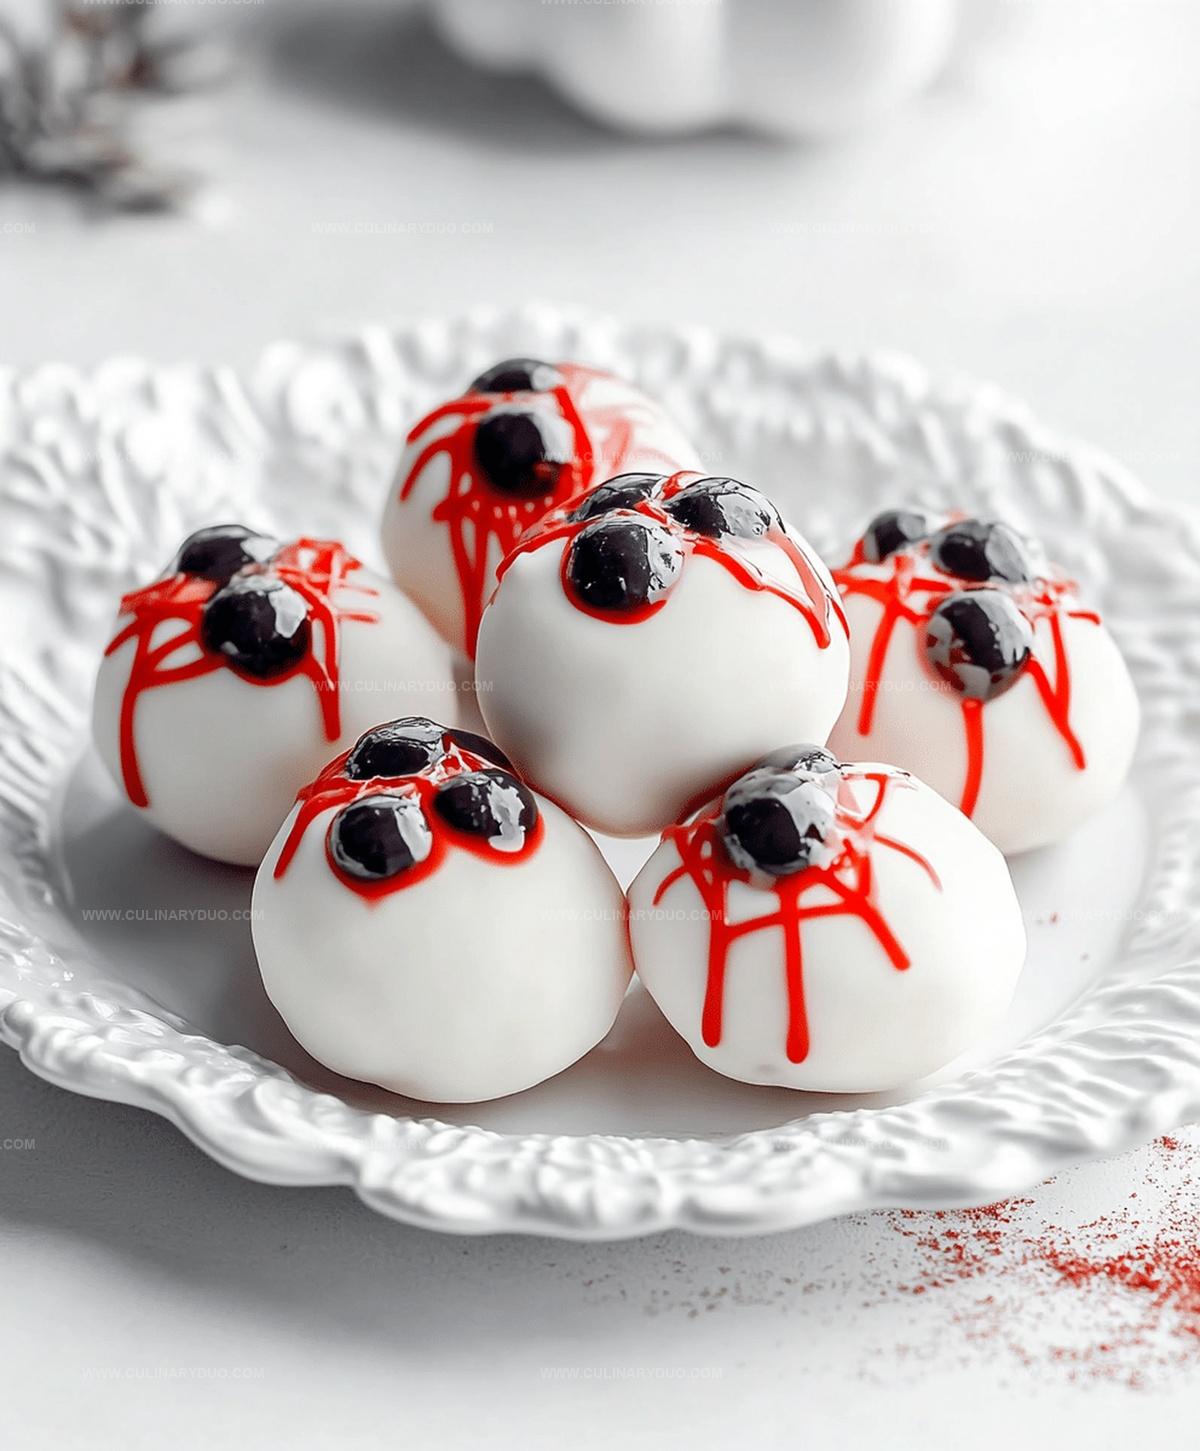
Guests won’t believe how realistic and terrifying these candy eyeballs look on a dessert table.
Each bite promises a wickedly fun experience that blends creativity with delectable flavors.
Halloween Fun: Bloodshot Eyeball Candies
Halloween Bloodshot Eyeball Candy Ingredients
Base Ingredients:Coloring and Detailing Ingredients:Optional Decoration:Making Bloodshot Eyeball Candies for Spooky Season
Step 1: Prepare White Chocolate Base
Line a baking sheet with parchment paper.
Melt white chocolate in a microwave-safe bowl, heating in 15-second intervals and stirring between each interval until smooth and completely liquid.
Step 2: Create Circular Chocolate Discs
Carefully drop small, uniform circles of melted white chocolate onto the parchment paper using a spoon or piping bag.
Ensure the circles are smooth and round, creating a perfect base for the eyeballs.
Step 3: Position Candy Eyes
While the white chocolate is still warm and slightly liquid, gently place a candy eye in the center of each chocolate circle.
Press lightly to ensure the eye adheres to the chocolate base.
Step 4: Add Bloodshot Effect
Use a toothpick or fine-tipped brush dipped in red food coloring.
Draw thin, wispy lines radiating outward from the candy eye, creating a bloodshot appearance.
Vary the line lengths and angles for a more realistic effect.
Step 5: Create Pupil Detail
Using black food gel and a toothpick, add a small dot in the center of each candy eye to create depth and dimension.
Step 6: Chill and Set
Place the baking sheet in the refrigerator for 15-20 minutes until the chocolate is completely firm and set.
Step 7: Optional Spooky Enhancement
For an extra creepy touch, carefully attach thin strands of red licorice to the sides of the eyeballs, creating hanging or dangling effects.
Step 8: Store and Serve
Transfer the eyeball candies to an airtight container.
Keep refrigerated until ready to serve at your Halloween party or spooky gathering.
Candy Tips for Haunting Success
Spooky Variations for Halloween Candy
Serving Halloween Bloodshot Eyeball Candy
Storing Spooky Candy for Parties
FAQs
You’ll need white chocolate, candy eyes, red food coloring, black food gel, and optional red licorice.
These are super easy and require no baking skills – just basic melting and decorating techniques that anyone can do.
The total preparation time is around 15-20 minutes, with additional chilling time in the refrigerator to set.
Absolutely! Kids can help place candy eyes, draw blood vessels, and have fun decorating – just supervise the chocolate melting step.
Print
Halloween Bloodshot Eyeballs Candy Recipe
- Total Time: 40 minutes
- Yield: 40 1x
Description
Spine-chilling Halloween Bloodshot Eyeballs candy brings ghoulish delight to spooky celebrations. Creamy white chocolate and vivid red details create terrifyingly delicious treats that will make guests shriek with wicked excitement.
Ingredients
Candy Base:
- 1 package large marshmallows
- 12 ounces (340 grams) white chocolate chips
Decoration Details:
- 1 tube red decorating gel
- 1 black or blue edible marker
- 1/4 cup mini chocolate chips or black candy pearls
- 1/2 cup gummy candies or candy melts (for pupils)
Optional Finishing Ingredients:
- 2 tablespoons powdered sugar
- 2 tablespoons corn syrup
Instructions
- Gently melt white chocolate using a double boiler or microwave at 50% power, stirring until smooth and glossy.
- Carefully drop small circular pools of melted white chocolate onto parchment-lined baking sheet, creating uniform base discs.
- While chocolate remains warm and slightly liquid, delicately position candy eye in the center of each white chocolate circle.
- Using a fine-tipped brush or toothpick, strategically draw crimson veiny lines radiating outward from the candy eye to create a realistic bloodshot effect.
- Apply a precise dot of black food gel directly in the center of each candy eye to simulate a realistic pupil.
- Transfer the decorated eyeball candies into refrigerator, maintaining a consistent temperature around 40°F, and allow them to set completely for approximately 15-20 minutes.
- For an enhanced ghoulish presentation, optionally attach thin strands of red licorice as wispy tendrils, creating an extra eerie dimension to the Halloween treats.
Notes
- Precision matters when creating the white chocolate base; ensure circles are uniform in size for consistent, professional-looking eyeballs.
- Control red food coloring carefully to achieve realistic bloodshot effect without overwhelming the delicate white chocolate surface.
- Use a toothpick or fine-tipped brush for drawing intricate red veins and placing small details like black eye centers for maximum creepy impact.
- For dietary alternatives, swap white chocolate with dairy-free or vegan chocolate options to accommodate different nutritional needs while maintaining the spooky Halloween aesthetic.
- Prep Time: 20 minutes
- Cook Time: 20 minutes
- Category: Snacks, Desserts
- Method: Melting
- Cuisine: American
Nutrition
- Serving Size: 40
- Calories: 60
- Sugar: 8g
- Sodium: 13mg
- Fat: 2g
- Saturated Fat: 1g
- Unsaturated Fat: 0.7g
- Trans Fat: 0g
- Carbohydrates: 10g
- Fiber: 0.1g
- Protein: 0.4g
- Cholesterol: 0.6mg
Michael Reyes
Founder & Lead Recipe Developer
Expertise
Education
Santa Fe Community College
Michael’s love for cooking runs deep, rooted in the bold, colorful flavors of his New Mexico upbringing.
After earning his Culinary Arts Certificate from Santa Fe Community College, he spent years sharpening his skills in kitchens that celebrated traditional Southwestern and Latin American dishes.
He believes cooking should feel approachable and fun, never complicated. When he’s not stirring up new recipe ideas, Michael’s out hiking scenic trails, chatting with farmers at local markets, or chasing the perfect sunset shot for inspiration.