Spooky Halloween Dirt Cups Recipe: A Fun Fall Treat
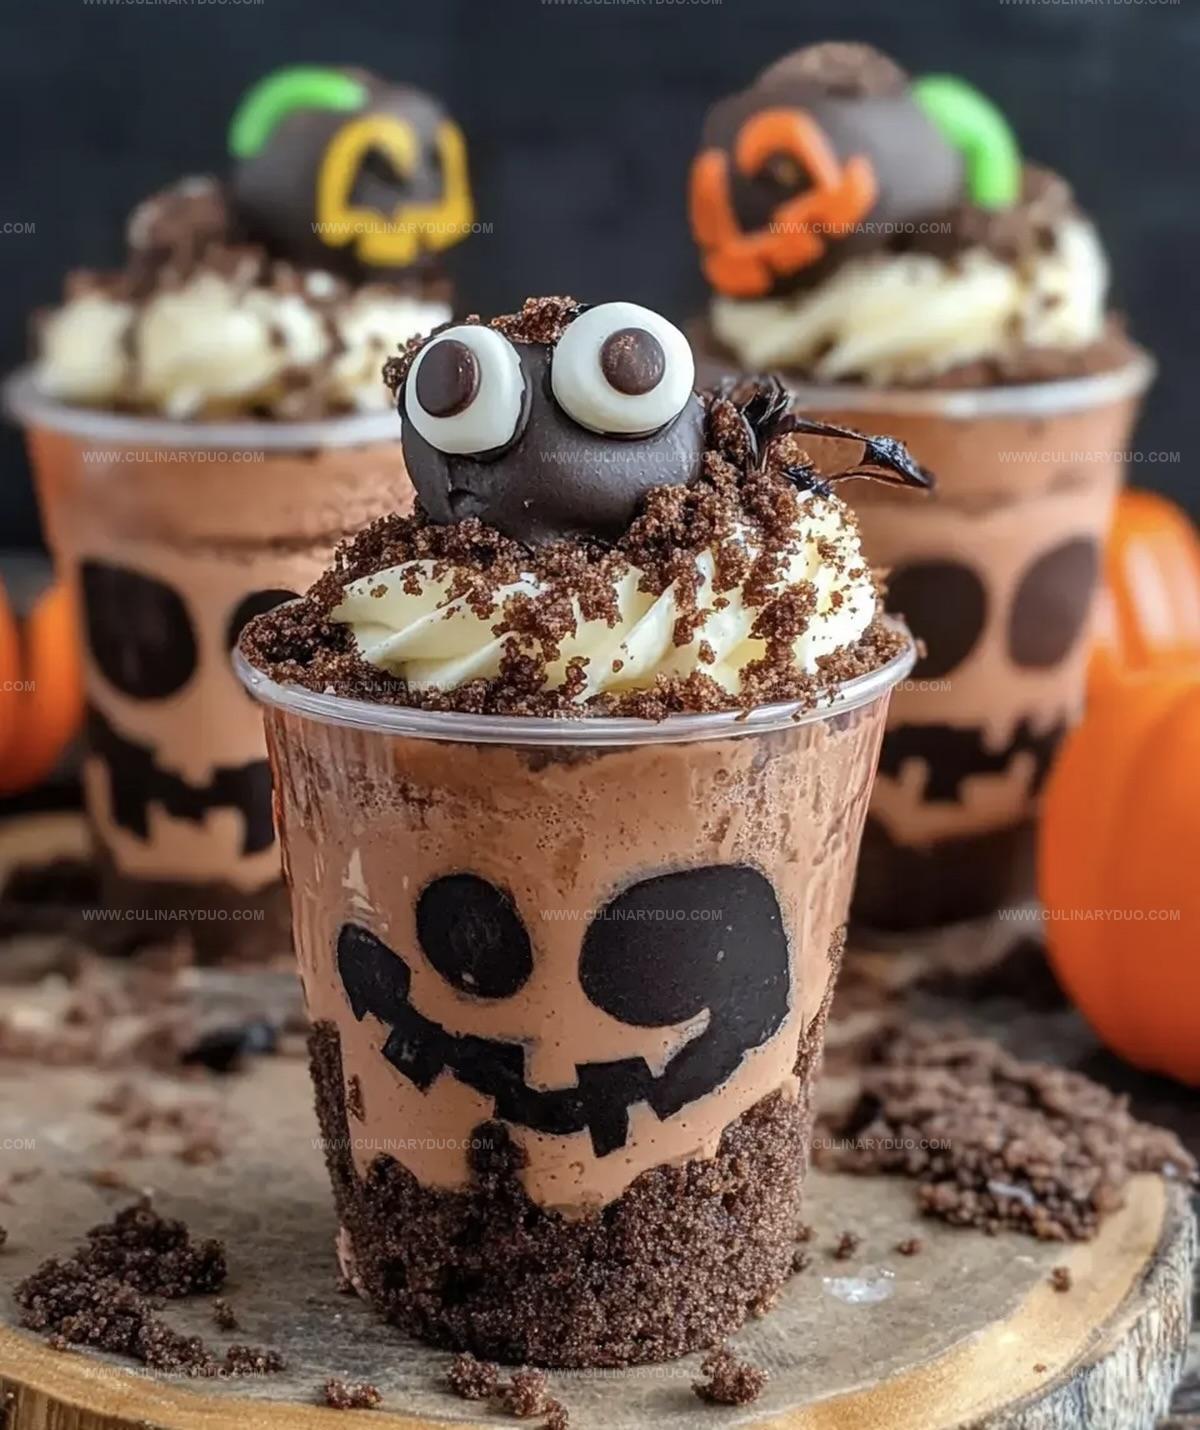
Creamy chocolate pudding meets playful Halloween dirt cups in a spooky-sweet dessert that’ll make you grin.
Layers of crushed cookies and gummy worms create a wickedly delicious treat perfect for seasonal celebrations.
Kids absolutely adore these ghoulish goodies that look like mini graveyard scenes.
Chocolate crumbles mimic soil while wiggly candy worms peek through the delectable landscape.
Marshmallow ghosts or candy pumpkins can add extra whimsical touches to this simple yet spectacular dessert.
Unexpected and delightful, these Halloween dirt cups promise to be the talk of any party.
Grab a spoon and get ready to dig into this wickedly fun treat!
Why Halloween Dirt Cups Are Always A Hit
All Ingredients Needed For Halloween Dirt Cups
Main Ingredients:Garnish Ingredients:Optional Ingredients:Stepwise Guide To Halloween Dirt Cups Fun
Step 1: Whip Up Chocolate Pudding
Create rich chocolate pudding following the package directions.
Let the pudding cool completely in the refrigerator, allowing it to set and become thick and creamy.
Step 2: Blend Creamy Goodness
Gently fold whipped topping into the chocolate pudding.
Mix carefully to maintain a light and fluffy texture, creating a smooth and decadent base for your Halloween treat.
Step 3: Build First Pudding Layer
Carefully spoon a generous layer of the chocolate pudding mixture into clear serving glasses or cups.
Ensure an even distribution to create a perfect foundation for your spooky dessert.
Step 4: Sprinkle Cookie Crumbs
Crush Oreo cookies into fine crumbs using a food processor or by placing them in a sealed plastic bag and crushing with a rolling pin.
Generously sprinkle the cookie crumbs over the pudding layer to create a dirt-like appearance.
Step 5: Create Delicious Layers
Add another layer of the chocolate pudding mixture on top of the cookie crumbs.
Continue building layers alternating between pudding and cookie crumbs for a visually appealing dessert.
Step 6: Creepy Crawler Decoration
Strategically place gummy worms on top of the final layer, allowing some to peek out from the cookie “dirt”.
For extra Halloween flair, add a few pieces of candy corn around the worms.
Step 7: Chill and Reveal
Refrigerate the dirt cups for at least 30 minutes to allow the layers to set and flavors to meld together.
When ready to serve, bring out these spooky treats that are sure to delight both kids and adults at your Halloween gathering.
Tips For Layering The Perfect Halloween Dirt Cups
Flavor Twists For Halloween Dirt Cup Surprises
Serving Halloween Dirt Cups With Spooky Flair
How To Store Halloween Dirt Cups Overnight
FAQs
Absolutely! These fun, spooky desserts are perfect for children’s Halloween celebrations, offering a playful and delicious treat that kids will love.
Yes, you can prepare these cups up to a day in advance. Just keep them refrigerated and add the gummy worms just before serving to maintain their texture.
Choose colorful, realistic-looking gummy worms that create a creepy effect. Haribo or similar brands with vibrant colors work great for the Halloween theme.
The recipe as written is not vegetarian due to the gelatin in gummy worms. To make it vegetarian, look for plant-based gummy worms made without animal-derived ingredients.
Print
Halloween Dirt Cups Recipe
- Total Time: 50 minutes
- Yield: 4 1x
Description
Spooky Halloween Dirt Cups bring creepy cookie crumbles and chocolate pudding together in a ghoulish dessert perfect for seasonal celebrations. Chocolate crumbs, gummy worms, and pudding layers create a playful treat you’ll love serving at any haunting Halloween party.
Ingredients
Pudding and Cream Base:
- 2 cups chocolate pudding (prepared)
- 1 cup whipped topping (like Cool Whip)
Cookies and Crumble:
- 1 1/2 cups crushed Oreo cookies
Garnish and Decorations:
- 1 cup gummy worms
- 1/2 cup candy corn (optional)
Instructions
- Craft a smooth, velvety chocolate pudding following package guidelines, then refrigerate until thoroughly chilled.
- Tenderly incorporate whipped topping into the pudding, creating a luxurious, airy texture with gentle folding motions.
- Distribute the initial pudding layer evenly across individual serving vessels, ensuring a consistent base.
- Generously shower a stratum of finely pulverized chocolate sandwich cookies atop the pudding, creating a crumbly landscape.
- Construct subsequent pudding layer, carefully blanketing the cookie crumbs with creamy chocolate mixture.
- Crown each dessert with additional cookie fragments, mimicking a rough, uneven terrain.
- Strategically position gummy worms across the surface, allowing them to peek through the cookie landscape.
- Optional: Scatter candy corn for an extra festive Halloween-themed presentation.
- Refrigerate for minimum 30 minutes at 40°F, permitting layers to solidify and flavors to meld together.
- Serve chilled, presenting a whimsical, spooky treat perfect for Halloween celebrations.
Notes
- Choose high-quality chocolate pudding mix for richer, more intense flavor.
- Crush Oreo cookies finely to create a more authentic “dirt” texture and appearance.
- Try dairy-free pudding and whipped topping for a vegan-friendly version.
- Use silicone cups or clear glasses to showcase the layered “dirt” and “worm” design.
- Prep Time: 20 minutes
- Cook Time: 30 minutes
- Category: Desserts, Snacks
- Method: None
- Cuisine: American
Nutrition
- Serving Size: 4
- Calories: 386 kcal
- Sugar: 40 g
- Sodium: 170 mg
- Fat: 18 g
- Saturated Fat: 9 g
- Unsaturated Fat: 7 g
- Trans Fat: 0.5 g
- Carbohydrates: 53 g
- Fiber: 2 g
- Protein: 3 g
- Cholesterol: 15 mg
Michael Reyes
Founder & Lead Recipe Developer
Expertise
Education
Santa Fe Community College
Michael’s love for cooking runs deep, rooted in the bold, colorful flavors of his New Mexico upbringing.
After earning his Culinary Arts Certificate from Santa Fe Community College, he spent years sharpening his skills in kitchens that celebrated traditional Southwestern and Latin American dishes.
He believes cooking should feel approachable and fun, never complicated. When he’s not stirring up new recipe ideas, Michael’s out hiking scenic trails, chatting with farmers at local markets, or chasing the perfect sunset shot for inspiration.