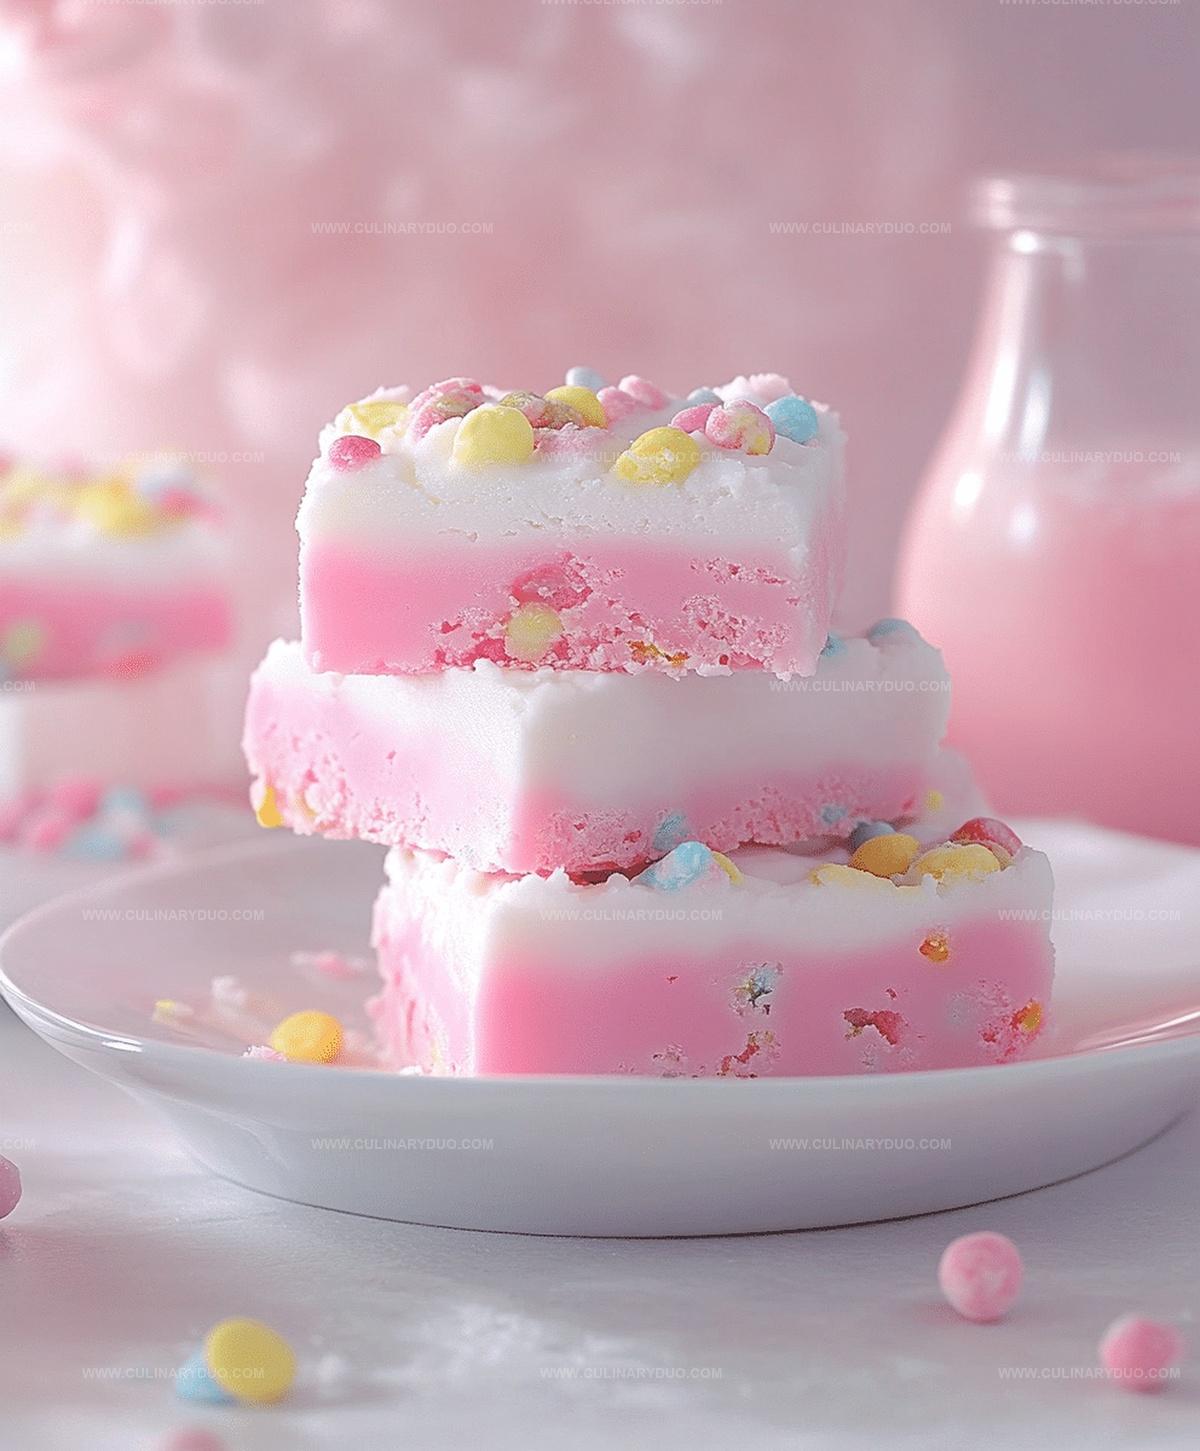
Dreamy Homemade Bubblegum Cloud Fudge Recipe For Sweet Smiles
Sweet secrets burst from this magical bubblegum cloud fudge recipe that combines childhood nostalgia with creamy decadence.
Swirls of pastel pink dance through rich, velvety layers of sugary delight.
Soft and pillowy textures melt on your tongue with each delightful bite.
Crafted with simple ingredients and a touch of whimsy, this fudge brings pure joy to dessert lovers.
The playful treat transforms ordinary moments into something extraordinary.
Pastel colors and sugary waves promise a delightful escape from everyday stress.
Homemade Bubblegum Cloud Fudge: Fun, Fluffy, Sweet
Bubblegum Fudge Essentials
Base Ingredients:Flavor and Color Ingredients:Texture Enhancers:Cloud Fudge: Make It In Minutes
Step 1: Prepare Melting Station
Set up a cozy saucepan on low heat, ready to transform your ingredients into a dreamy, creamy delight.
Gently combine:Stir continuously until the mixture becomes silky smooth and utterly irresistible.
Step 2: Infuse Magical Flavor
Pour in your secret flavor enhancers:Whisk these ingredients together, creating a whimsical blend that promises pure happiness.
Step 3: Fluff Up the Magic
Remove the saucepan from heat and introduce the cloud-like marshmallow fluff.
Fold gently, allowing the ingredients to dance and merge into a pillowy texture.
Step 4: Add Playful Color
If you want a classic bubblegum vibe, splash in some pink food coloring.
Swirl it through the mixture, creating a cotton candy-inspired masterpiece.
Step 5: Create Your Fudge Canvas
Prepare an 8×8-inch pan by greasing it or lining with parchment paper.
Pour your luscious mixture into the pan, spreading it evenly with love and care.
Step 6: Chill and Set
Slide the pan into the refrigerator and let it rest for 2-3 hours.
This is when the magic solidifies and your fudge transforms into a delectable treat.
Step 7: Slice and Serve
Once set, slice the fudge into perfect squares.
For an extra touch of elegance, dust with a light snowfall of powdered sugar before serving.
Fluffy Fudge Tricks
Bubblegum Swaps: More Candy Ideas
Serving Fudge That Pops
Storing Bubblegum Cloud Fudge Leftovers
FAQs
Bubblegum flavoring is food-grade and specifically designed for culinary use, made from natural and artificial ingredients approved by food safety regulations.
Milk or dark chocolate will change the flavor profile and color, so white chocolate works best to maintain the bubblegum fudge’s light, sweet taste and appearance.
The fudge should be firm to the touch and hold its shape when cut. If it’s still soft or sticky, it needs more chilling time in the refrigerator.
You can use marshmallows melted with a little butter as an alternative, though the texture might be slightly different from using marshmallow fluff.
Print
Homemade Bubblegum Cloud Fudge Recipe
- Total Time: 3 hours 15 minutes
- Yield: 16 1x
Description
Sweet dreams melt into reality with this homemade bubblegum cloud fudge, a whimsical dessert that dances between childhood nostalgia and gourmet indulgence. Silky smooth layers of pastel pink delight will make dessert lovers swoon with pure sugary happiness.
Ingredients
Fudge Base:
- 2 cups white chocolate chips
- 1 (14 ounces / 396 grams) can sweetened condensed milk
- 1/2 cup marshmallow fluff
Flavor and Seasoning:
- 1 teaspoon bubblegum flavor extract
- 1/4 teaspoon salt
- 1/2 teaspoon vanilla extract
Decoration and Color:
- Pink, blue, or other pastel food coloring
- Edible glitter or sugar crystals
- Sprinkles
- Mini marshmallows
Instructions
- Gently melt white chocolate chips and butter in a saucepan over low heat, continuously stirring until achieving a silky smooth consistency.
- Incorporate sweetened condensed milk and bubblegum flavoring, whisking thoroughly to create a uniform mixture.
- Remove saucepan from heat source and carefully fold marshmallow fluff into the warm liquid, ensuring complete integration.
- Optionally enhance visual appeal by introducing pink food coloring for a classic bubblegum aesthetic.
- Transfer the creamy mixture into a prepared 8×8-inch pan lined with parchment paper or lightly greased to prevent sticking.
- Chill the fudge in the refrigerator for approximately 2-3 hours, allowing it to solidify completely and develop a firm texture.
- Once set, carefully slice the fudge into uniform square portions using a sharp knife.
- For an elegant finishing touch, lightly dust the fudge squares with powdered sugar just before serving, creating a delicate, sophisticated presentation.
Notes
- Choose high-quality white chocolate chips for a smoother, creamier fudge texture.
- Adjust bubblegum flavoring gradually to prevent overwhelming sweetness.
- Ensure low and slow melting to avoid burning chocolate or separating ingredients.
- Use gel food coloring for more vibrant pink color without altering liquid consistency.
- Line pan with parchment paper for easier removal and cleaner cutting of fudge squares.
- Store fudge in an airtight container in the refrigerator for up to one week.
- For gluten-free version, verify all ingredients are certified gluten-free.
- Consider reducing sweetened condensed milk for less intense sweetness.
- Prep Time: 15 minutes
- Cook Time: 3 hours
- Category: Desserts, Snacks
- Method: Simmering
- Cuisine: American
Nutrition
- Serving Size: 16
- Calories: 170 kcal
- Sugar: 22 g
- Sodium: 45 mg
- Fat: 7 g
- Saturated Fat: 4.5 g
- Unsaturated Fat: 2 g
- Trans Fat: 0 g
- Carbohydrates: 26 g
- Fiber: 0.3 g
- Protein: 1.5 g
- Cholesterol: 10 mg
Michael Reyes
Founder & Lead Recipe Developer
Expertise
Education
Santa Fe Community College
Michael’s love for cooking runs deep, rooted in the bold, colorful flavors of his New Mexico upbringing.
After earning his Culinary Arts Certificate from Santa Fe Community College, he spent years sharpening his skills in kitchens that celebrated traditional Southwestern and Latin American dishes.
He believes cooking should feel approachable and fun, never complicated. When he’s not stirring up new recipe ideas, Michael’s out hiking scenic trails, chatting with farmers at local markets, or chasing the perfect sunset shot for inspiration.