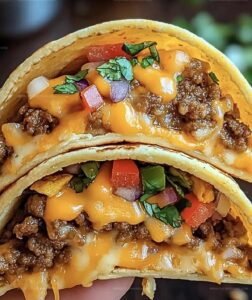
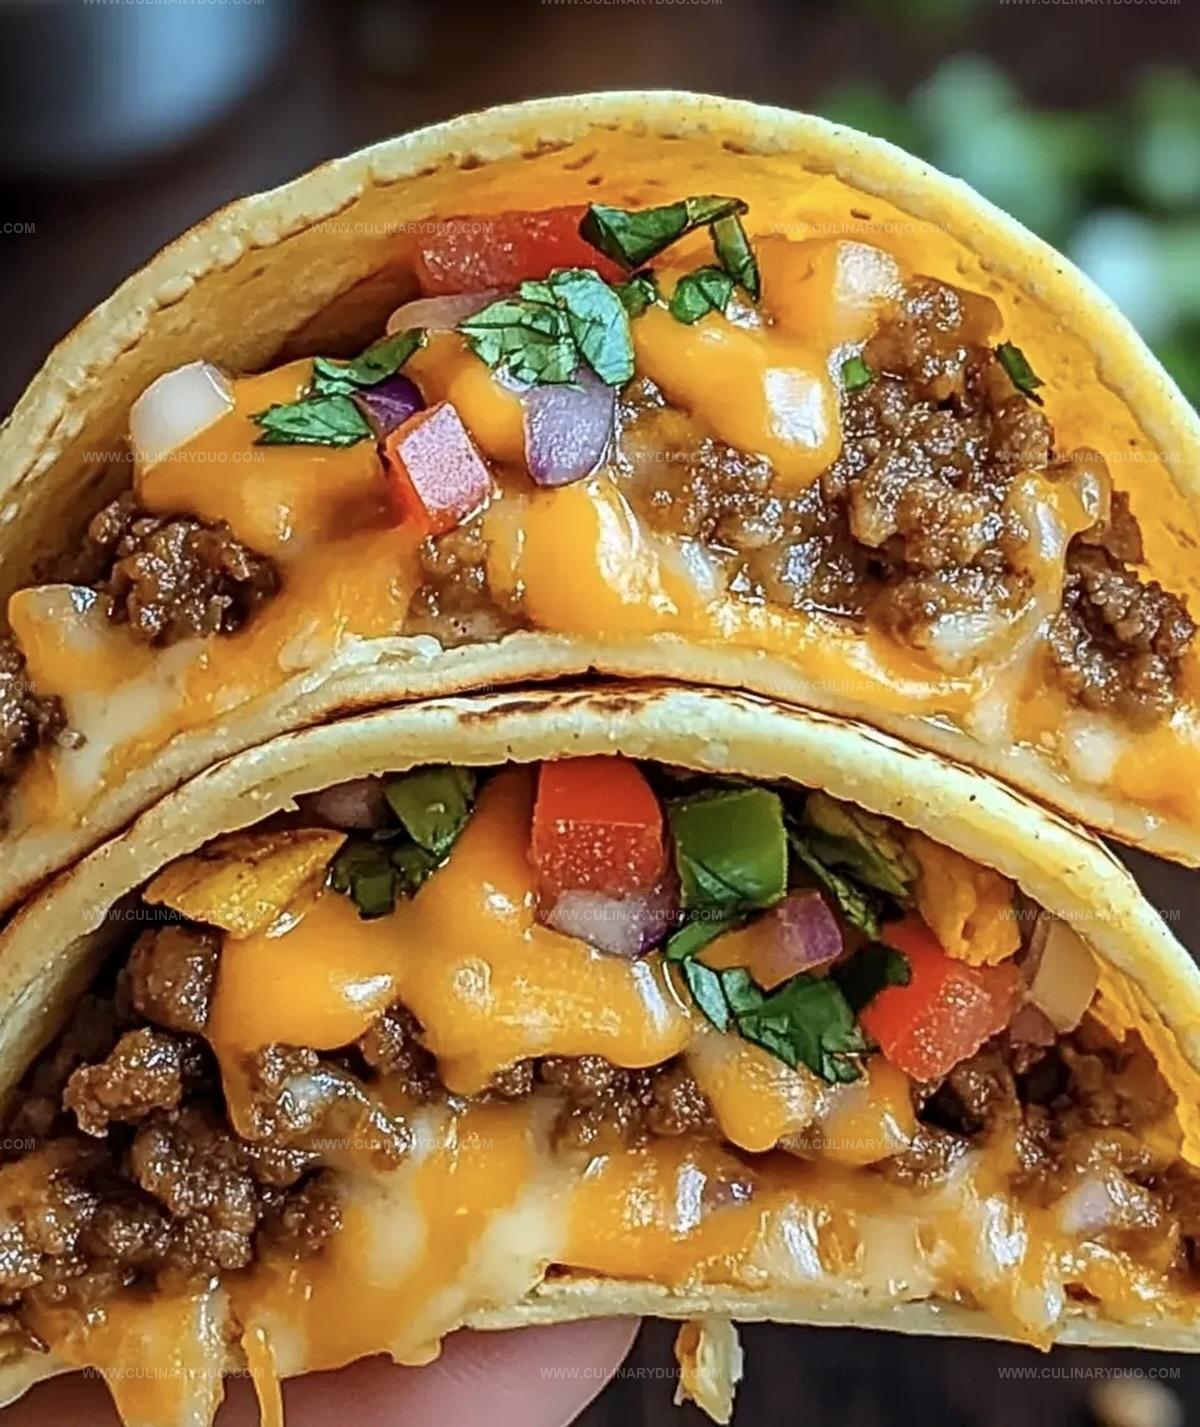
Zesty Loaded Cheesy Pocket Tacos Recipe: A Homemade Fiesta
Tucking into these delightful loaded cheesy pocket tacos brings pure comfort right to your plate.
Crispy tortillas wrapped around savory fillings create an instant mouthwatering experience.
Melted cheese oozes from every delectable fold, promising incredible flavor in each bite.
Simple ingredients combine for a quick meal that feels like a celebration.
Home cooks will appreciate how effortlessly these pockets come together with minimal preparation.
Friends and family won’t be able to resist these irresistible handheld treats.
Dive in and savor every single delicious moment of this crowd-pleasing recipe.
Loaded Cheesy Pocket Tacos For The Ultimate Feast
All Ingredients Needed For Cheesy Pocket Tacos Tonight
Main Protein:Cheese Mix:Dough and Frying Base:Seasoning and Flavor Enhancers:Vegetable and Sauce Toppings:Water: Used to help blend the taco seasoning with the ground beef.
Stepwise Directions For Cheesy Pocket Taco Goodness
Step 1: Brown The Meat
Grab a skillet and heat it up over medium flame.
Toss in the ground beef and cook until it transforms into a beautiful golden brown color.
Make sure to drain away any extra fat that accumulates during cooking.
Step 2: Spice It Up
Sprinkle taco seasoning over the browned meat.
Pour in water according to the seasoning packet’s guidance.
Let the mixture simmer and dance around the pan for about 5 minutes, allowing all those zesty flavors to meld together perfectly.
Step 3: Create Cheese Magic
In a separate bowl, generously combine shredded cheddar and mozzarella cheeses.
The blend will create a melty, gooey surprise inside your pocket tacos.
Step 4: Mix Flavor Companions
Gather another bowl and introduce these delightful friends:Stir them together to create a burst of incredible taste.
Step 5: Heat The Oil
Pour vegetable oil into a deep skillet or fryer.
Bring the temperature up to a sizzling 350°F (175°C).
This is your golden gateway to crispy perfection.
Step 6: Prepare Dough Pockets
Unwrap the biscuit dough and gently flatten each piece.
Place a generous spoonful of seasoned beef right in the center.
Follow up with a hearty spoonful of your cheese mixture.
Step 7: Seal The Treasure
Carefully fold the dough over, creating a delicious pocket.
Press and pinch the edges firmly to seal in all that mouthwatering goodness.
Use a fork to create a decorative crimp if you’re feeling fancy.
Step 8: Fry To Golden Bliss
Carefully slide the filled biscuits into the hot oil.
Watch them transform into golden-brown delights, cooking for about 2-3 minutes on each side.
Use a slotted spoon to rescue them from the oil and let them rest on paper towels to drain excess oil.
Step 9: Serve And Celebrate
Plate these crispy, cheesy treasures while they’re piping hot.
Accompany with extra sour cream, salsa, or whatever taco toppings make your taste buds dance with joy!
Tips For Melty Cheesy Pocket Tacos Every Time
Fun Taco Pocket Flavors To Mix Things Up
Ways To Serve Loaded Cheesy Pocket Tacos Warm
Storing Pocket Tacos For Tomorrow’s Lunch
FAQs
Yes, you can substitute ground beef with ground turkey, chicken, or even plant-based meat alternatives for a different flavor profile.
The spice level depends on the taco seasoning and salsa you use. Choose mild versions if you prefer less heat or add hot sauce for extra kick.
You can prepare the filling and assemble the tacos in advance, but fry them just before serving to maintain their crispy texture and prevent sogginess.
Refrigerated pizza dough or crescent roll dough work as great alternatives for making these pocket tacos.
Print
Loaded Cheesy Pocket Tacos Recipe
- Total Time: 35 minutes
- Yield: 4 1x
Description
Cheesy pocket tacos burst with Mexican-inspired flavors, delivering a mouthwatering fusion of crispy tortillas and melted cheese. Hungry diners will savor each bite of this irresistible street-style dish that promises pure culinary delight.
Ingredients
Meats:
- 1 pound (1 lb) ground beef
- 1 packet taco seasoning (about 1 ounce)
Cheeses and Dairy:
- 1 cup shredded cheddar cheese
- 1 cup shredded mozzarella cheese
- 1/2 cup sour cream
Vegetables and Additional Toppings:
- 1 cup diced tomatoes
- 1/2 cup salsa
- 1/2 cup sliced black olives (optional)
- 1/2 cup finely chopped green onions
Dough and Cooking Ingredient:
- 1 package refrigerated biscuit dough (8 count)
- Vegetable oil for frying
Instructions
- In a skillet over medium heat, brown the ground beef thoroughly, ensuring no pink remains. Drain away excess fat to reduce greasiness.
- Incorporate taco seasoning into the beef, adding recommended water amount. Allow mixture to simmer for 5 minutes, developing rich flavor profile.
- Create cheese blend by combining shredded cheddar and mozzarella in a separate mixing bowl, ensuring even distribution.
- Prepare accompaniment mixture by gently folding sour cream, salsa, diced tomatoes, sliced black olives, and chopped green onions together.
- Heat vegetable oil in a deep skillet to precisely 350F, using a thermometer for accurate temperature control.
- Carefully stretch each biscuit dough piece, creating a wider surface. Center a generous scoop of seasoned beef, then top with cheese mixture.
- Carefully fold dough over filling, pressing edges firmly with fingertips or fork tines to create a complete seal and prevent leakage during frying.
- Gently lower sealed pockets into hot oil, frying until exterior turns golden brown and crispy, approximately 2-3 minutes per side. Use slotted spoon for safe extraction.
- Transfer fried tacos to paper towel-lined plate to absorb excess oil. Serve immediately with additional garnishes like sour cream or salsa for enhanced enjoyment.
Notes
- Prevent Stuffing Overflow carefully seal the edges of the biscuit dough to keep cheese and meat inside during frying, which stops messy leaks and ensures a perfect crispy pocket.
- Adjust Spice Levels easily customize the heat by choosing mild or hot taco seasoning, or adding extra chili flakes for those who love a spicier kick.
- Healthier Baking Option instead of deep-frying, brush the pockets with olive oil and bake at 375F for 12-15 minutes for a lower-fat alternative that’s still deliciously crispy.
- Gluten-Free Modification swap traditional biscuit dough for gluten-free biscuit mix or use corn tortillas to make this recipe celiac-friendly without sacrificing flavor.
- Prep Time: 20 minutes
- Cook Time: 15 minutes
- Category: Lunch, Dinner, Snacks
- Method: Frying
- Cuisine: Mexican
Nutrition
- Serving Size: 4
- Calories: 530 kcal
- Sugar: 3 g
- Sodium: 720 mg
- Fat: 38 g
- Saturated Fat: 16 g
- Unsaturated Fat: 20 g
- Trans Fat: 1 g
- Carbohydrates: 22 g
- Fiber: 2 g
- Protein: 26 g
- Cholesterol: 90 mg


Michael Reyes
Founder & Lead Recipe Developer
Expertise
Education
Santa Fe Community College
Michael’s love for cooking runs deep, rooted in the bold, colorful flavors of his New Mexico upbringing.
After earning his Culinary Arts Certificate from Santa Fe Community College, he spent years sharpening his skills in kitchens that celebrated traditional Southwestern and Latin American dishes.
He believes cooking should feel approachable and fun, never complicated. When he’s not stirring up new recipe ideas, Michael’s out hiking scenic trails, chatting with farmers at local markets, or chasing the perfect sunset shot for inspiration.