The Magical Mermaid Candy Fudge Recipe: Sweet Ocean Dreams
Sweet dreams come alive with this mermaid candy fudge that sparkles like underwater magic.
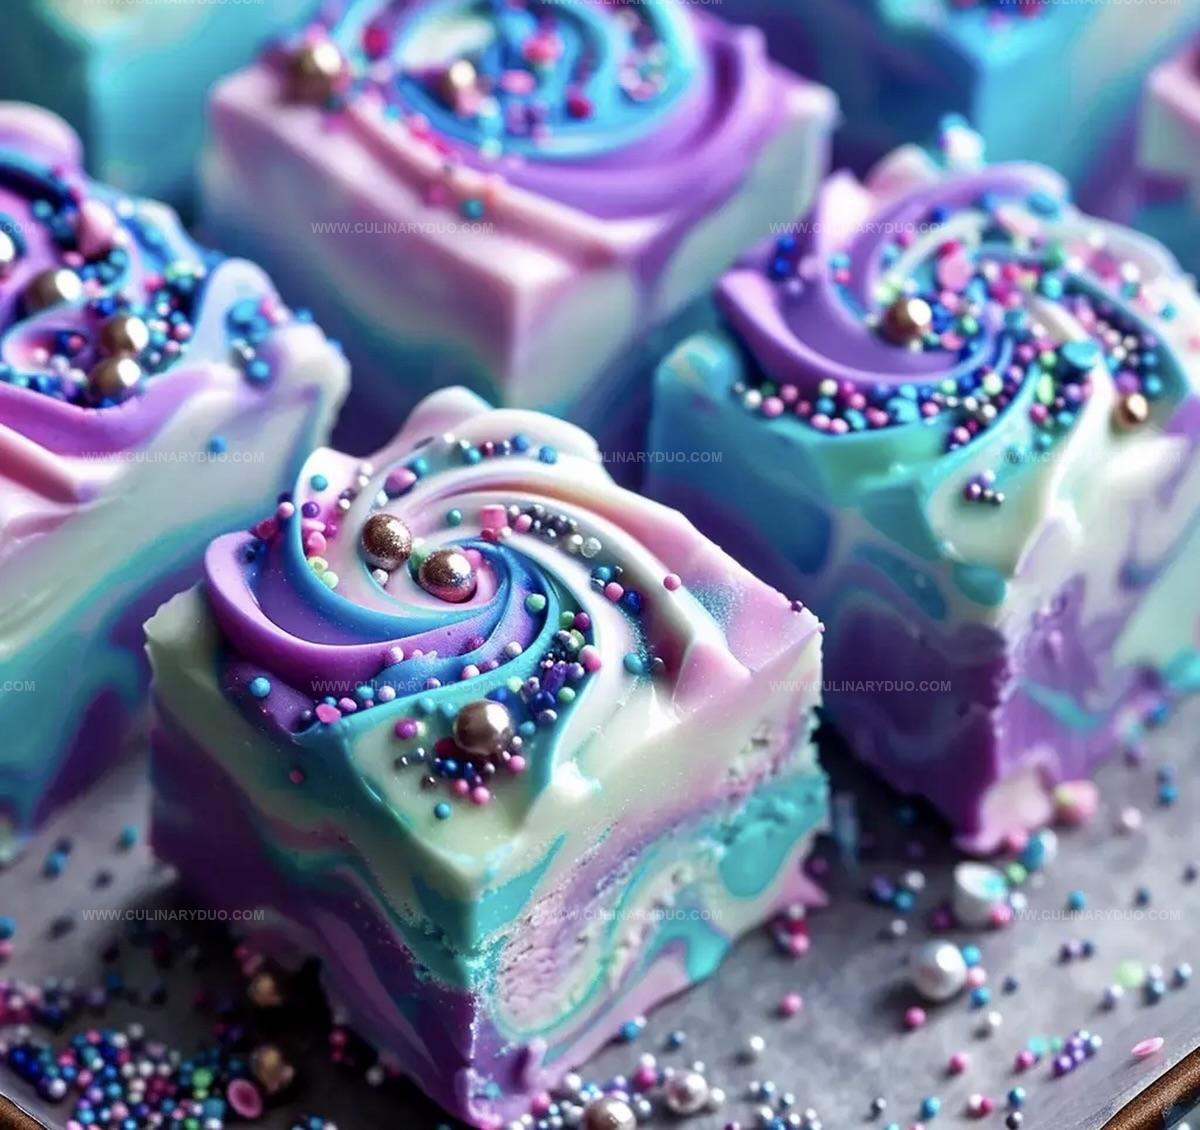
Pastel colors swirl through creamy layers, creating an enchanting dessert.
Soft blues and lavenders blend seamlessly into a whimsical treat.
Kids and adults alike will marvel at the mesmerizing appearance.
Ocean-inspired sprinkles add playful touches to each delectable square.
Nobody can resist the dreamy, creamy confection that looks like a mermaid secret recipe.
You’ll want to make this show-stopping dessert that feels like edible art.
Mermaid Candy Fudge For Colorful Dessert Fun
Ingredients For Whimsical Mermaid Candy Fudge Here
Sweet Base:Flavor Enhancers:Color and Decoration:Preparation Helpers:How To Make Mermaid Candy Fudge That Pops
Step 1: Prepare The Baking Pan
Line a square baking pan with aluminum foil, making sure to cover the entire bottom and sides.
Generously spray the foil with nonstick cooking spray to ensure easy removal later.
Step 2: Melt Chocolate Base
In a medium saucepan, combine:Heat over medium-low temperature, stirring constantly until ingredients begin to melt smoothly.
Add:Continue stirring until the mixture becomes completely smooth and glossy.
Step 3: Create Magical Colors
Separate the melted chocolate mixture into three different mixing bowls.
Add food coloring to two bowls:Leave the third bowl with the original white chocolate mixture.
Step 4: Design Oceanic Swirls
Pour the colored mixtures into the prepared pan, creating random and playful color patterns.
Use a knife to gently swirl the colors together, creating a beautiful marbled effect.
Sprinkle magical mermaid-themed decorative sprinkles across the top of the fudge.
Step 5: Chill And Set
Place the pan in the refrigerator for approximately 4 hours.
The fudge needs to become completely firm and set.
Step 6: Slice And Serve
Remove the fudge from the refrigerator.
Lift the foil out of the pan and carefully peel away from the edges.
Cut the fudge into 16 delightful square pieces, ready to be enjoyed by magical mermaid lovers.
Pro Tips For Swirled Mermaid Candy Fudge Perfection
Creative Mermaid Fudge Variations For Parties
Serving Up Mermaid Candy Fudge With Style
Storage Tips For Mermaid Candy Fudge That Lasts
FAQs
Chocolate chips, condensed milk, butter, vanilla extract, teal and violet food coloring, and mermaid sprinkle mix are the essential ingredients.
Yes, you can experiment with different colors, but teal and violet create the classic mermaid effect. Stick to pastel or ocean-inspired shades for best results.
Pour the different colored fudge mixtures randomly into the pan, then gently swirl with a knife in a figure-eight or zigzag motion. Don’t overmix to maintain distinct color patterns.
Print
Mermaid Candy Fudge Recipe
- Total Time: 3 hours 55 minutes
- Yield: 12 1x
Description
Magical underwater-inspired Mermaid Candy Fudge brings oceanic whimsy to sweet treats. Pastel swirls and sparkling sugar crystals create an enchanting dessert that will delight guests with its playful coastal charm.
Ingredients
Main Ingredients:
- 3 cups white chocolate chips
- 14 ounces (396 grams) sweetened condensed milk
Binding and Flavoring Ingredients:
- 1 tablespoon butter
- 1 teaspoon vanilla extract
Decorative Ingredients:
- Teal food coloring
- Violet food coloring
- Mermaid sprinkle mix
Instructions
- Prepare a parchment-lined 8×8 inch pan with cooking spray to ensure easy fudge removal.
- Gently melt chocolate chips and condensed milk in a saucepan over low heat, stirring consistently until smooth and glossy.
- Incorporate softened butter and vanilla extract into the melted chocolate mixture, stirring until fully integrated and velvety.
- Separate the fudge base into three distinct bowls, then infuse each with teal, violet, and white colorings to create a mesmerizing palette.
- Artfully pour the differently colored mixtures into the prepared pan, allowing them to cascade and intertwine naturally.
- Use a knife to create elegant swirling patterns, blending the colors without overmixing to maintain distinct color variations.
- Generously scatter mermaid sprinkle mix across the surface, gently tapping the pan to eliminate potential air pockets.
- Chill the fudge in the refrigerator for 3-4 hours, or until it reaches a firm, slice-able consistency.
- Carefully lift the fudge from the pan using parchment edges, peel away the lining, and slice into 16 even, bite-sized squares.
Notes
- Nail the Pan Prep Use heavy-duty aluminum foil that extends slightly over pan edges for easy lifting and clean removal of fudge.
- Perfect Color Blending Gently swirl colors using a toothpick or small offset spatula to create soft, dreamy mermaid-like patterns without overmixing.
- Sprinkle Strategy Scatter mermaid sprinkles immediately after pouring and swirling colors to ensure they adhere perfectly to the fudge surface.
- Temperature Trick Allow fudge to sit at room temperature for 10-15 minutes before cutting to achieve clean, smooth edges without cracking.
- Prep Time: 3 hours 45 minutes
- Cook Time: 10 minutes
- Category: Desserts, Snacks
- Method: Baking
- Cuisine: American
Nutrition
- Serving Size: 12
- Calories: 230
- Sugar: 25 g
- Sodium: 40 mg
- Fat: 12 g
- Saturated Fat: 7 g
- Unsaturated Fat: 4 g
- Trans Fat: 0.2 g
- Carbohydrates: 28 g
- Fiber: 0.1 g
- Protein: 2 g
- Cholesterol: 15 mg
Michael Reyes
Founder & Lead Recipe Developer
Expertise
Education
Santa Fe Community College
Michael’s love for cooking runs deep, rooted in the bold, colorful flavors of his New Mexico upbringing.
After earning his Culinary Arts Certificate from Santa Fe Community College, he spent years sharpening his skills in kitchens that celebrated traditional Southwestern and Latin American dishes.
He believes cooking should feel approachable and fun, never complicated. When he’s not stirring up new recipe ideas, Michael’s out hiking scenic trails, chatting with farmers at local markets, or chasing the perfect sunset shot for inspiration.