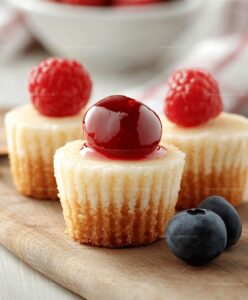
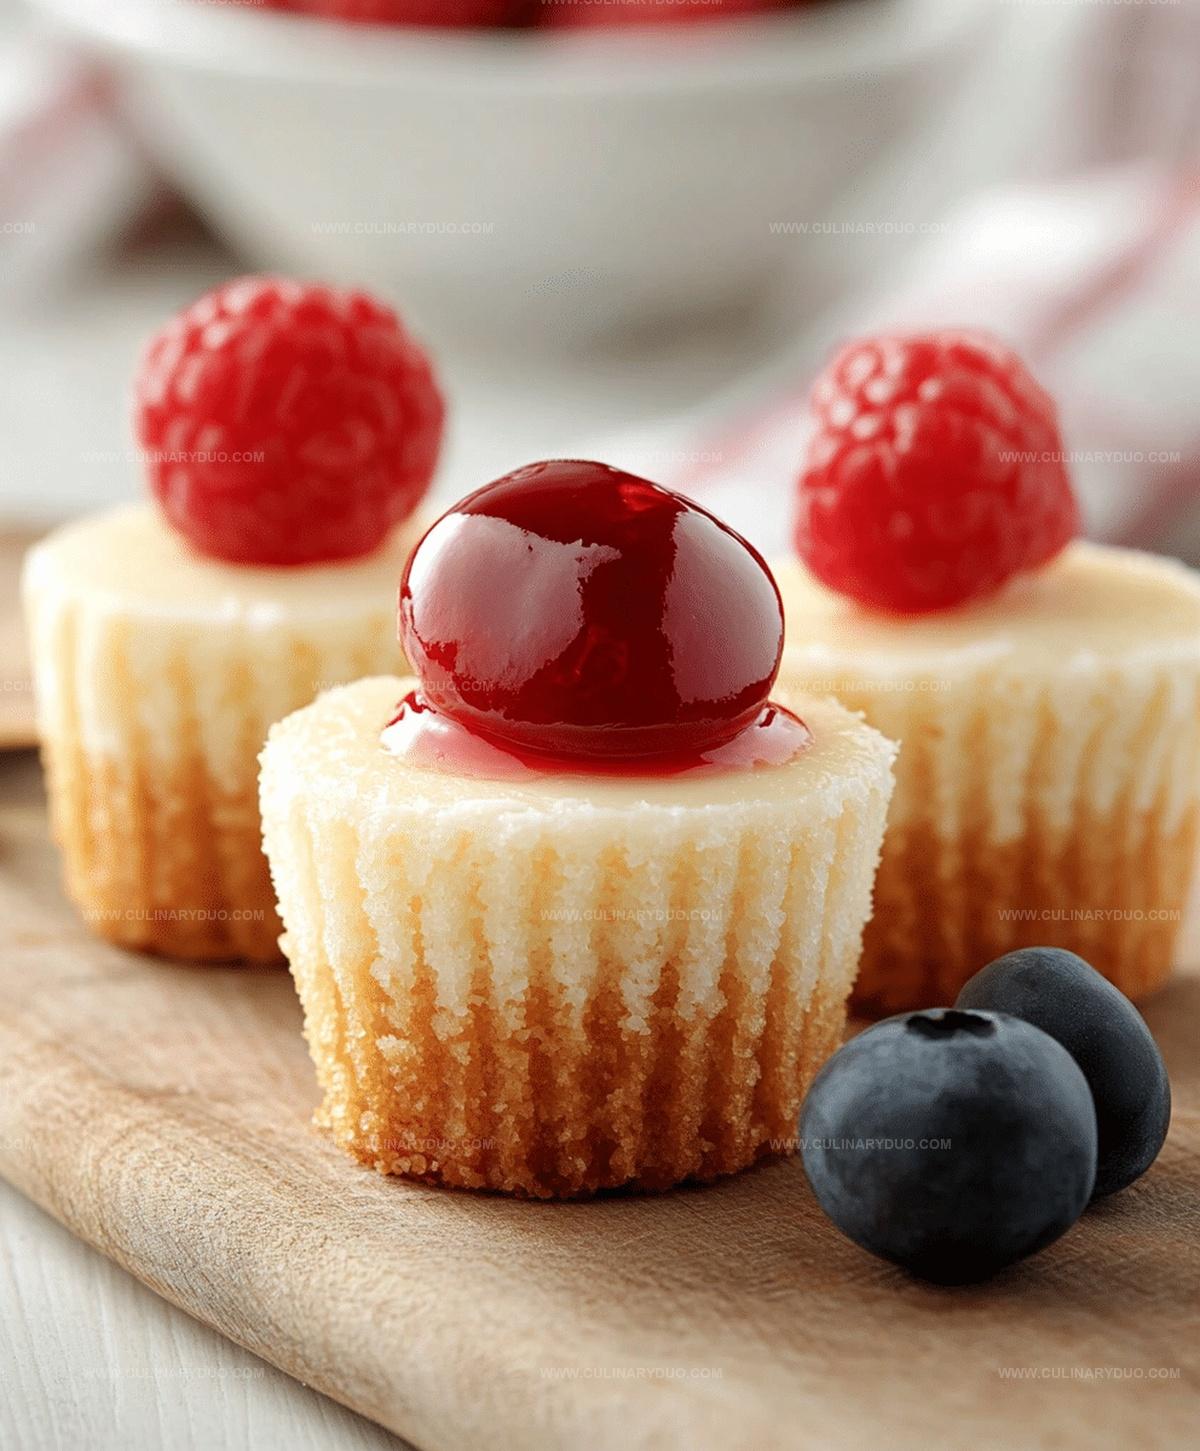
Irresistible Mini Cheesecakes Recipe for Sweet Tooth Cravings
These bite-sized mini cheesecakes will steal your heart with their creamy, dreamy texture.
Every baker loves a mini cheesecakes recipe that promises pure indulgence in each small, delectable bite.
Rich cream cheese blends perfectly with sweet, velvety ingredients to create a dessert that melts in your mouth.
Forget complicated baking techniques – this straightforward recipe brings professional-level elegance to your kitchen.
Each mini cheesecake offers a delightful balance of smooth filling and buttery graham cracker crust.
The secret lies in using fresh, high-quality ingredients that transform simple components into an extraordinary treat.
Mini Cheesecakes That Are Crowd-Pleasers
Essential Ingredients for Mini Cheesecakes
Crust Ingredients:Cheesecake Filling Ingredients:Optional Topping Ingredients:Steps for Perfect Mini Cheesecakes
Step 1: Craft the Crust
Warm up your oven to a cozy 325°F.
Grab a muffin pan and dress it up with adorable paper liners.
In a mixing bowl, combine:Gently press a tablespoon of this crumbly mixture into the bottom of each liner, creating a perfect foundation for your mini treats.
Step 2: Toast the Crust
Pop the pan into the oven and bake for 5 minutes.
Once done, pull it out and let the crust cool down and set.
Step 3: Whip Up the Creamy Filling
Grab a large mixing bowl and beat the cream cheese until it’s silky smooth.
Pour in the sugar and blend until perfectly combined.
Add eggs one by one, mixing thoroughly after each addition.
Stir in vanilla and sour cream until the mixture becomes luxuriously creamy and uniform.
Step 4: Fill and Bake
Carefully pour the dreamy cheesecake filling over each crusty base, filling the liners about three-quarters full.
Slide the pan back into the oven and bake for 15-17 minutes until the filling sets with a gentle wiggle.
Step 5: Chill and Serve
Allow the mini cheesecakes to cool completely at room temperature.
Transfer to the refrigerator and let them chill for at least 2 hours.
When ready, these bite-sized delights are set to steal the show at your next gathering!
Pro Tips for Baking Mini Cheesecakes
New Ideas for Mini Cheesecake Flavors
Ways to Present Mini Cheesecakes
Storing Mini Cheesecakes the Right Way
FAQs
Yes, you can substitute graham cracker crumbs with crushed digestive biscuits or vanilla wafer cookies for a different flavor and texture.
Avoid overmixing the batter, don’t overbake, and let the cheesecakes cool gradually at room temperature before refrigerating to minimize cracking.
Absolutely! Use gluten-free graham crackers or almond flour for the crust, and ensure all other ingredients are certified gluten-free.
Definitely! Swirl in fruit preserves before baking, or sprinkle chocolate chips into the batter for extra flavor and visual appeal.
Print
Mini Cheesecakes Recipe
- Total Time: 42 minutes
- Yield: 12 1x
Description
Creamy mini cheesecakes deliver pure dessert bliss with their silky texture and rich flavor profile. Chocolate graham cracker crusts and smooth cream cheese filling make these bite-sized treats irresistible for you to savor and share.
Ingredients
Cheesecake Base:
- 1 cup graham cracker crumbs
- 5 tablespoons (75 milliliters) melted butter
- 3 tablespoons (45 grams) granulated sugar
Cheesecake Filling:
- 16 ounces (454 grams) cream cheese, softened
- 1/2 cup (100 grams) granulated sugar
- 2 large eggs
- 1 teaspoon (5 milliliters) vanilla extract
- 1/4 cup (60 milliliters) sour cream
Instructions
- Preheat the oven to 325°F and arrange paper liners in a muffin pan. Combine graham cracker crumbs, sugar, and melted butter in a mixing bowl.
- Distribute the crust mixture evenly into each liner, pressing firmly to create a compact base. Bake the crust for 5 minutes until lightly set.
- In a large mixing bowl, whip the cream cheese until it reaches a smooth, creamy consistency. Gradually incorporate sugar, blending until fully integrated.
- Add eggs individually, ensuring thorough mixing after each addition. Gently fold in vanilla extract and sour cream until the filling achieves a uniform, silky texture.
- Carefully fill each liner with cheesecake mixture, leaving approximately ¼ inch of space from the top. Ensure an even distribution across all cups.
- Transfer the muffin pan to the preheated oven and bake for 15-17 minutes. The filling should appear set with a slight jiggle in the center.
- Remove from the oven and allow cheesecakes to cool completely at room temperature. Once cooled, transfer to the refrigerator and chill for a minimum of 2 hours before serving.
Notes
- Crush graham crackers finely for a smoother, more compact crust that holds together perfectly when biting into the mini cheesecake.
- Use room temperature cream cheese and eggs to ensure a silky, lump-free filling that blends seamlessly and creates a velvety texture.
- Avoid overmixing the cheesecake batter to prevent air bubbles that can cause cracking during baking, resulting in a smooth, professional-looking dessert.
- Customize these mini cheesecakes by adding different toppings like fresh berries, chocolate drizzle, or caramel sauce to create unique flavor combinations that will impress your guests.
- Prep Time: 20 minutes
- Cook Time: 22 minutes
- Category: Desserts
- Method: Baking
- Cuisine: American
Nutrition
- Serving Size: 12
- Calories: 240 kcal
- Sugar: 12 g
- Sodium: 120 mg
- Fat: 18 g
- Saturated Fat: 10 g
- Unsaturated Fat: 6 g
- Trans Fat: 0.5 g
- Carbohydrates: 15 g
- Fiber: 1 g
- Protein: 4 g
- Cholesterol: 65 mg


Michael Reyes
Founder & Lead Recipe Developer
Expertise
Education
Santa Fe Community College
Michael’s love for cooking runs deep, rooted in the bold, colorful flavors of his New Mexico upbringing.
After earning his Culinary Arts Certificate from Santa Fe Community College, he spent years sharpening his skills in kitchens that celebrated traditional Southwestern and Latin American dishes.
He believes cooking should feel approachable and fun, never complicated. When he’s not stirring up new recipe ideas, Michael’s out hiking scenic trails, chatting with farmers at local markets, or chasing the perfect sunset shot for inspiration.