The Dreamiest No Bake Eclair Cake Recipe for Sweet Lovers
Creamy, dreamy desserts can steal the show at any gathering, and this no bake eclair cake recipe delivers pure magic in every single bite.
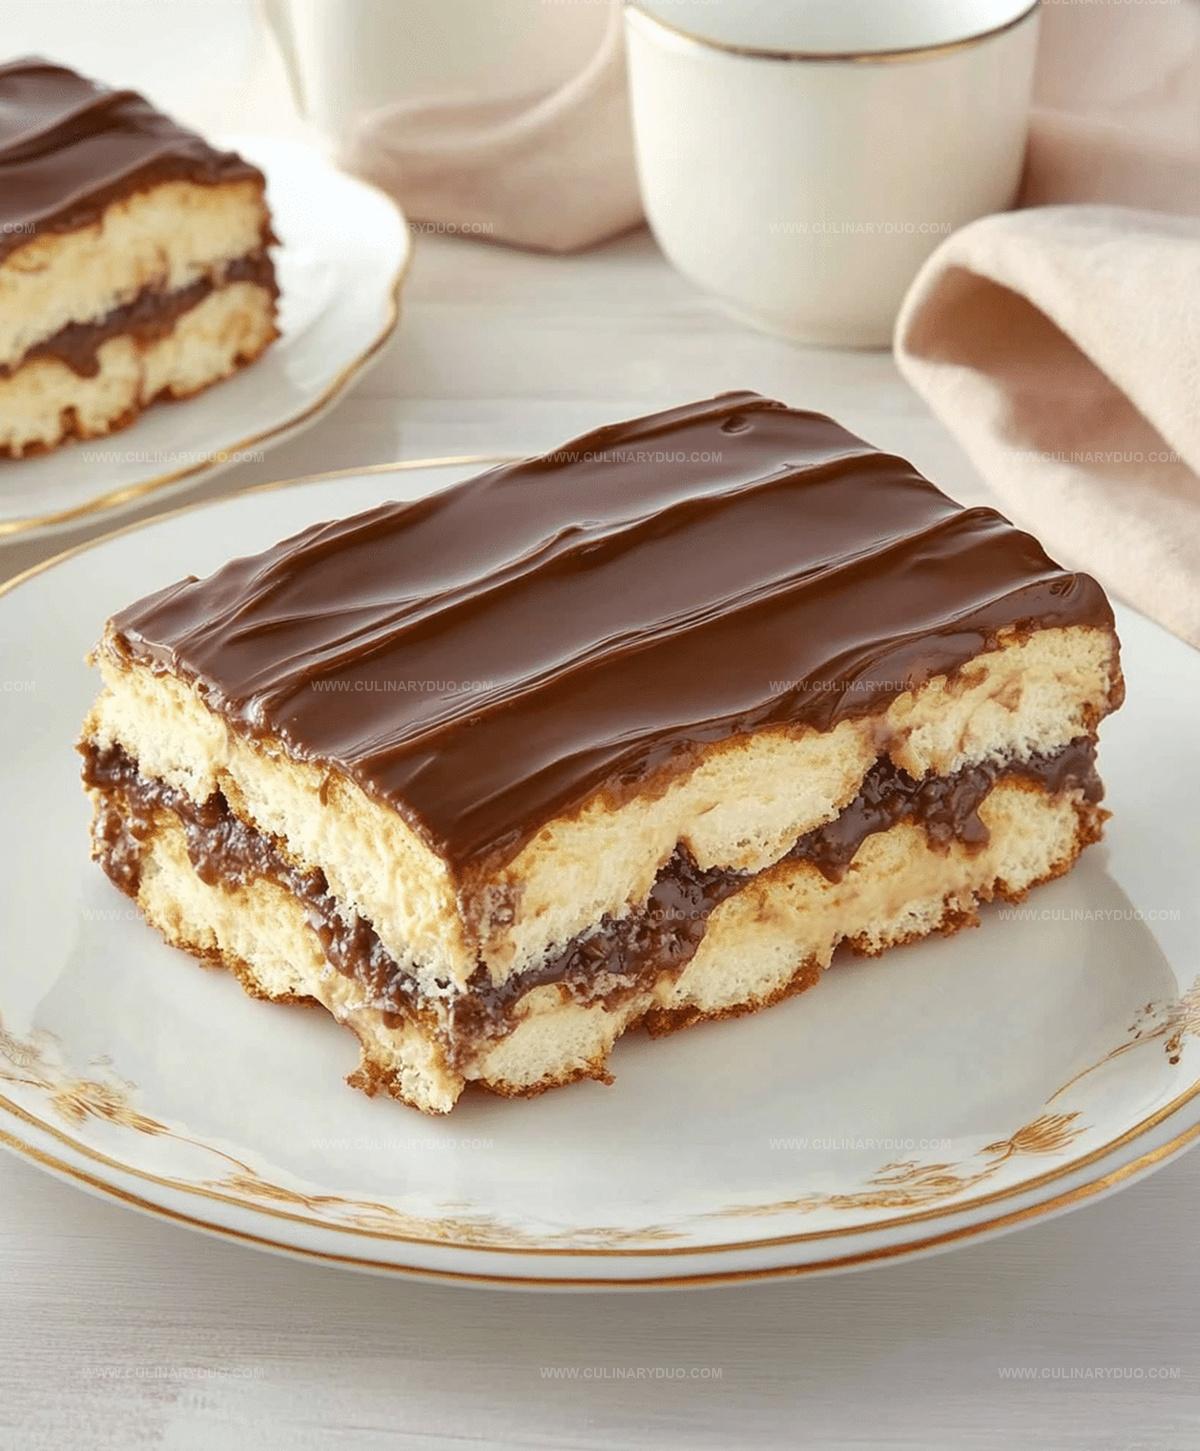
Layers of soft graham crackers melt into luxurious vanilla pudding, creating a heavenly texture that feels like pure indulgence.
Classic French-inspired flavors dance across your palate with minimal effort and zero baking required.
Each spoonful promises a silky smooth experience that melts in your mouth and leaves you craving more.
The chocolate ganache topping adds a rich, decadent finish that elevates this simple dessert from good to absolutely irresistible.
This make-ahead treat comes together in minutes, making it perfect for busy home cooks who want maximum flavor with minimal work.
One taste and you’ll understand why this no bake eclair cake becomes an instant crowd-pleaser at every potluck and family dinner.
Why You Need to Try No Bake Eclair Cake
Must-Have Ingredients for Eclair Cake
Base Layer:Pudding Mixture:Topping:Eclair Cake Instructions, Step by Step
Step 1: Whip Up Creamy Pudding Base
In a mixing bowl, prepare the vanilla pudding mix by combining it with milk.
Gently fold in the whipped topping until the mixture becomes smooth and well-blended, creating a luscious, creamy filling.
Step 2: Create First Cracker Foundation
Take a 9×13-inch pan and carefully arrange a full layer of graham crackers across the bottom, creating a solid base for your no-bake dessert.
Step 3: Spread First Pudding Layer
Evenly distribute half of the prepared pudding mixture over the graham cracker base, ensuring complete and uniform coverage.
Step 4: Build Second Cracker Layer
Add another complete layer of graham crackers on top of the pudding, creating a stable middle section for the dessert.
Step 5: Add Remaining Pudding
Spread the rest of the pudding mixture over the second graham cracker layer, making sure to cover the crackers completely.
Step 6: Top with Final Cracker Layer
Place the final layer of graham crackers on top of the pudding, creating the top surface of the dessert.
Step 7: Drizzle Chocolate Topping
Briefly microwave the chocolate frosting to soften it.
Pour and spread the warm frosting evenly across the top layer of graham crackers, creating a smooth, glossy finish.
Step 8: Chill and Develop Flavors
Cover the pan with plastic wrap and refrigerate for at least 4 hours, preferably overnight.
This resting time allows the flavors to meld and the crackers to soften into a cake-like texture.
Tips for No-Bake Cake Success
Eclair Cake Variations to Experiment With
Serving Eclair Cake for Every Event
Keep Eclair Cake Fresh in the Fridge
FAQs
Yes, you can substitute homemade whipped cream for whipped topping. Just whip heavy cream until stiff peaks form and fold it into the pudding mixture.
Absolutely! Replace graham crackers with gluten-free graham-style crackers or gluten-free cookies to create a celiac-friendly version of the dessert.
The no-bake eclair cake will remain delicious for 3-4 days when stored in an airtight container in the refrigerator. Keep it covered to maintain its texture and prevent drying out.
Print
No Bake Eclair Cake Recipe
- Total Time: 4 hours 20 minutes
- Yield: 12 1x
Description
Creamy layers of no bake eclair cake promise sweet, indulgent bliss without turning on the oven. Cool custard and graham crackers meld into a dreamy dessert that melts in your mouth, making celebration effortless.
Ingredients
Main Ingredients:
- 2 packages graham crackers
- 1 package instant vanilla pudding mix
- 3 cups milk
Creamy Components:
- 1 container whipped topping (like Cool Whip)
Topping:
- 1 container chocolate frosting
Instructions
- Whisk together vanilla pudding mix and milk until fully incorporated, then gently fold in whipped topping to create a creamy, smooth mixture.
- Create the first foundation layer by arranging graham crackers across the entire bottom of a 9×13-inch pan, ensuring complete coverage.
- Generously distribute half of the prepared pudding mixture over the graham cracker base, spreading evenly with a spatula.
- Construct the second graham cracker layer directly on top of the pudding, covering the entire surface completely.
- Pour the remaining pudding mixture over the second graham cracker layer, carefully spreading to achieve uniform thickness.
- Add the final graham cracker layer as the top surface of the dessert.
- Warm chocolate frosting in the microwave for 15-20 seconds until slightly softened and pourable.
- Drizzle and spread the melted frosting across the top layer, ensuring complete and even coverage.
- Seal the pan with plastic wrap and refrigerate for minimum 4 hours, preferably overnight, allowing flavors to meld and layers to set firmly.
Notes
- Swap graham crackers with gluten-free alternatives like rice crackers or gluten-free graham-style crackers for those with wheat sensitivities.
- Use sugar-free pudding mix and whipped topping to create a lower-calorie version of this dessert for diet-conscious individuals.
- Enhance flavor by adding a sprinkle of cinnamon or vanilla extract into the pudding mixture for extra depth and warmth.
- For a dairy-free version, replace milk with almond or coconut milk and use non-dairy whipped topping to accommodate lactose-intolerant guests.
- Prep Time: 20 minutes
- Cook Time: 4 hours
- Category: Desserts
- Method: Refrigerating
- Cuisine: American
Nutrition
- Serving Size: 12
- Calories: 250 kcal
- Sugar: 20 g
- Sodium: 150 mg
- Fat: 10 g
- Saturated Fat: 5 g
- Unsaturated Fat: 4 g
- Trans Fat: 0.5 g
- Carbohydrates: 35 g
- Fiber: 1 g
- Protein: 3 g
- Cholesterol: 15 mg
Michael Reyes
Founder & Lead Recipe Developer
Expertise
Education
Santa Fe Community College
Michael’s love for cooking runs deep, rooted in the bold, colorful flavors of his New Mexico upbringing.
After earning his Culinary Arts Certificate from Santa Fe Community College, he spent years sharpening his skills in kitchens that celebrated traditional Southwestern and Latin American dishes.
He believes cooking should feel approachable and fun, never complicated. When he’s not stirring up new recipe ideas, Michael’s out hiking scenic trails, chatting with farmers at local markets, or chasing the perfect sunset shot for inspiration.