Dreamy Peanut Butter Butterfinger Cheesecake Recipe for Dessert Lovers
Dessert dreams come alive with this irresistible peanut butter butterfinger cheesecake that blends creamy textures and decadent flavors.
Chocolate lovers will swoon over every rich, indulgent bite of this spectacular treat.
The smooth cream cheese base perfectly complements crushed butterfinger bars scattered throughout the dessert.
Layers of sweet and salty goodness create a symphony of taste that dances across your palate.
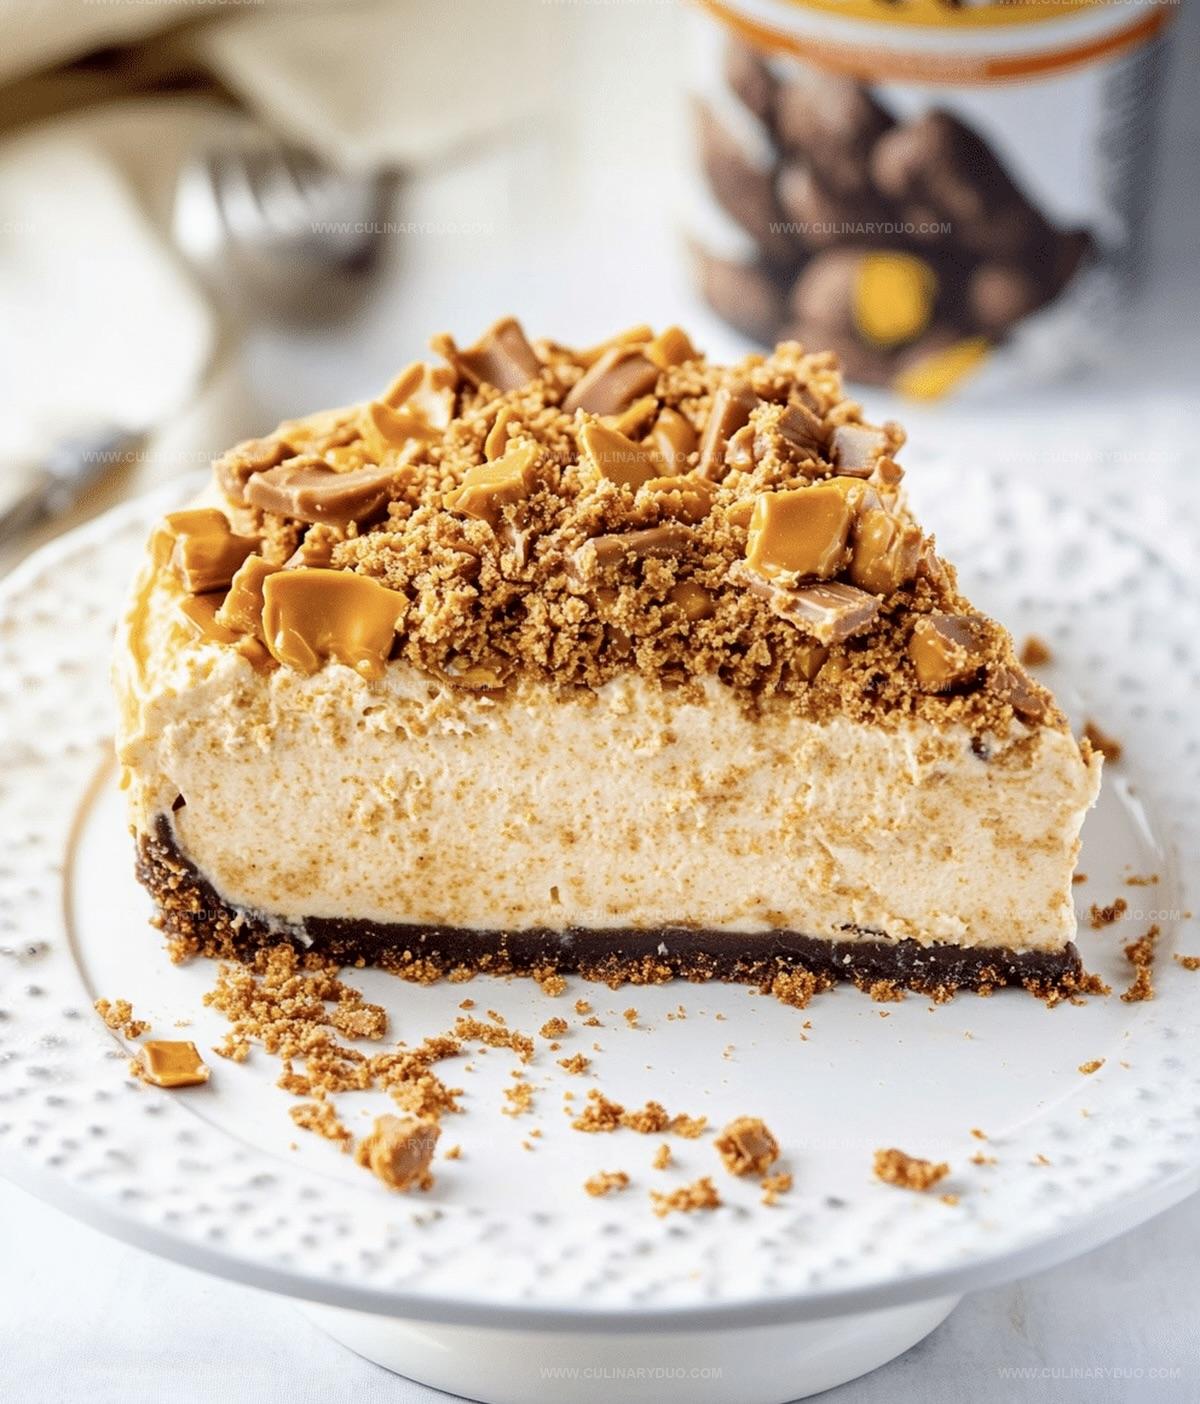
Each slice promises a delightful crunch from butterfinger pieces nestled within the silky filling.
The graham cracker crust adds a delectable foundation that elevates this cheesecake from ordinary to extraordinary.
Peanut Butter Meets Butterfinger: A Cheesecake Adventure
Everything You Need for Peanut Butter Butterfinger Cheesecake
Crust Ingredients:Cheesecake Filling Ingredients:Topping and Garnish Ingredients:How to Craft a Butterfinger Cheesecake at Home
Step 1: Prepare the Baking Station
Get your oven warmed up to a cozy 325°F.
Grab your 9-inch springform pan and give it a light greasing to prevent any sticky situations.
Step 2: Create the Crunchy Crust
Combine your graham cracker crumbs with melted butter and sugar in a mixing bowl.
Press this delightful mixture firmly into the bottom of the pan.
Pop it in the oven for a quick 10-minute toast, then set aside to cool down completely.
Step 3: Whip Up the Cream Cheese Base
In a large mixing bowl, beat the cream cheese and sugar until they become silky smooth.
Introduce the peanut butter and blend until perfectly combined.
Step 4: Build the Creamy Filling
Gradually add eggs one by one, giving each a thorough beating between additions.
Pour in the vanilla extract and heavy cream, mixing until the filling becomes luxuriously smooth.
Step 5: Incorporate Butterfinger Magic
Gently fold in the crushed Butterfinger pieces, creating pockets of crunchy caramel goodness throughout the cheesecake.
Step 6: Fill and Prepare for Baking
Carefully pour the creamy filling over the cooled crust, ensuring an even distribution.
Step 7: Bake to Perfection
Send the cheesecake into the oven for 55-65 minutes.
You’re looking for a slightly wobbly center with set edges – the hallmark of a perfect cheesecake.
Step 8: Gentle Cooling Process
Turn off the oven and crack the door open slightly.
Let the cheesecake rest inside for a full hour, allowing it to cool down gradually.
Step 9: Chill and Set
Transfer the cheesecake to the refrigerator and let it rest for at least 4 hours, or ideally overnight.
This helps it set to creamy perfection.
Step 10: Final Flourish
Just before serving, crown your masterpiece with a cloud of whipped cream and sprinkle the remaining Butterfinger pieces on top for an extra crunch and visual appeal.
Handy Tips for Peanut Butter Cheesecake Fans
Ways to Change Up Butterfinger Cheesecake
Presenting Peanut Butter Butterfinger Cheesecake
Storing Cheesecake for Later Enjoyment
FAQs
Yes, you can substitute Butterfinger with other chocolate or peanut butter candies like Reese’s, Kit Kat, or Crunch bars for a similar crunchy texture.
You’ll need a 9-inch springform pan, electric mixer, and mixing bowls. A springform pan helps easily remove the cheesecake without breaking it.
The combination of cream cheese, peanut butter, heavy cream, and careful mixing technique ensures a rich, smooth texture. Beating ingredients gradually and not overmixing is key to achieving the perfect consistency.
Print
Peanut Butter Butterfinger Cheesecake Recipe
- Total Time: 2 hours 35 minutes
- Yield: 12 1x
Description
Rich layers of creamy peanut butter butterfinger cheesecake beckon dessert enthusiasts with irresistible crunch and smooth indulgence. Chocolate cookie crust and crushed candy bars create a decadent experience you won’t forget.
Ingredients
Main Ingredients:
- 24 ounces (680 grams) cream cheese, softened
- 1 cup (240 milliliters) creamy peanut butter
- 3 large eggs
- 1 cup (240 milliliters) sour cream
Crust and Sweet Components:
- 1.5 cups (180 grams) graham cracker crumbs
- 1.25 cups (250 grams) granulated sugar
- 0.5 cup (115 grams) unsalted butter, melted
- 2 tablespoons (15 grams) powdered sugar
Garnish and Flavor Enhancers:
- 1 cup (120 grams) crushed Butterfinger candy bars
- 0.5 cup (120 milliliters) heavy whipping cream
- 2 teaspoons vanilla extract
Instructions
- Heat the oven to 325°F and prepare a 9-inch springform pan with a light coating of grease to prevent sticking.
- Create the crust by combining graham cracker crumbs, melted butter, and sugar, then firmly press the mixture into the pan’s bottom. Bake for 10 minutes and allow to cool completely.
- Using an electric mixer, whip cream cheese and sugar until achieving a silky, uniform consistency. Incorporate peanut butter and blend thoroughly.
- Introduce eggs individually, ensuring each is fully integrated before adding the next. Blend in vanilla extract and heavy cream until the mixture reaches a smooth, velvety texture.
- Delicately fold chopped Butterfinger pieces into the cheesecake mixture, distributing them evenly throughout.
- Transfer the cheesecake filling onto the cooled crust, spreading it uniformly to create an even surface.
- Bake for 55-65 minutes, watching for a slightly wobbly center while the edges become firm and set.
- Switch off the oven, leaving the cheesecake inside with the door slightly ajar for one hour to prevent cracking.
- Remove from the oven and refrigerate for a minimum of 4 hours, preferably overnight, to allow complete chilling and setting.
- Prior to serving, adorn with dollops of whipped cream and sprinkle remaining Butterfinger fragments across the top for added crunch and visual appeal.
Notes
- Enhance crust crunchiness by freezing the crust for 10 minutes before adding the filling, which helps prevent sogginess and maintains a crisp texture.
- Prevent cheesecake cracking by using room temperature ingredients and avoiding overmixing, which introduces excess air and can cause surface breaks.
- Accommodate gluten-free diets by substituting graham cracker crumbs with almond flour or gluten-free cookie crumbs for an equally delicious base.
- Control sweetness levels by reducing sugar or using sugar substitutes like stevia for a more balanced dessert that caters to health-conscious individuals.
- Prep Time: 30 minutes
- Cook Time: 2 hours 5 minutes
- Category: Desserts
- Method: Baking
- Cuisine: American
Nutrition
- Serving Size: 12
- Calories: 443 kcal
- Sugar: 29 g
- Sodium: 240 mg
- Fat: 32 g
- Saturated Fat: 11 g
- Unsaturated Fat: 18 g
- Trans Fat: 0.5 g
- Carbohydrates: 26 g
- Fiber: 1.5 g
- Protein: 9 g
- Cholesterol: 85 mg
Michael Reyes
Founder & Lead Recipe Developer
Expertise
Education
Santa Fe Community College
Michael’s love for cooking runs deep, rooted in the bold, colorful flavors of his New Mexico upbringing.
After earning his Culinary Arts Certificate from Santa Fe Community College, he spent years sharpening his skills in kitchens that celebrated traditional Southwestern and Latin American dishes.
He believes cooking should feel approachable and fun, never complicated. When he’s not stirring up new recipe ideas, Michael’s out hiking scenic trails, chatting with farmers at local markets, or chasing the perfect sunset shot for inspiration.