Irresistible Pumpkin Oreo Balls Recipe: Fall’s Sweetest Treat
Crafting delectable pumpkin Oreo balls brings pure autumn magic right into your kitchen.
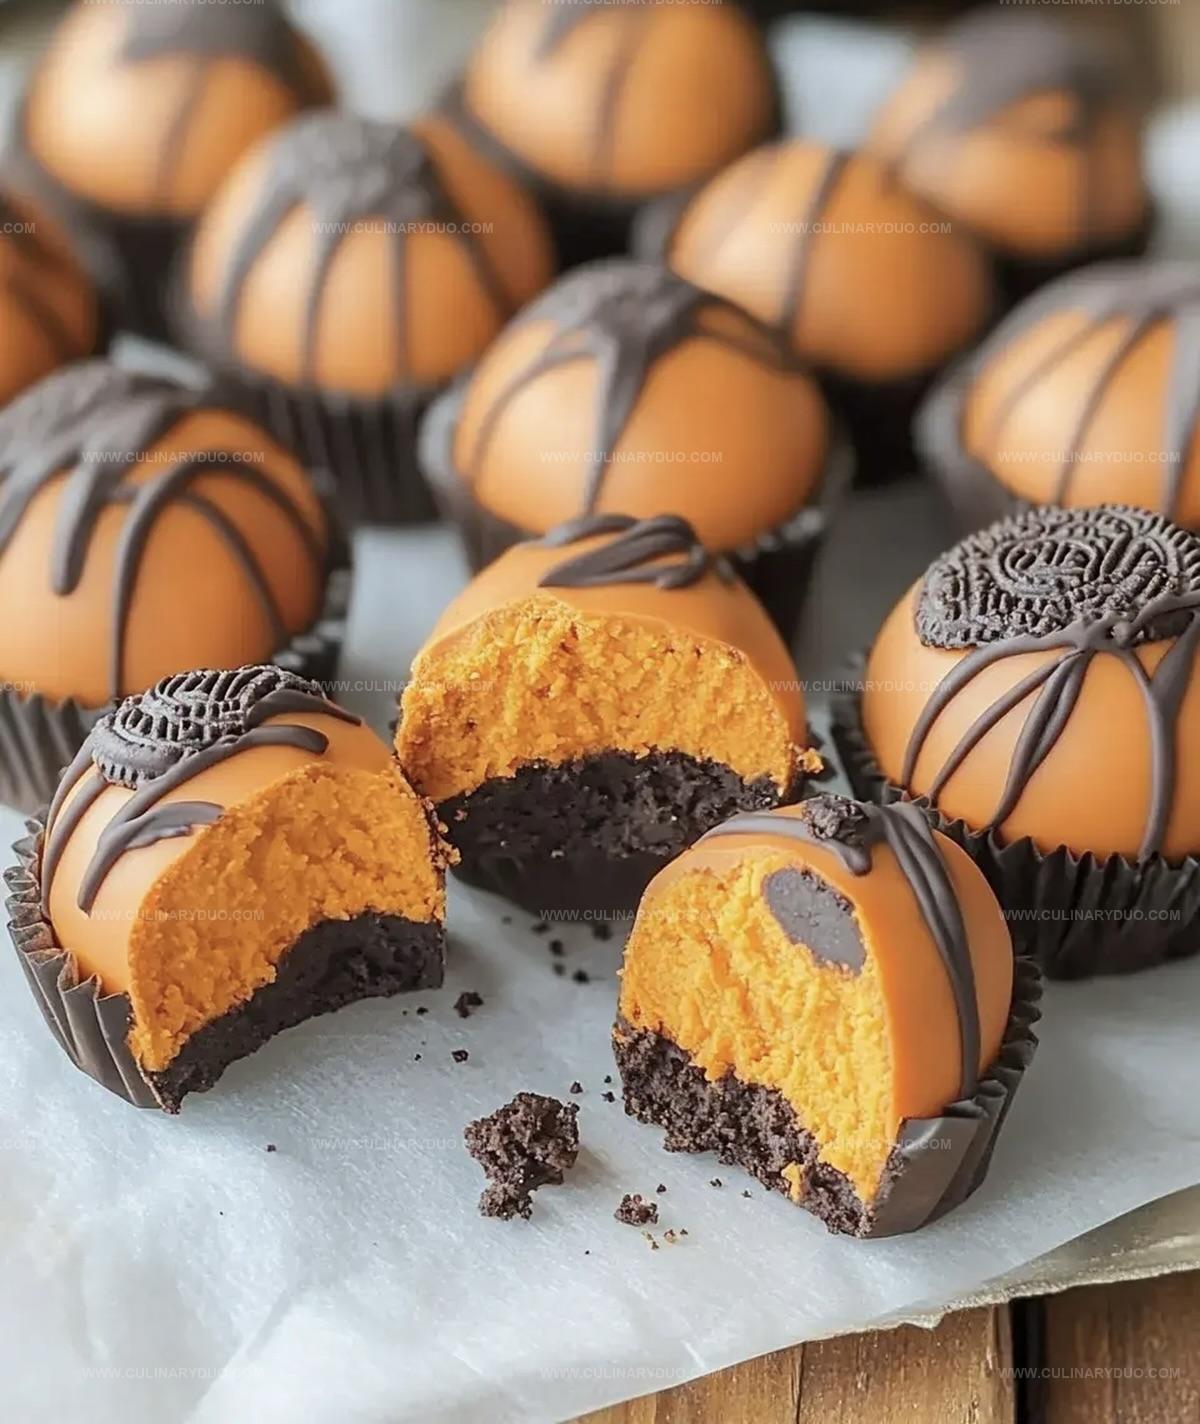
Sweet crumbles of cookies merge with creamy cheese and seasonal spices.
Rich flavors dance across your palate with each delightful bite.
Minimal ingredients create maximum satisfaction for dessert enthusiasts.
Chilled treats promise a smooth, decadent experience that celebrates fall’s warmth.
Unexpected combinations spark culinary creativity and delight unexpected taste buds.
Brace yourself for an irresistible confection that will become your new seasonal obsession.
Why Pumpkin Oreo Balls Are Always Requested
Everything Needed For Pumpkin Oreo Balls At Home
Base Ingredients:Flavoring Ingredients:Coating Ingredients:How To Create The Best Pumpkin Oreo Balls
Step 1: Pulverize Oreo Cookies
Grab your food processor and transform those Oreo cookies into fine, delicate crumbs.
Pulse until the cookies become a uniform sandy texture that looks like soft beach sand.
Step 2: Blend With Creamy Goodness
Grab a mixing bowl and combine the Oreo crumbs with room temperature cream cheese.
Mix thoroughly until the mixture becomes a smooth, consistent blend that holds together perfectly.
Step 3: Infuse Pumpkin Flavor
Introduce pumpkin puree and pumpkin pie spice into the mixture.
Stir gently but completely, ensuring the warm autumn spices are evenly distributed throughout the creamy base.
Step 4: Craft Delightful Spheres
Using your hands or a small scoop, form the mixture into adorable bite-sized balls.
Each ball should be roughly the size of a walnut.
Arrange these little treasures on a parchment-lined baking sheet.
Step 5: Chill And Set
Place the baking sheet in the refrigerator.
Let the balls firm up for approximately 30 minutes, which will make them easier to coat with chocolate.
Step 6: Prepare Chocolate Coating
Combine white chocolate chips and coconut oil in a microwave-safe bowl.
Melt the mixture by heating in short 30-second intervals, stirring between each interval until silky smooth.
Step 7: Dunk And Cover
Carefully dip each chilled ball into the melted white chocolate.
Ensure each sphere is completely and evenly coated.
Gently place the chocolate-covered balls back onto the parchment-lined sheet.
Step 8: Let Chocolate Solidify
Allow the chocolate coating to harden naturally at room temperature or speed up the process by placing the tray in the refrigerator.
Once set, these pumpkin Oreo balls are ready to delight your taste buds!
Tips For Making Perfect Pumpkin Oreo Balls Every Time
Flavor Options For Tasty Pumpkin Oreo Ball Variations
How To Serve Pumpkin Oreo Balls Creatively
Storing Pumpkin Oreo Balls For Maximum Freshness
FAQs
Yes, you can substitute white chocolate with milk or dark chocolate for a different flavor profile.
When stored in an airtight container in the refrigerator, they’ll stay fresh for up to 5-7 days.
Regular cream cheese works best for creating the right texture and consistency in the recipe.
Pumpkin pie spice adds classic fall flavor, but if you don’t have it, you can use a mix of cinnamon, nutmeg, and ginger as a substitute.
Print
Pumpkin Oreo Balls Recipe
- Total Time: 15 minutes
- Yield: 24 1x
Description
Delightful pumpkin oreo balls bring autumn’s warmth to sweet treats, blending creamy pumpkin spice with classic oreo crunch. Chilled and rolled in white chocolate, these bite-sized delights offer pure seasonal comfort you’ll savor with each delectable morsel.
Ingredients
Main Ingredients:
- 1 package (15 ounces / 425 grams) Oreo cookies
- 1 cup (240 milliliters) pumpkin puree
- 8 ounces (226 grams) cream cheese, softened
Flavor Enhancers:
- 1 teaspoon pumpkin pie spice
Coating Ingredients:
- 2 cups (340 grams) white chocolate chips
- 1 tablespoon (15 milliliters) coconut oil
Instructions
- Pulverize Oreo cookies in a food processor until they transform into fine, uniform crumbs, ensuring no large chunks remain.
- Transfer cookie crumbs to a mixing bowl and incorporate softened cream cheese, blending thoroughly until a consistent mixture develops.
- Introduce pumpkin puree and pumpkin pie spice into the mixture, stirring until ingredients are completely integrated and color appears uniform.
- Using clean hands or a small cookie scoop, craft mixture into compact, uniform spheres approximately one inch in diameter, positioning each on a parchment-lined baking sheet.
- Chill formed balls in refrigerator for 25-35 minutes, allowing them to solidify and maintain structural integrity.
- Create chocolate coating by combining white chocolate chips and coconut oil in microwave-safe container, heating at 30-second intervals and stirring between each cycle until smooth and glossy.
- Remove chilled balls from refrigerator and carefully immerse each into melted chocolate, ensuring complete and even coverage, then return to parchment sheet.
- Allow chocolate-coated balls to set at room temperature for 15-20 minutes or expedite process by placing in refrigerator until chocolate hardens completely.
Notes
- Use a food processor for consistent, fine crumbs that will help bind the mixture perfectly without lumps.
- Let cream cheese sit at room temperature for 30 minutes before mixing to create a smooth, lump-free base that blends effortlessly with Oreo crumbs.
- Try pumpkin pie spice quantity to match your taste preference, adding more for intense autumn warmth or less for subtle notes.
- Refrigerating the formed balls helps maintain their shape and prevents chocolate from sliding off during coating, resulting in a cleaner, more professional finish.
- Prep Time: 15 minutes
- Cook Time: 0 minutes
- Category: Desserts, Snacks
- Method: None
- Cuisine: American
Nutrition
- Serving Size: 24
- Calories: 180 kcal
- Sugar: 15 g
- Sodium: 85 mg
- Fat: 10 g
- Saturated Fat: 6 g
- Unsaturated Fat: 3.5 g
- Trans Fat: 0.1 g
- Carbohydrates: 22 g
- Fiber: 1 g
- Protein: 2 g
- Cholesterol: 15 mg
Michael Reyes
Founder & Lead Recipe Developer
Expertise
Education
Santa Fe Community College
Michael’s love for cooking runs deep, rooted in the bold, colorful flavors of his New Mexico upbringing.
After earning his Culinary Arts Certificate from Santa Fe Community College, he spent years sharpening his skills in kitchens that celebrated traditional Southwestern and Latin American dishes.
He believes cooking should feel approachable and fun, never complicated. When he’s not stirring up new recipe ideas, Michael’s out hiking scenic trails, chatting with farmers at local markets, or chasing the perfect sunset shot for inspiration.