The Perfect Red Velvet Cinnamon Rolls Recipe for Sweet Mornings
Crafting the perfect red velvet cinnamon rolls brings pure magic into your kitchen.
Sweet aromas will dance through every corner of your home.
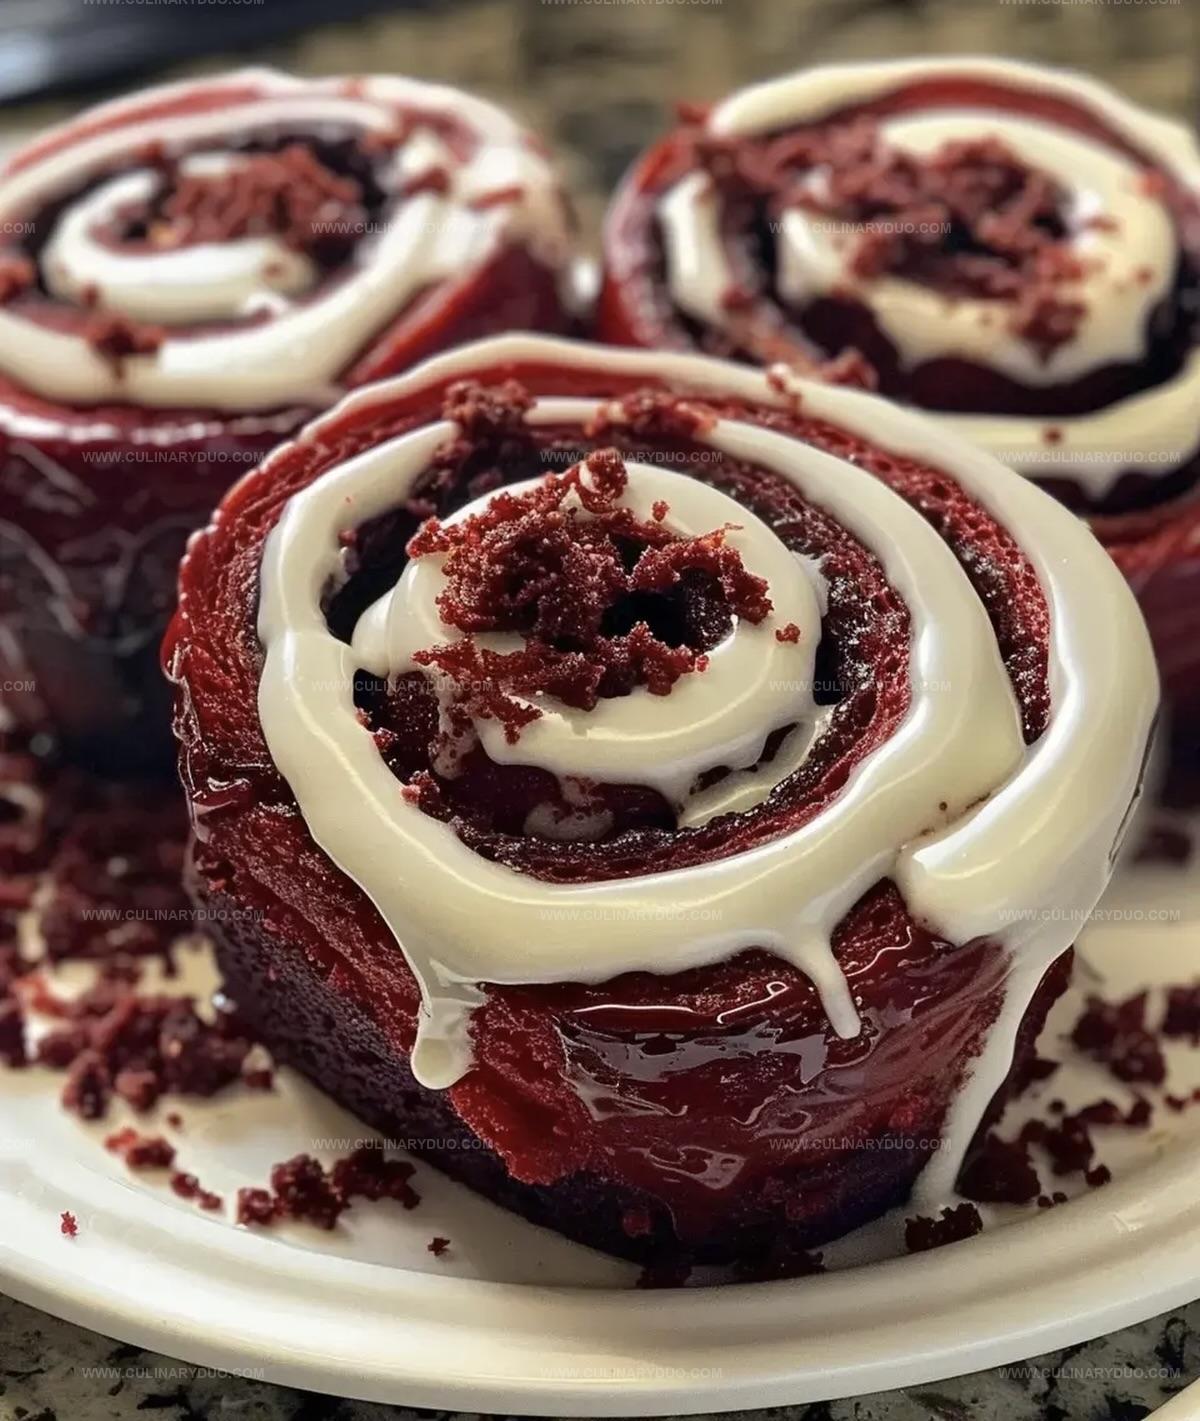
Soft, pillowy dough becomes a canvas for rich crimson swirls and warm spices.
Cream cheese frosting adds luxurious decadence to each delectable bite.
Weekend mornings deserve something extraordinary that makes everyone smile.
Baking these rolls turns an ordinary breakfast into a celebration of flavor and comfort.
You won’t be able to resist the allure of these irresistible treats.
Red Velvet Cinnamon Rolls For Special Mornings
Gather Ingredients For Red Velvet Cinnamon Rolls
Main Dough Ingredients:Wet Ingredients:Filling and Frosting Ingredients:Additional Ingredients:Steps For Soft And Rich Red Velvet Rolls
Step 1: Activate Yeast
Grab a large mixing bowl and pour in warm milk.
Sprinkle yeast over the milk and let it sit quietly.
Watch for tiny bubbles to form and the mixture to become wonderfully frothy.
Step 2: Blend Liquid Ingredients
Drop sugar, melted butter, eggs, and vanilla extract into the yeast mixture.
Whisk everything together until completely combined and silky smooth.
Step 3: Mix Dry Components
In a separate bowl, combine flour, cocoa powder, and salt.
Gently incorporate the dry ingredients into the wet mixture, stirring until a soft dough starts to develop.
Step 4: Knead Vibrant Dough
Splash in red food coloring and transfer the dough to a floured surface.
Knead with your hands, working the color evenly throughout.
Continue kneading until the dough becomes smooth and elastic.
Step 5: Allow First Rise
Transfer the dough to a greased bowl.
Cover with a clean kitchen towel and place in a warm, draft-free spot.
Let the dough rise and expand for 1-2 hours.
Step 6: Create Aromatic Filling
In a small bowl, blend:Mix until the ingredients form a rich, fragrant spread.
Step 7: Roll Out Dough
Dust your work surface with flour.
Use a rolling pin to stretch the dough into a large rectangular shape.
Step 8: Distribute Filling
Spread the cinnamon mixture generously across the entire surface of the rolled-out dough.
Step 9: Form Cinnamon Roll Log
Carefully roll the dough tightly from the longer side, creating a beautiful spiral.
Slice the log into 12 even pieces.
Step 10: Second Rising Period
Arrange the rolls in a greased baking dish.
Cover and let them rise for an additional 30 minutes.
Step 11: Bake To Perfection
Warm the oven to 350F.
Slide the baking dish inside and bake until the rolls turn a gorgeous golden brown.
Step 12: Whip Up Creamy Frosting
Beat cream cheese and butter until light and fluffy.
Gradually add powdered sugar, vanilla extract, and milk.
Continue mixing until the frosting reaches a smooth, spreadable consistency.
Step 13: Add Luxurious Topping
Once the rolls have cooled slightly, generously spread the cream cheese frosting over the top.
Step 14: Serve And Savor
Pull apart these gorgeous red velvet cinnamon rolls and enjoy every delightful bite!
Tips For Perfect Red Velvet Cinnamon Roll Swirls
Red Velvet Cinnamon Roll Twists To Try
Creative Serving Ideas For Red Velvet Rolls
Best Storage Methods For Red Velvet Rolls
FAQs
The red food coloring is added during the kneading process to create the signature red velvet appearance, transforming traditional cinnamon rolls into a visually striking dessert.
Yes, you can prepare the dough in advance. After the first rise, cover and refrigerate overnight. Let it come to room temperature and proceed with rolling and filling before the second rise.
Cocoa powder adds a subtle chocolate flavor and contributes to the classic red velvet taste, creating a more complex and rich background flavor for the cinnamon rolls.
Print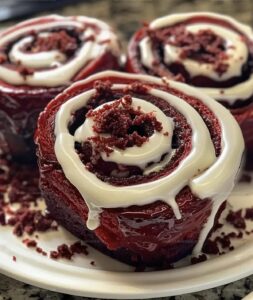
Red Velvet Cinnamon Rolls Recipe
- Total Time: 2 hours 40 minutes
- Yield: 12 1x
Description
Indulgent red velvet cinnamon rolls merge classic Southern charm with decadent dessert magic. Rich crimson swirls and cream cheese frosting promise a luxurious breakfast experience that delights your senses with each warm, spiced bite.
Ingredients
Dough Ingredients:
- 1 cup (240 ml) warm milk
- 2 1/4 teaspoons active dry yeast
- 1/2 cup (100 grams) granulated sugar
- 4 cups (500 grams) all-purpose flour
- 2 large eggs
- 1/4 cup (57 grams) melted unsalted butter
- 2 tablespoons cocoa powder
- 2 tablespoons red food coloring
- 1 teaspoon salt
- 1 teaspoon vanilla extract
Filling Ingredients:
- 1/2 cup (113 grams) unsalted butter (softened)
- 1 cup (220 grams) brown sugar
- 2 tablespoons ground cinnamon
Frosting Ingredients:
- 4 ounces (113 grams) cream cheese (softened)
- 1/4 cup (57 grams) unsalted butter (softened)
- 2 cups (240 grams) powdered sugar
- 1 teaspoon vanilla extract
- 2 tablespoons milk
Instructions
- Activate yeast by dissolving it in warm milk (110°F) and allow to bloom for 7-8 minutes until foamy and fragrant.
- Incorporate sugar, melted butter, eggs, and vanilla extract into the yeast mixture, whisking thoroughly to create a homogeneous liquid base.
- Sift together flour, cocoa powder, and salt in a separate container, then gradually fold into the wet ingredients, creating a cohesive dough.
- Introduce red food coloring and transfer dough to a floured surface, kneading vigorously for 6-7 minutes until achieving a smooth, elastic consistency.
- Transfer dough to a lightly oiled bowl, cover with plastic wrap, and allow to rise in a draft-free area for 90 minutes until volume doubles.
- Prepare filling by blending softened butter, brown sugar, and ground cinnamon until creating a uniform, spreadable mixture.
- Roll out dough into a rectangular shape approximately 16×12 inches, ensuring an even thickness across the surface.
- Distribute filling evenly across the dough, leaving a small margin around the edges to prevent spillage during rolling.
- Tightly roll the dough from the longer side, creating a compact log, then slice into 12 equal portions using a sharp knife.
- Arrange rolls in a greased 9×13 inch baking dish, allowing slight spacing between each piece, and let rise for 40 minutes.
- Preheat oven to 350°F and bake rolls for 22-25 minutes until golden brown and center rolls appear fully cooked.
- Whip cream cheese and butter until light and fluffy, gradually adding powdered sugar, vanilla, and milk to create a smooth frosting.
- Allow rolls to cool for 10 minutes before generously spreading cream cheese frosting across the surface.
- Serve immediately while warm for optimal flavor and texture.
Notes
- Ensure milk is warm (not hot) to prevent killing the yeast, which can make rolls dense and heavy.
- Use gel food coloring for vibrant red without diluting dough’s consistency and achieve that signature red velvet look.
- Swap wheat flour with a 1:1 gluten-free blend and add xanthan gum for better texture and structure.
- Allow eggs, butter, and cream cheese to sit at room temperature for smoother mixing and better incorporation.
- Prep Time: 2 hours 15 minutes
- Cook Time: 25 minutes
- Category: Breakfast, Snacks, Desserts
- Method: Baking
- Cuisine: American
Nutrition
- Serving Size: 12
- Calories: 274 kcal
- Sugar: 20 g
- Sodium: 142 mg
- Fat: 13 g
- Saturated Fat: 7 g
- Unsaturated Fat: 5 g
- Trans Fat: 0.2 g
- Carbohydrates: 34 g
- Fiber: 1 g
- Protein: 4 g
- Cholesterol: 49 mg
Michael Reyes
Founder & Lead Recipe Developer
Expertise
Education
Santa Fe Community College
Michael’s love for cooking runs deep, rooted in the bold, colorful flavors of his New Mexico upbringing.
After earning his Culinary Arts Certificate from Santa Fe Community College, he spent years sharpening his skills in kitchens that celebrated traditional Southwestern and Latin American dishes.
He believes cooking should feel approachable and fun, never complicated. When he’s not stirring up new recipe ideas, Michael’s out hiking scenic trails, chatting with farmers at local markets, or chasing the perfect sunset shot for inspiration.