Juicy Roast Beef Sliders Recipe: A Game-Day Crowd Pleaser
Tender, juicy sliders packed with savory roast beef have become a crowd-pleasing favorite at backyard gatherings.
These miniature sandwiches burst with flavor and demand attention from the first bite.
A perfectly crafted roast beef sliders recipe offers an irresistible combination of soft rolls and succulent meat.
The delicate balance of seasonings and textures makes these sliders a standout appetizer for any occasion.
Quick to prepare and even faster to disappear, these little sandwiches promise to delight everyone at the table.
Serve them warm and watch as guests eagerly reach for seconds, making your meal an instant hit.
What Makes Roast Beef Sliders So Good
Ingredients for Savory Beef Sliders
Main Ingredients:Seasoning Ingredients:Finishing Ingredients:Steps for Beef Slider Perfection
Step 1: Prepare the Oven
Heat your oven to a cozy 350°F, getting ready for some slider magic.
Step 2: Slice and Arrange Buns
Gently slice the slider buns horizontally, creating a perfect base.
Nestle the bottom halves into a baking dish, creating a delicious foundation.
Step 3: Build Flavor Layers
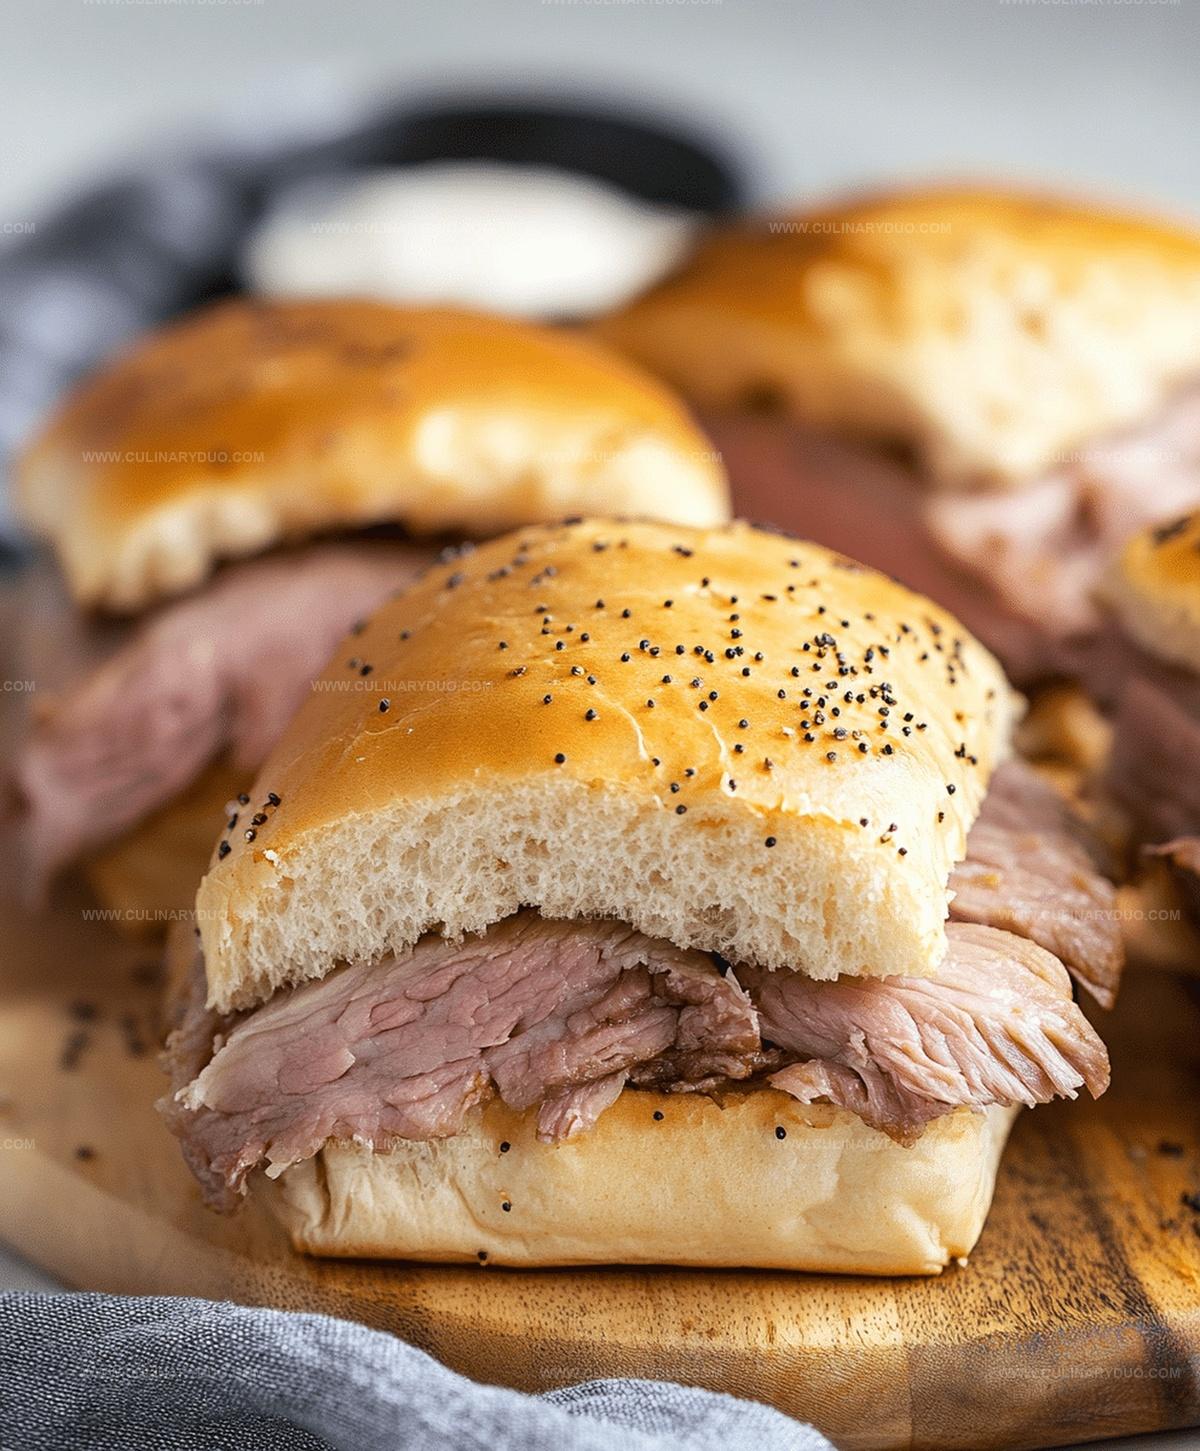
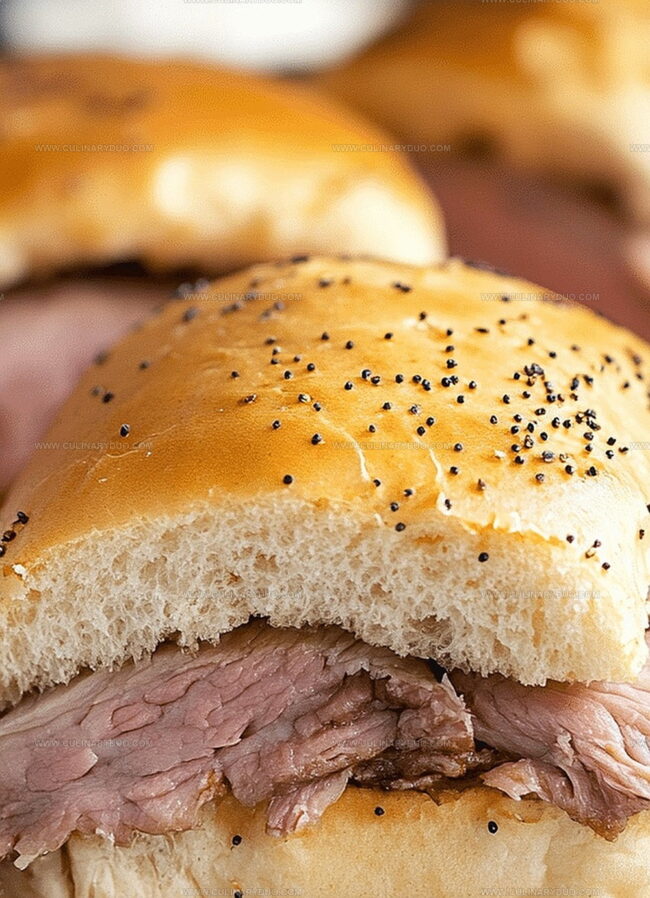
Create mouthwatering layers with tender roast beef and creamy provolone cheese.
Crown the layers with the top halves of the buns.
Step 4: Whip Up the Flavor Explosion Sauce
Combine these flavor-packed ingredients in a mixing bowl:Stir until the ingredients become a harmonious blend of deliciousness.
Step 5: Brush with Flavor
Generously brush the magical sauce over the top of the buns, ensuring every inch is covered with flavor.
Step 6: Bake to Perfection
Cover the baking dish with foil and slide into the preheated oven.
Bake for 15 minutes, then remove the foil and continue baking for an additional 5 minutes until the tops turn a beautiful golden brown.
Step 7: Serve and Savor
Pull out the sliders, let them cool for a moment, then serve these irresistible little sandwiches while they’re warm and inviting.
Tips for Tender Roast Beef Sliders

Beef Slider Variations for Everyone
Presenting Roast Beef Sliders for Meals
Storage for Roast Beef Sliders
FAQs
Hawaiian sweet rolls are ideal due to their soft, slightly sweet texture that complements the savory roast beef perfectly.
Yes, you can assemble the sliders up to a day ahead and refrigerate, then bake just before serving to maintain their fresh, warm quality.
Experiment with different cheese options like Swiss or cheddar, and consider adding caramelized onions or horseradish sauce for extra depth of flavor.
Absolutely! They’re easy to make, can be prepared quickly, and are perfect for gatherings, game days, or casual get-togethers.
Print
Roast Beef Sliders Recipe
- Total Time: 35 minutes
- Yield: 12 1x
Description
Succulent roast beef sliders promise a flavor explosion that elevates classic party fare with gourmet flair. Juicy beef, melted cheese, and zesty condiments nestle between mini rolls, creating an irresistible bite you’ll crave at every gathering.
Ingredients
Main Ingredients:
- 1 pound (1 lb) roast beef, thinly sliced
- 8 slices provolone cheese
- 12 slider buns or Hawaiian rolls
Seasoning and Sauce:
- 1 tablespoon Dijon mustard
- 1 tablespoon Worcestershire sauce
- 1 teaspoon garlic powder
- 1 teaspoon onion powder
- Salt and pepper to taste
- 1 tablespoon poppy seeds (optional)
Binding Ingredient:
- 1/2 cup (12 cup) unsalted butter, melted
Instructions
- Warm the oven to 350°F, preparing a cozy environment for the sliders.
- Carefully separate slider buns into bottom and top halves, arranging bottom pieces in a baking dish.
- Create a savory layer by placing roast beef slices across the bun bottoms, then generously cover with provolone cheese.
- Reunite the bun tops with their cheesy, meaty base.
- Craft a flavorful butter mixture by whisking together melted butter, Dijon mustard, Worcestershire sauce, garlic powder, onion powder, poppy seeds, salt, and pepper in a mixing bowl.
- Generously brush the aromatic butter blend across the slider tops, ensuring even coverage.
- Shield the sliders with aluminum foil and bake for 15 minutes, allowing flavors to meld and cheese to melt.
- Remove foil and continue baking for an additional 5 minutes until the buns transform into a golden, crispy delight.
- Serve immediately while warm, presenting a mouthwatering appetizer or quick meal.
Notes
- Swap roast beef with pulled chicken or jackfruit for alternative protein options that cater to different dietary preferences.
- Brush the butter mixture generously to ensure maximum flavor absorption and a golden, crispy top layer.
- For a gluten-free version, use gluten-free slider buns and check that all condiments are certified gluten-free.
- Prepare sliders ahead of time and refrigerate before baking, which allows flavors to meld and makes party prep easier.
- Prep Time: 15 minutes
- Cook Time: 20 minutes
- Category: Lunch, Dinner, Appetizer, Snacks
- Method: Baking
- Cuisine: American
Nutrition
- Serving Size: 12
- Calories: 210 kcal
- Sugar: 2 g
- Sodium: 450 mg
- Fat: 10 g
- Saturated Fat: 4 g
- Unsaturated Fat: 5 g
- Trans Fat: 0.2 g
- Carbohydrates: 20 g
- Fiber: 1 g
- Protein: 15 g
- Cholesterol: 35 mg
Michael Reyes
Founder & Lead Recipe Developer
Expertise
Education
Santa Fe Community College
Michael’s love for cooking runs deep, rooted in the bold, colorful flavors of his New Mexico upbringing.
After earning his Culinary Arts Certificate from Santa Fe Community College, he spent years sharpening his skills in kitchens that celebrated traditional Southwestern and Latin American dishes.
He believes cooking should feel approachable and fun, never complicated. When he’s not stirring up new recipe ideas, Michael’s out hiking scenic trails, chatting with farmers at local markets, or chasing the perfect sunset shot for inspiration.