Jolly Santa’s Cookies Recipe: Magical Holiday Treats
Sweet memories of childhood holidays often revolve around these magical Santa’s cookies that bring pure joy to festive gatherings.
Grandmothers across America have perfected delectable recipes passed through generations.
Crisp edges and soft centers create irresistible textures that make everyone smile.
Warm vanilla and buttery notes dance together in perfect harmony.
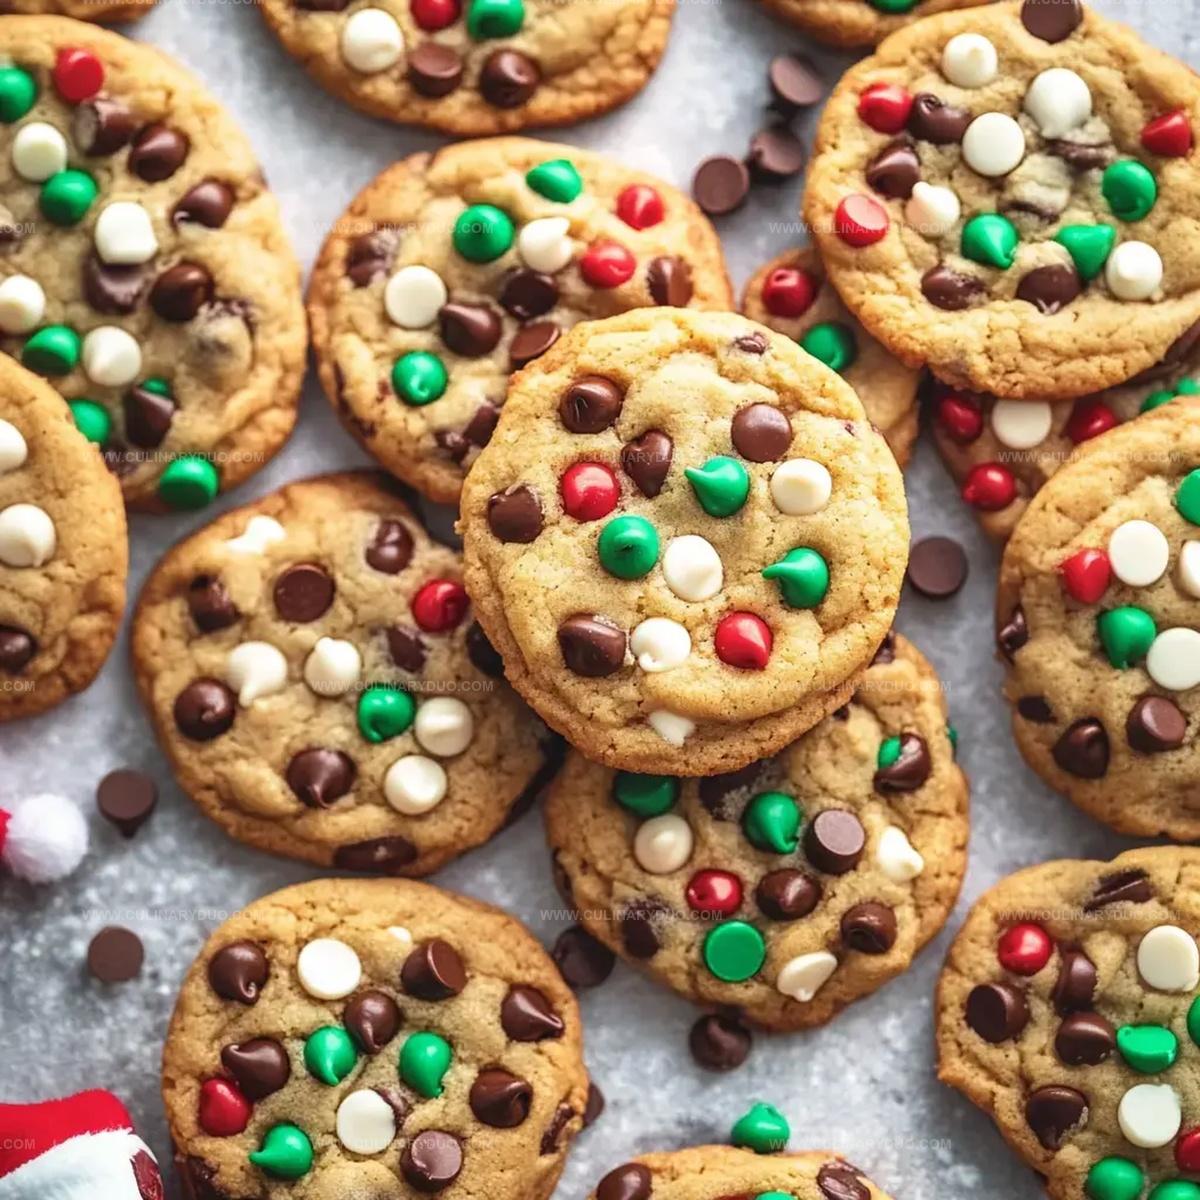
Sprinkled with festive cheer, these treats promise delightful moments of connection.
Traditional yet innovative, the recipe invites you to craft something special.
You’ll want to savor every single crumb of these nostalgic delights.
Santa’s Cookies For Magical Holiday Memories
All Ingredients Needed For Santa’s Cookie Plate
Wet Ingredients:Dry Ingredients:Mix-Ins:Steps To Bake Santa’s Cookies With Ease
Step 1: Create Creamy Foundation
Grab softened butter and sugars in a large mixing bowl.
Whip them together until the mixture becomes light and airy.
Pour in vanilla extract and crack an egg into the blend.
Stir everything until smooth and well-combined.
Step 2: Prepare Dry Ingredients
Gather your dry components:Whisk these ingredients in a separate bowl until perfectly blended and lump-free.
Step 3: Merge Wet and Dry Mixtures
Gradually add dry ingredients into the creamy base.
Gently fold until a consistent dough forms.
Sprinkle in most of your chocolate chips, stirring gently to distribute evenly.
Step 4: Chill the Dough
Transfer the cookie mixture into the refrigerator.
Let it rest and cool for one hour, allowing flavors to meld and dough to firm up.
Step 5: Shape Delightful Cookies
Remove chilled dough from refrigerator.
Roll into round balls using your palms.
Top each cookie with reserved chocolate chips and colorful M&Ms for festive flair.
Step 6: Bake to Perfection
Preheat oven to 350 degrees Fahrenheit.
Place cookies on lined baking sheet.
Bake until edges turn golden brown, approximately 9-12 minutes.
Remove and let cool on wire rack.
Tips For Santa’s Cookies That Stay Soft
Santa’s Cookie Variations For Christmas Eve
How To Present Santa’s Cookies By The Fire
Storing Santa’s Cookies For A Holiday Treat
FAQs
The pudding mix helps create ultra-soft, moist cookies with a rich texture and prevents them from becoming dry or crumbly.
Absolutely! You can swap chocolate chips for white chocolate, dark chocolate, or even butterscotch chips to customize the flavor profile.
Chilling helps prevent spreading during baking, intensifies the flavors, and allows the ingredients to blend together more effectively, resulting in a better cookie texture.
Yes! Kids can help mix ingredients, roll dough balls, and decorate with M&Ms, making it a fun holiday baking activity for the whole family.
Print
Santas Cookies Recipe
- Total Time: 32 minutes
- Yield: 24 1x
Description
Magical Santa’s Cookies blend nostalgic Christmas spirit with buttery sweetness, creating memories that dance across generations. Festive bakers discover delightful comfort in each perfectly crafted, melt-in-your-mouth treat you’ll cherish during holiday celebrations.
Ingredients
Main Ingredients:
- 2 cups flour
- 1 cup semi-sweet chocolate chips
- 1 cup white chocolate chips
- 1 cup holiday M&Ms
Dairy and Sweeteners:
- 3/4 cup (170 grams) butter, softened
- 3/4 cup brown sugar
- 1/4 cup sugar
- 1 egg
- 1 box instant vanilla pudding mix
Leavening and Flavoring:
- 1 teaspoon vanilla
- 1 teaspoon baking soda
- 1/2 teaspoon salt
Instructions
- Prepare the creamy foundation by thoroughly blending softened butter with granulated and brown sugars until light and airy. Incorporate vanilla extract and a single egg, mixing until completely integrated.
- In a separate bowl, sift together all-purpose flour, instant pudding mix, baking soda, and a pinch of salt, ensuring even distribution of dry ingredients.
- Gently fold the dry mixture into the wet ingredients, creating a uniform dough. Carefully fold in most of the chocolate chips, reserving a small portion for decoration.
- Cover the dough and allow it to rest in the refrigerator for 60 minutes, which helps intensify flavor and improve texture.
- Preheat the oven to 350°F. Using clean hands, form the chilled dough into uniform spherical shapes, approximately 1-inch in diameter. Garnish each cookie with reserved chocolate chips and colorful M&Ms, pressing them gently into the surface.
- Arrange cookies on a lined baking sheet, spacing them 2 inches apart. Bake for 10-12 minutes, or until edges turn golden brown and centers appear slightly soft. Remove and let cool on the baking sheet for 5 minutes before transferring to a wire rack.
Notes
- Ensure butter is softened at room temperature for optimal creaming with sugars, creating a smoother, more uniform texture.
- Replace pudding mix with cornstarch for a gluten-free alternative that maintains the cookies’ soft, chewy consistency.
- Use parchment paper or silicone baking mats to prevent sticking and ensure even browning of cookie bottoms.
- Try different chocolate chip varieties like dark, milk, or white chocolate to customize flavor profile and create unique taste experiences.
- Prep Time: 20 minutes
- Cook Time: 12 minutes
- Category: Desserts, Snacks
- Method: Baking
- Cuisine: American
Nutrition
- Serving Size: 24
- Calories: 191
- Sugar: 14 g
- Sodium: 114 mg
- Fat: 10 g
- Saturated Fat: 6 g
- Unsaturated Fat: 3 g
- Trans Fat: 0.2 g
- Carbohydrates: 25 g
- Fiber: 1 g
- Protein: 2 g
- Cholesterol: 18 mg
Michael Reyes
Founder & Lead Recipe Developer
Expertise
Education
Santa Fe Community College
Michael’s love for cooking runs deep, rooted in the bold, colorful flavors of his New Mexico upbringing.
After earning his Culinary Arts Certificate from Santa Fe Community College, he spent years sharpening his skills in kitchens that celebrated traditional Southwestern and Latin American dishes.
He believes cooking should feel approachable and fun, never complicated. When he’s not stirring up new recipe ideas, Michael’s out hiking scenic trails, chatting with farmers at local markets, or chasing the perfect sunset shot for inspiration.